
A Nostalgic Halloween Treat
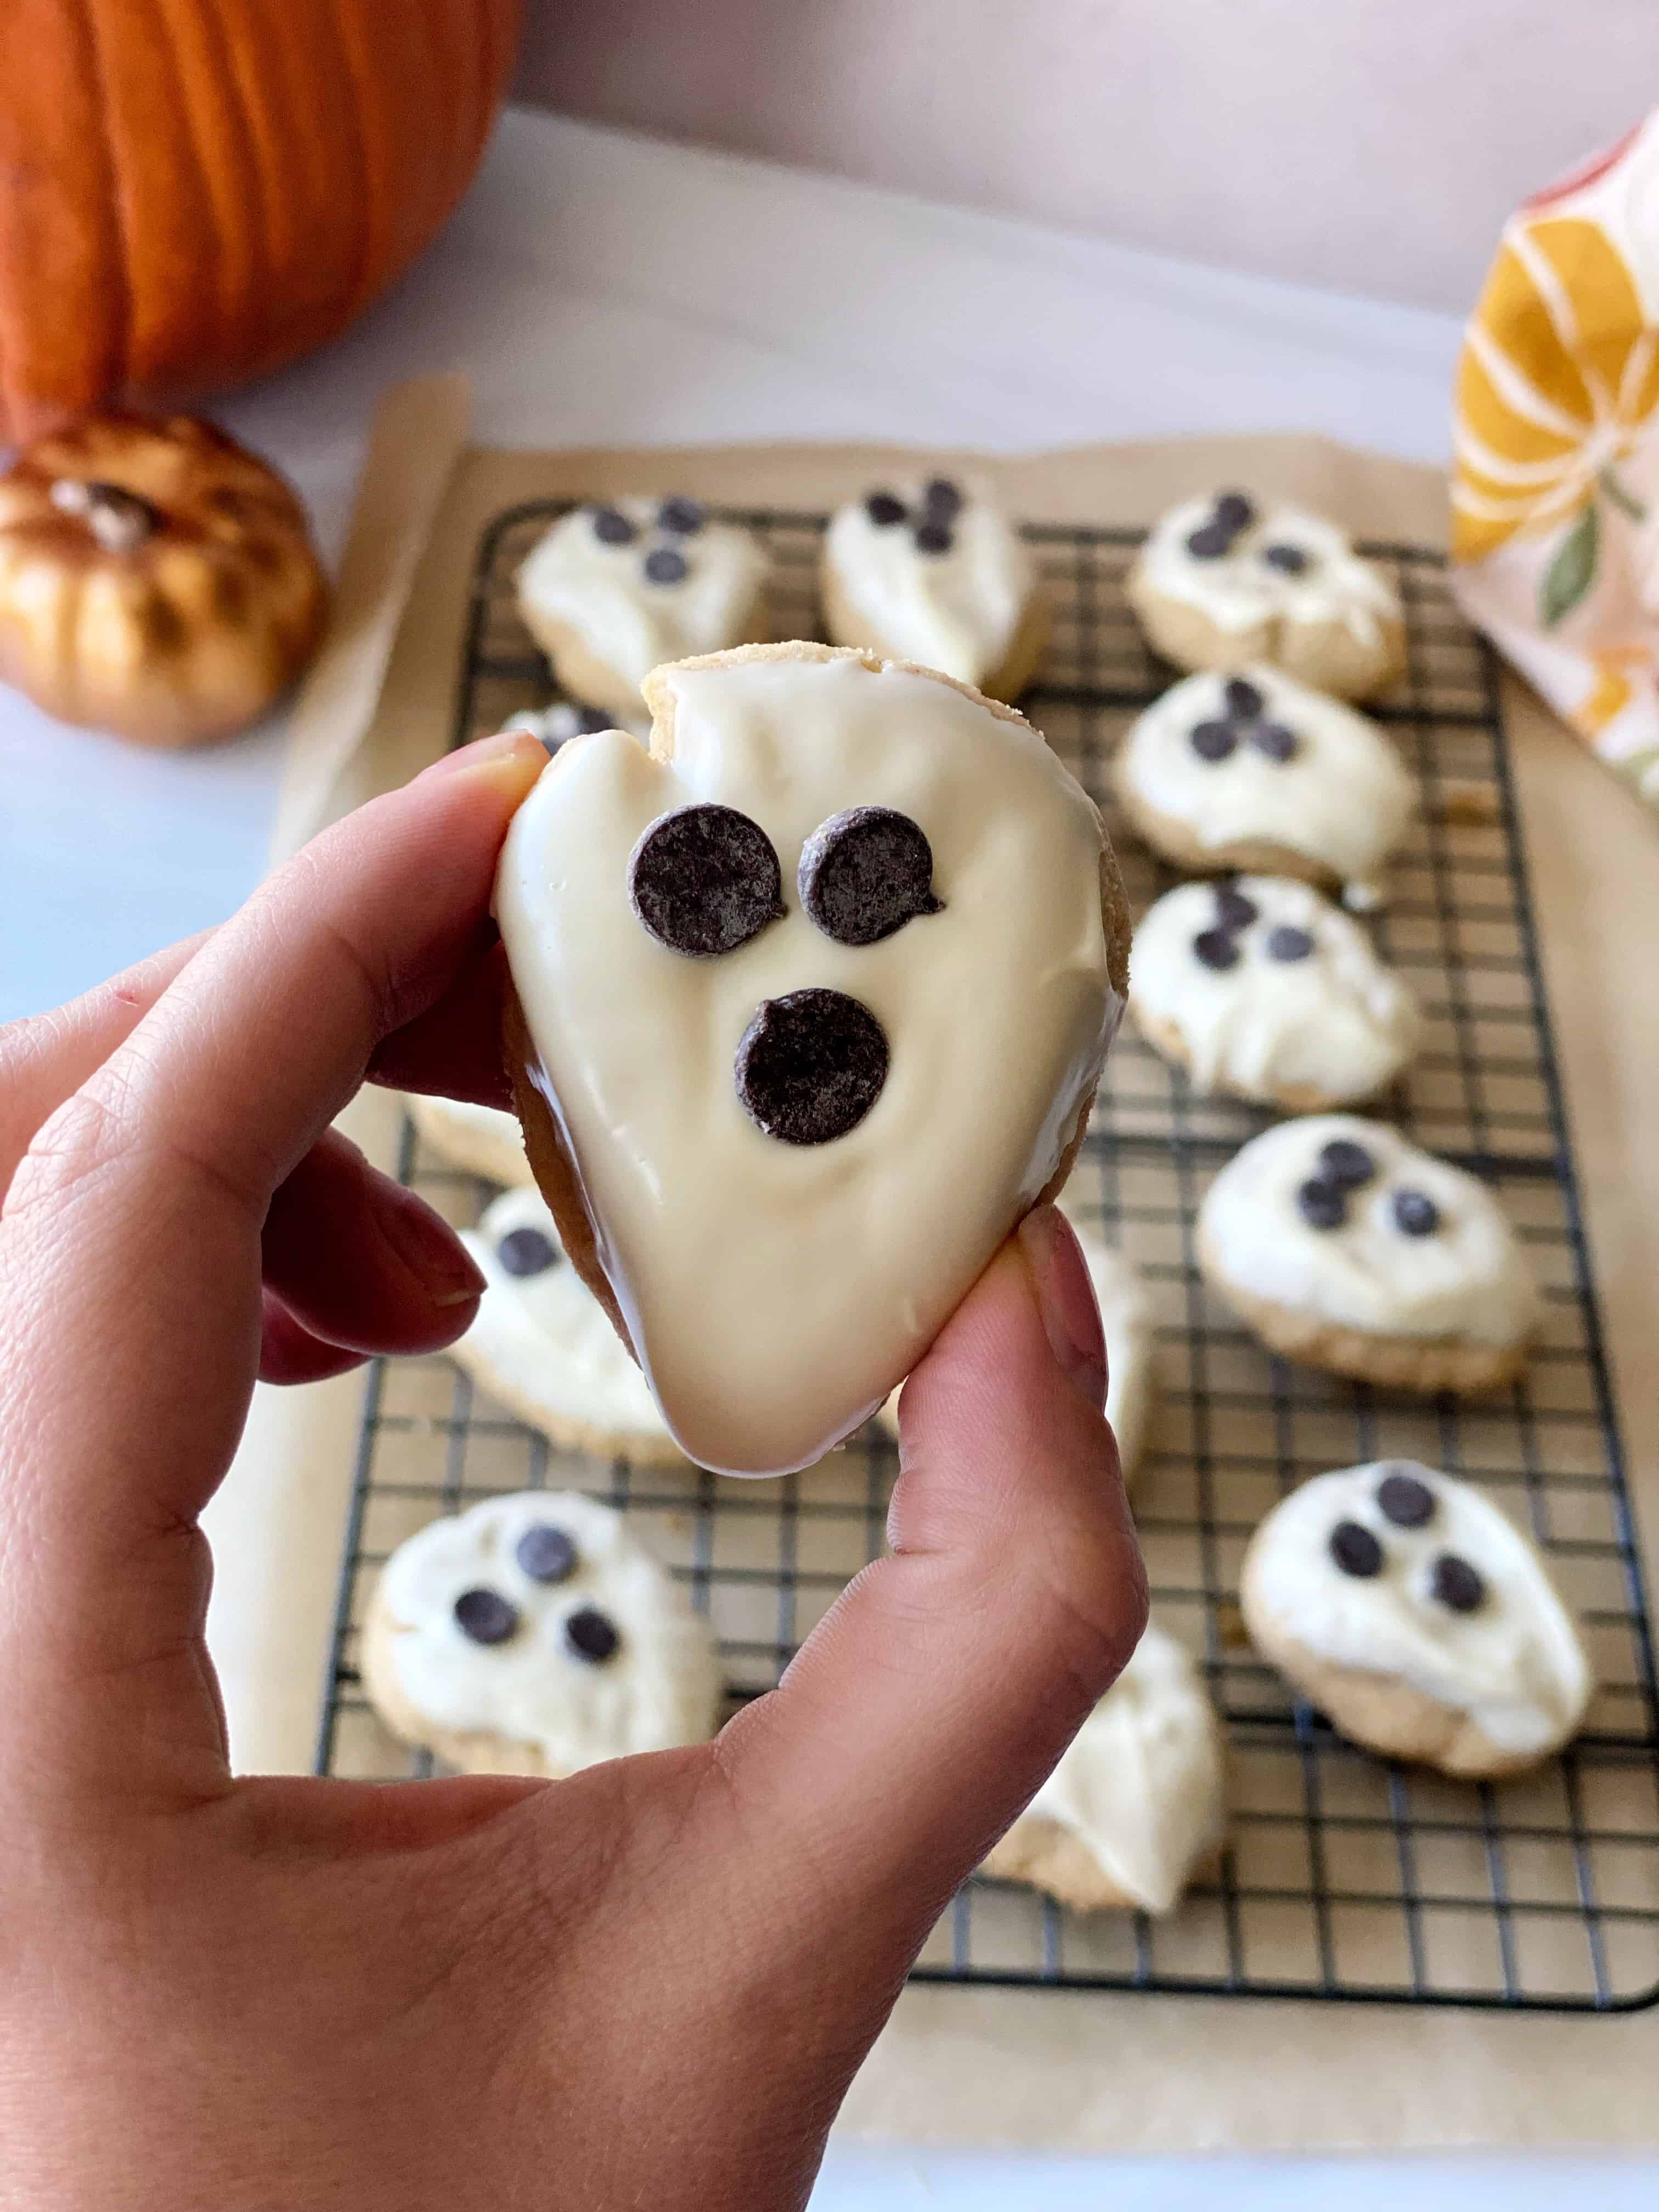
White chocolate peanut butter ghost cookies give me all the nostalgic Halloween vibes!
As a girl, this was one of my favorite treats in October. A Nutter Butter cookie, dipped in almond bark, and decorated with chocolate chips to look like ghosts. My mom would make them for Halloween parties at school or with friends. They were so clever, and used one of my favorite childhood cookies. Plus, anything made for a special occasion sparked my interest when I was young! I loved anything festive, and my family ensured every holiday was celebrated to the fullest, putting out decorations and making special treats just like this one.
This is my homemade version of those cookies. While it takes more time to bake your own cookies than grabbing a pre-made cookie out of a box, I think it’s worth it. A homemade cookie can warm the heart! Plus, these cookies are quick to whip up! Everything is thrown into a bowl, mixed together, and put into the oven in no time.
The Supplies
Ingredients
To make these white chocolate peanut butter ghost cookies, you’ll need the following ingredients:
- All purpose flour
- Granulated sugar
- Fine grain kosher salt
- Ground nutmeg
- Unsalted butter
- Smooth peanut butter
- Large egg yolks
- White chocolate chips
- Coconut oil
- Semi-sweet chocolate chips
For the exact ingredient amounts, check out the recipe card at the bottom of this page.
Equipment
In order to make this white chocolate peanut butter ghost cookies recipe, you’ll need the following pieces of equipment:
- Large baking sheet
- Mixing bowls
- Handheld mixer or stand mixer
- Measuring cups
- Measuring spoons
Frequent Recipe Questions
Can I make these white chocolate peanut butter ghost cookies in advance?
- A: These cookies are best enjoyed within 3 days of baking.
Does this recipe freeze well?
- A: Yes it does! Bake and decorate the cookies as directed, then let the chocolate harden at room temperature. Store the cookies in a freezer safe zip-top bag for up to 3 months in the freezer.
Can I use a natural peanut butter?
- A: For this recipe, a processed peanut is best! The consistency and oil content will create a more stable cookie dough.
What is your favorite brand of chocolate for this recipe?
- A: I love Ghirardelli chocolates for my cookies. The white chocolate chips and semi-chocolate chips are easily found at the grocery store and the quality is great for a reasonable price.
Recipe Details
Make the Peanut Butter Cookies
The best part about making peanut butter cookies is the ease of making the dough. There’s no mixing ingredients in separate bowls, melting butter, or rolling out dough. The most complex thing you’ll need to do for this one is separate the yolks from a couple eggs (if you’ve never done this before, check out YouTube! There are some great videos on how to do it).
In the bowl of a stand mixer, or in a large bowl with a hand mixer, add the dry ingredients, giving them a quick mix so everything is evenly distributed. Once mixed, throw in the rest of the ingredients, besides the chocolates, and mix until a dough is formed. Using your hands, take about a tablespoon of dough (around the size of a ping pong ball) and roll it between your hands, placing them on your cookie sheet one by one. Take a table fork and use the prongs to create a crosshatch design on the top of each cookie, smashing them flat.
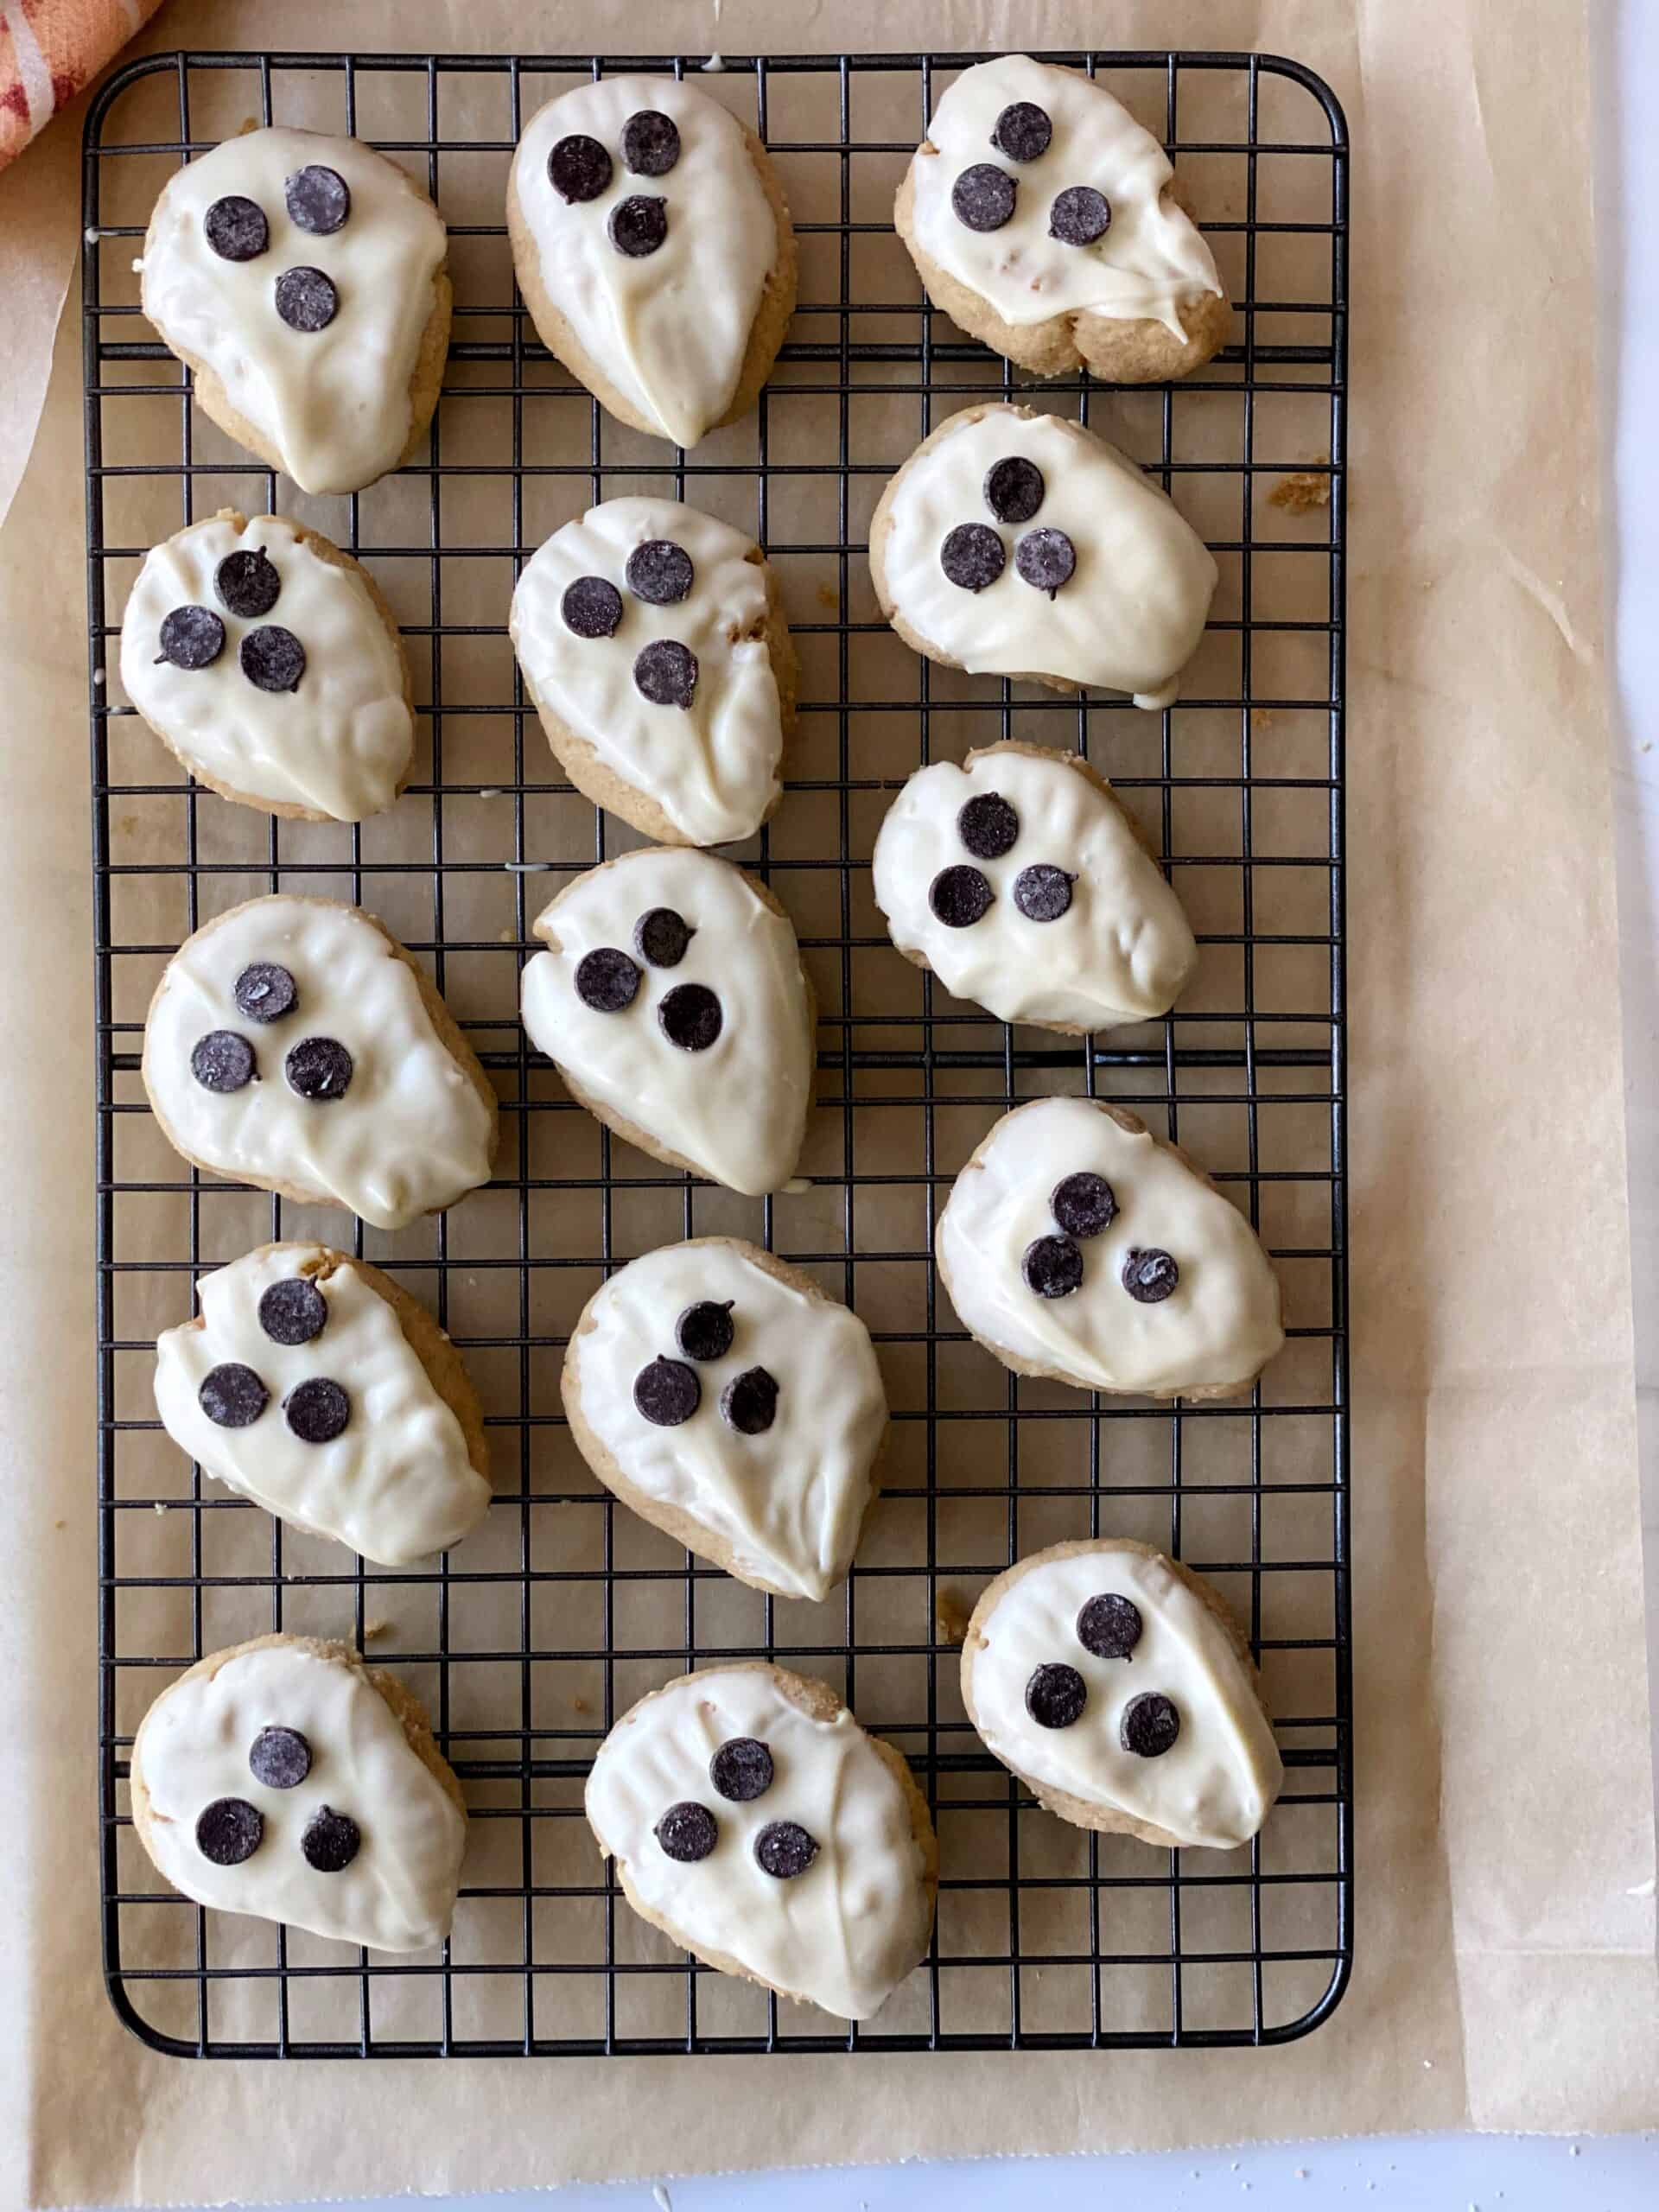
Here’s where the ghostly part comes in – I shaped my cookies into a teardrop shape by pinching one side of the cookie while rounding the opposite side. It’s a subtle change, but I think it looks really cute. Plus gives each cookie it’s own unique shape and ghost personality!
Decorate the Peanut Butter Ghost Cookies
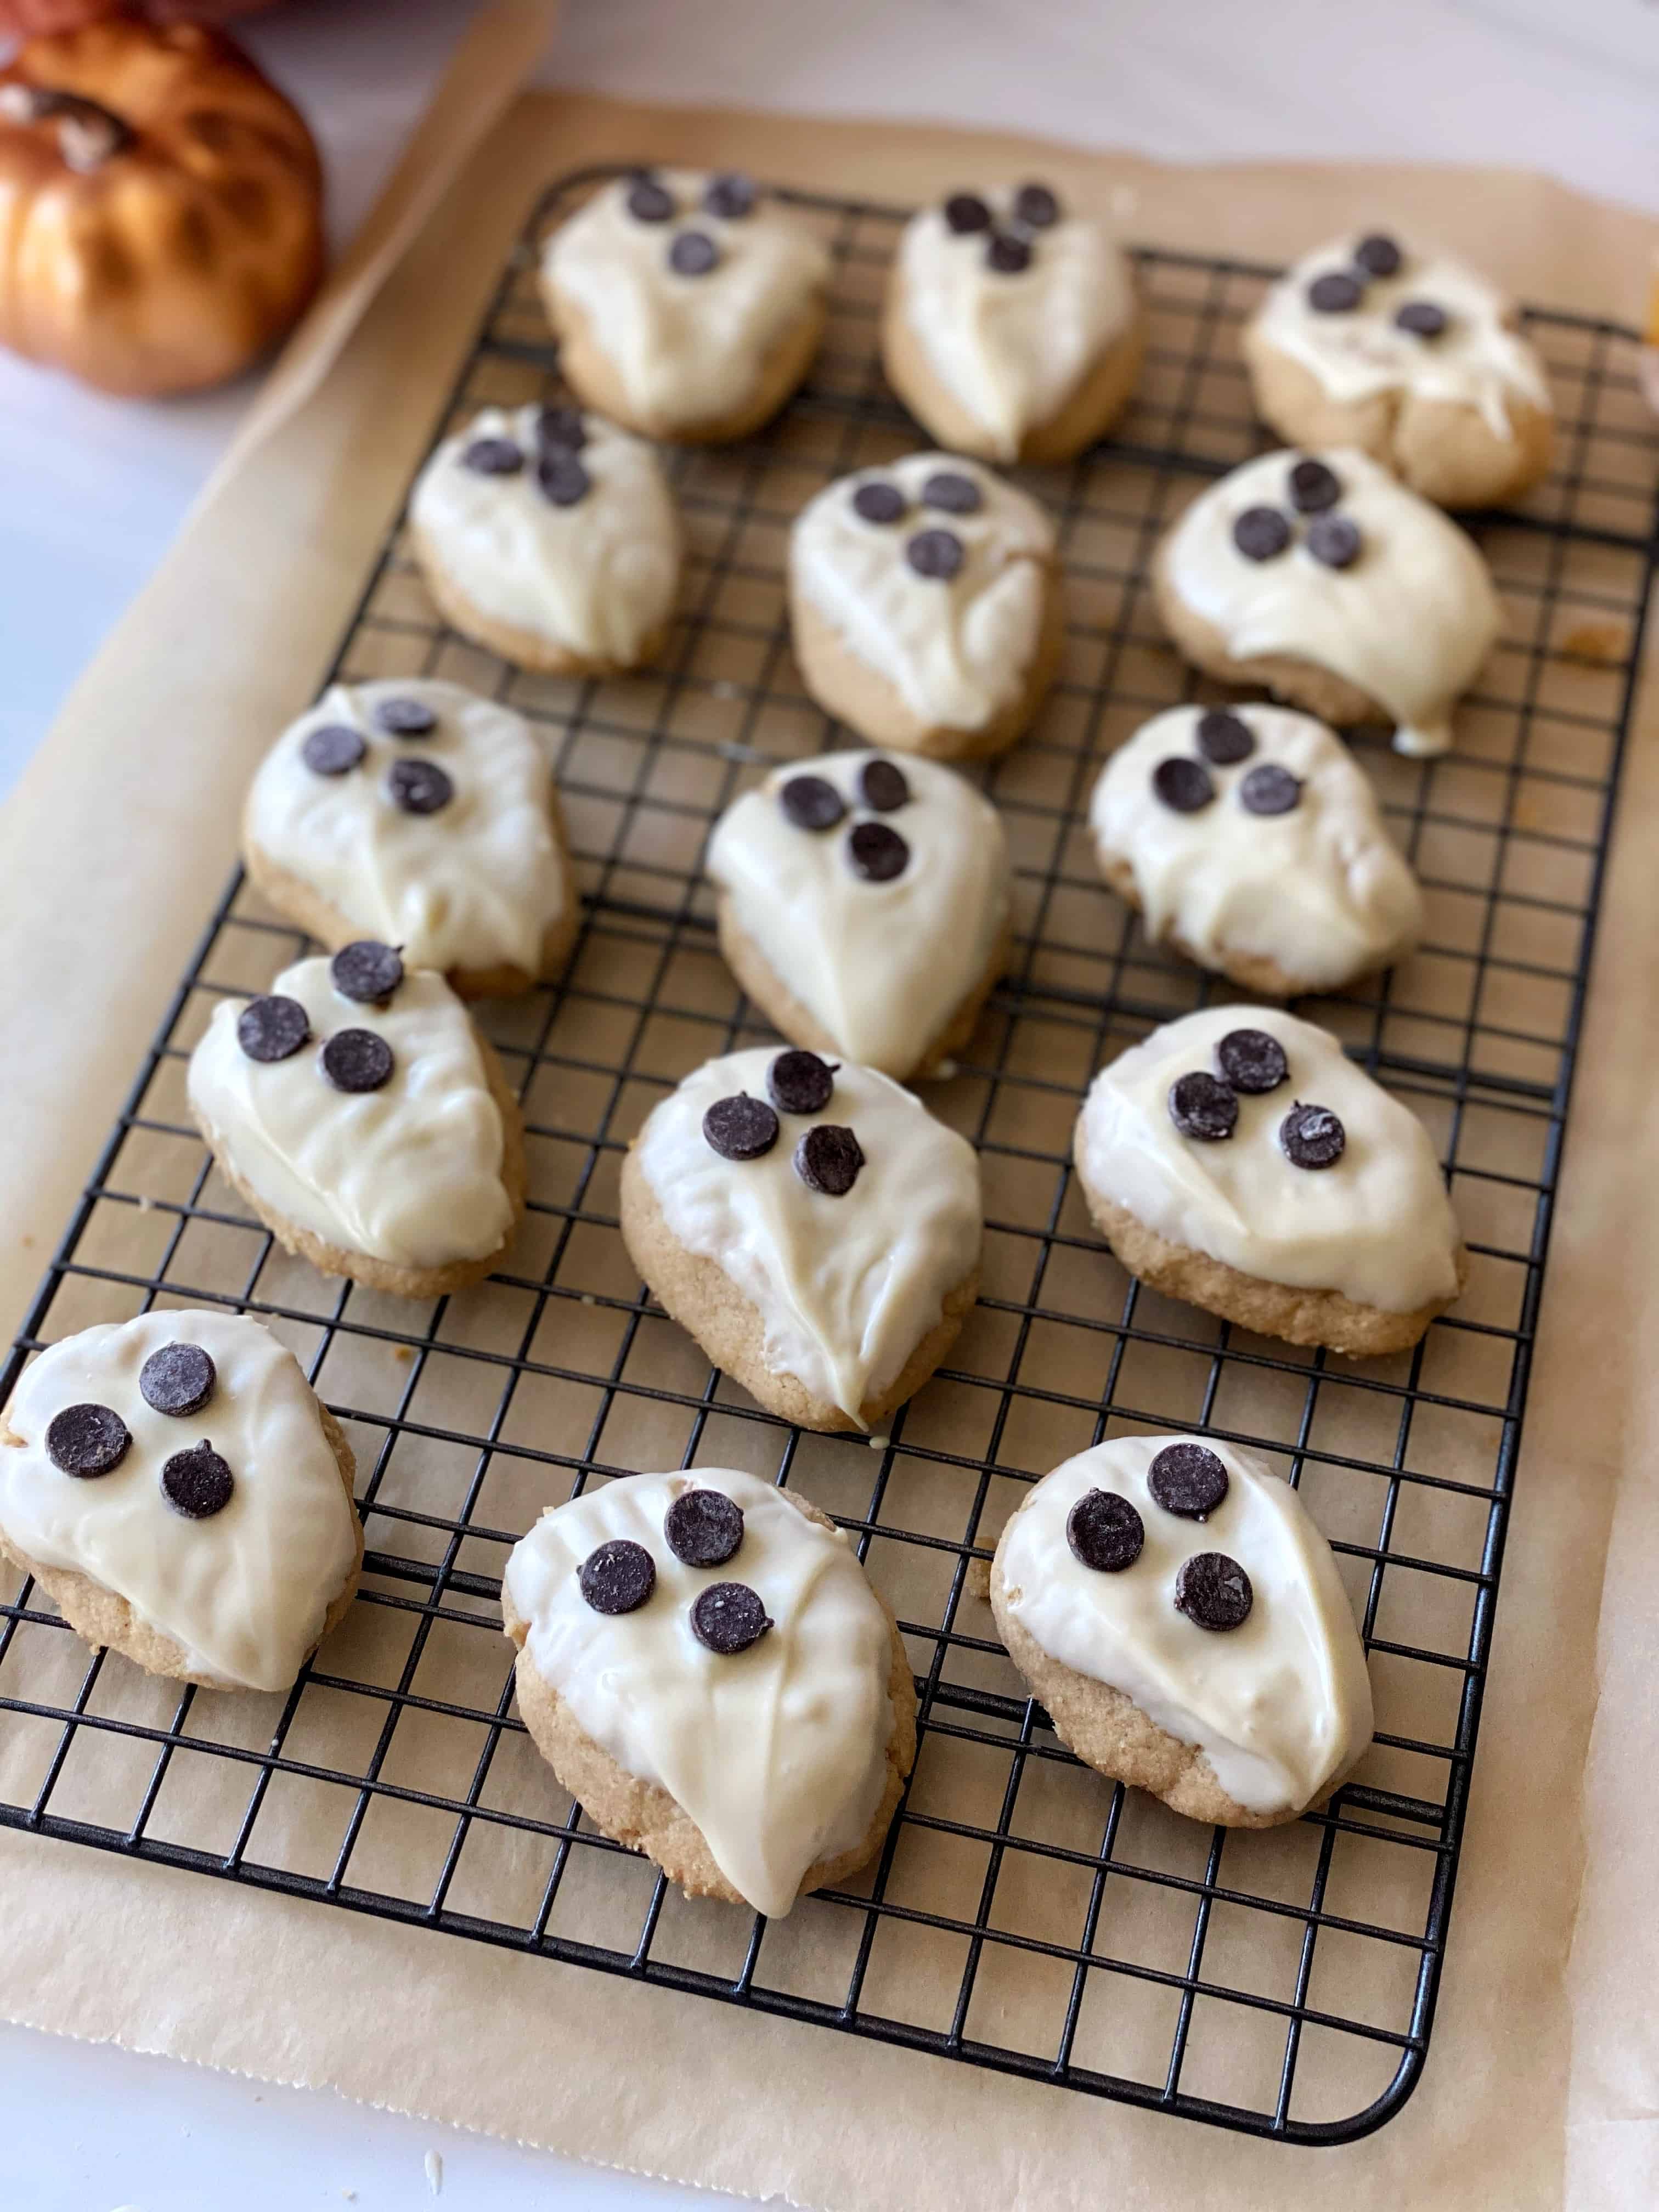
Once baked, dip the tops of the cookies in the melted white chocolate and coconut oil and decorate with the semi-sweet chocolate chips to complete the ghost face. These cookies could easily be made into other designs if you’re not into the ghost design! Leave the cookies circular and decorate with melted chocolate into a spider web design or only dip half the cookie for a classy non-Halloween option. However you decorate, have a happy Halloween!
These cookies would make a great addition to a Halloween treats spread with some Cookies and Cream Rice Krispie Treats, Pumpkin Spice Chocolate Cookie Truffles, and Spooky Spiced Rice Krispie Treats.
If you make these white chocolate peanut butter ghost cookies, be sure to leave a comment or give this recipe a rating – I can’t wait to hear how it goes. As always, tag me on Instagram, TikTok, or Facebook in your photos. It makes me feel like we’re getting to cook together!
This post may contain affiliate links, please see the privacy policy for details.
White Chocolate Peanut Butter Ghost Cookies
Description
White chocolate peanut butter ghost cookies made with a classic peanut butter cookie base and decorated with chocolate for an easy treat.
Ingredients
Instructions
-
Preheat the oven to 350 F and line a cookie sheet with parchment paper.
-
In a large bowl with an electric handheld mixer, or in the bowl of a stand mixer with the paddle attachment, add the flour, sugar, salt, and nutmeg. Mix on low until the ingredients are evenly distributed, about 30 seconds.
-
Add the butter, peanut butter, and egg yolks. Mix on low speed until a dough begins to form. You may need to stop the mixer and use your hands to bring it together near the end.
-
Roll 1 tablespoon of dough into a ball and arrange on the prepared cookie sheet about 2 inches apart. This recipe will make about 18 cookies.
-
Using the end of a fork, press into the top of each ball of dough, pressing them flatter and adding a cross-hatch design. Once flattened slightly, press one side of the cookie into a point, giving the cookie a ghost-like shape.
-
Bake the tray of cookies for 12-14 minutes and let cool on the tray for 3 minutes. They will be very soft when you take them out of the oven, but will firm up as the rest.
-
After cooling on the tray, transfer to a cooling rack and let cool at least 20 minutes until they are closer to room temperature.
-
While the cookies cool, melt the white chocolate chips in a bowl in 30 second intervals, stirring well in between each interval. Once the white chocolate has melted, add the coconut oil and stir until melted and completely incorporated.
-
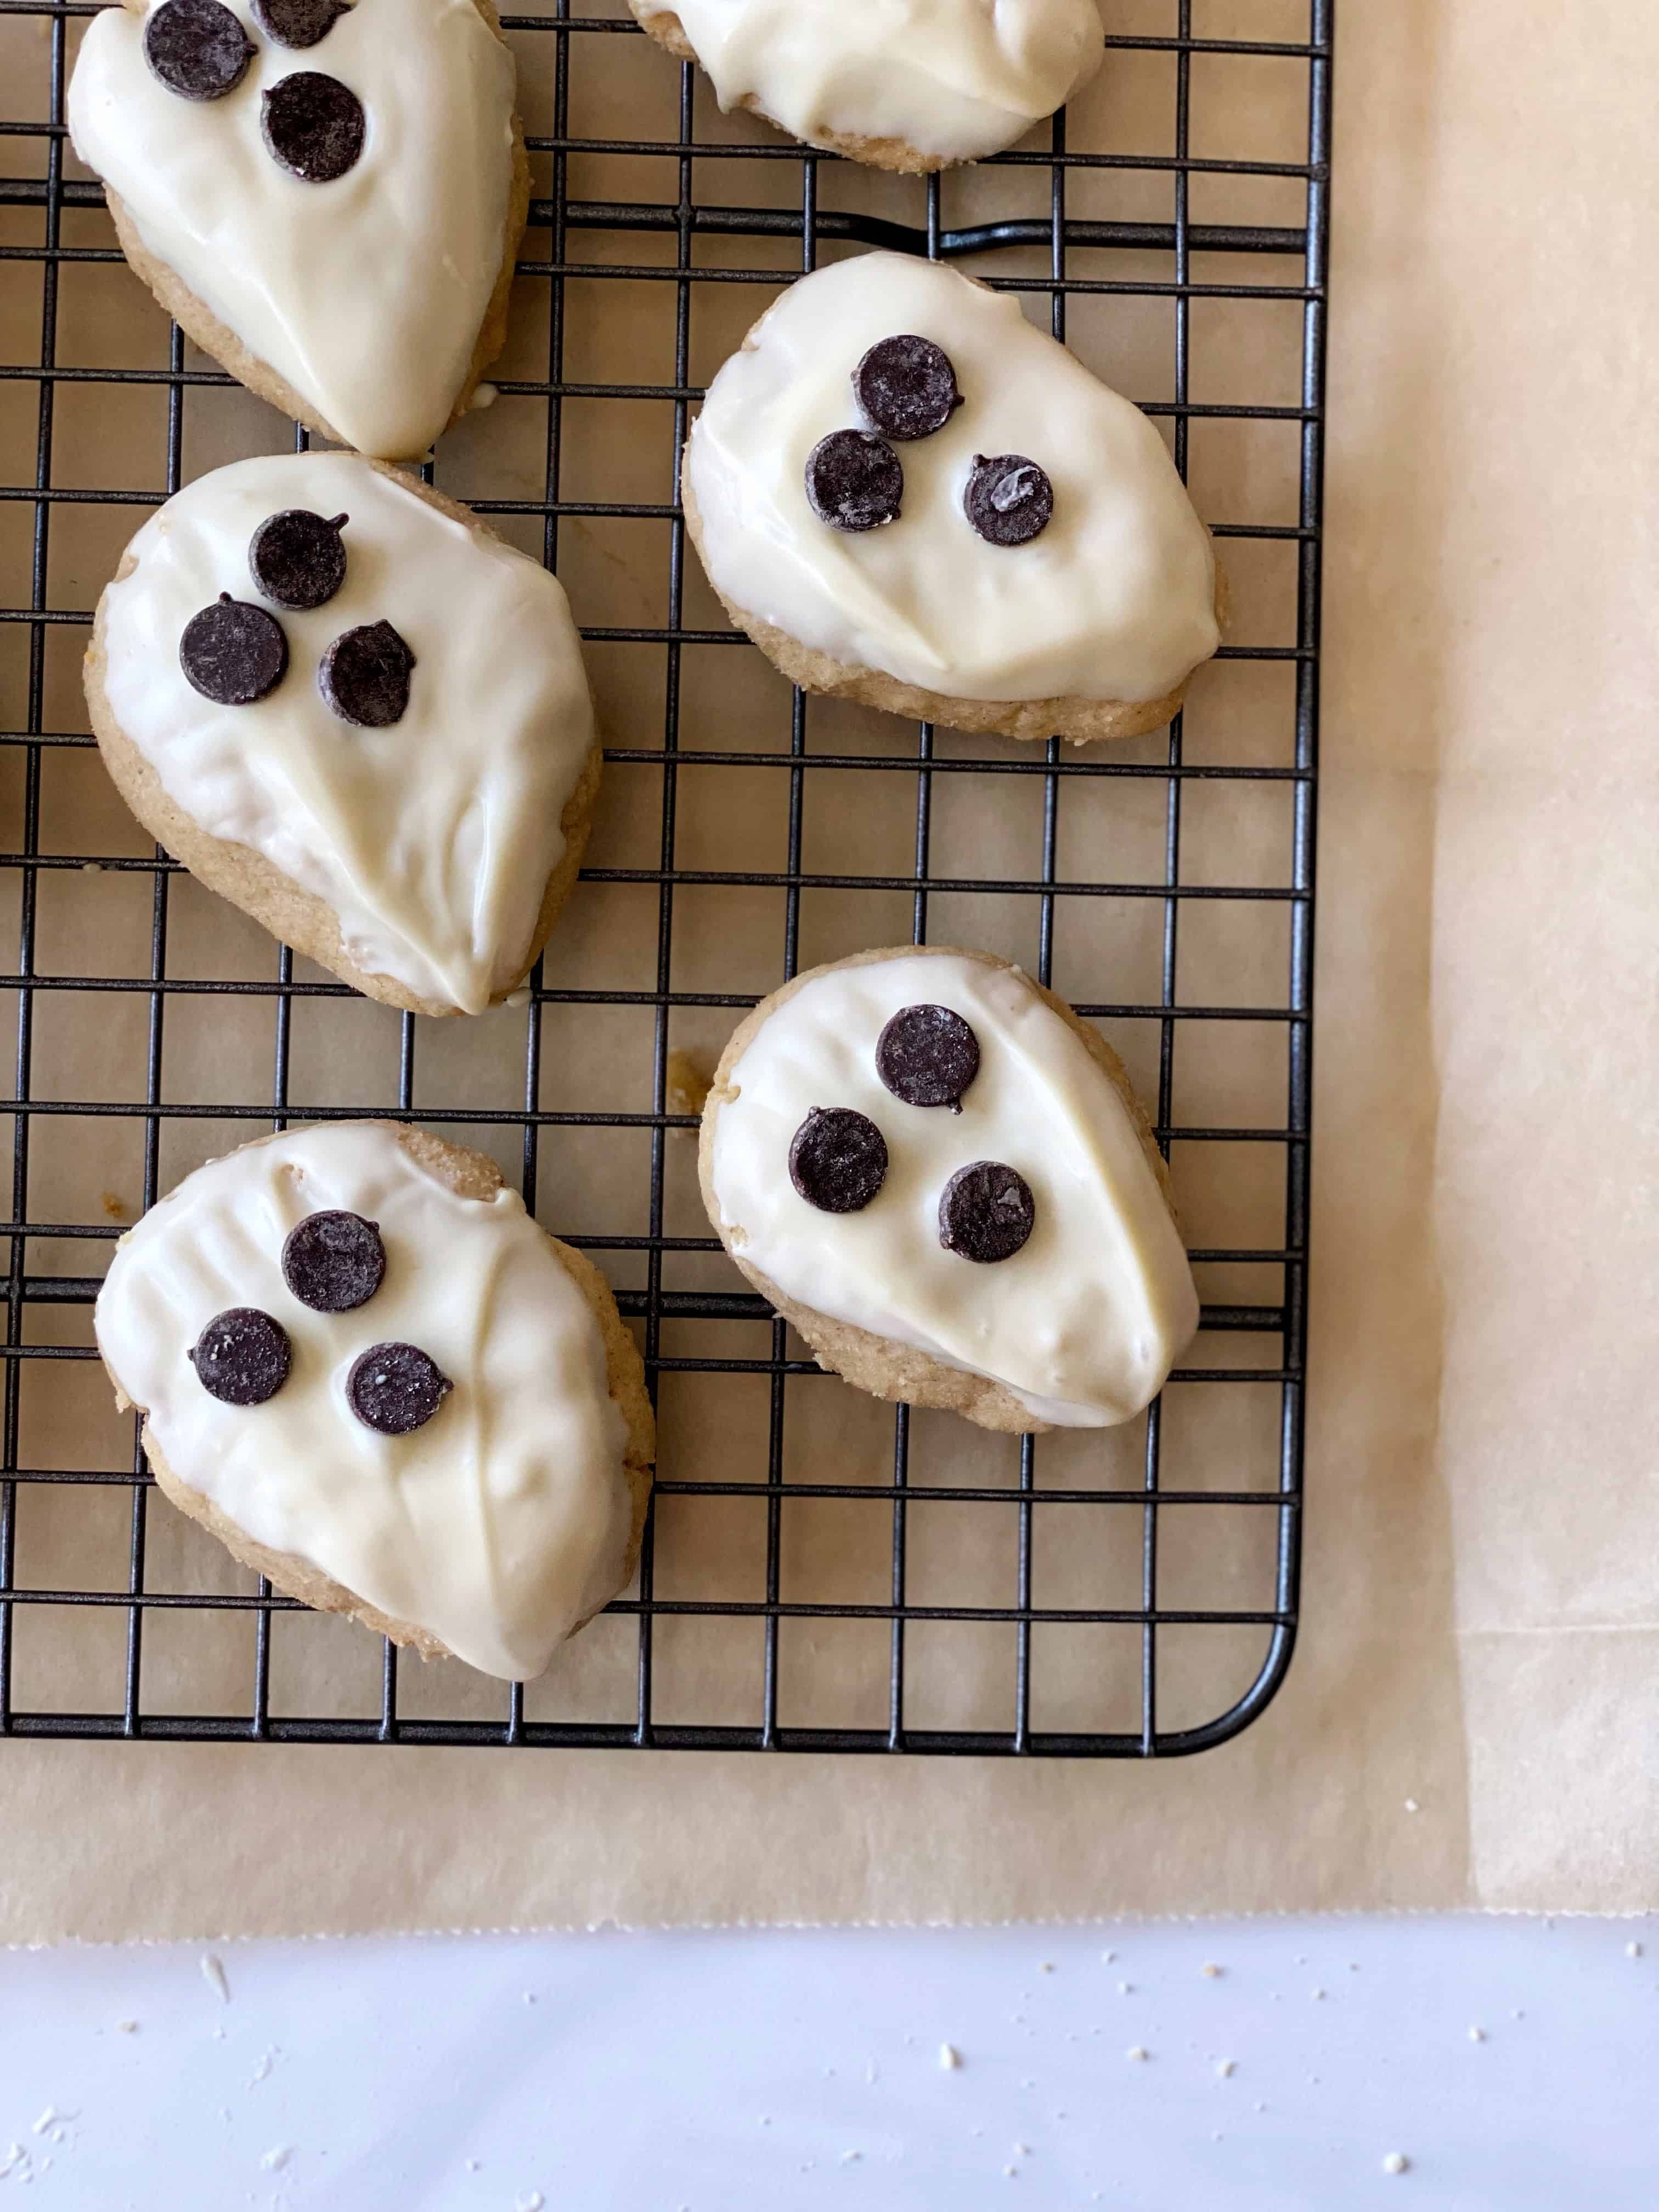
Dip the top side of the cooled cookie into the white chocolate mixture, letting any excess chocolate drip from the pointed end of the cookie. Place the cooke bake on the cooling rack to let the chocolate set. While the white chocolate is still soft, place three semi-sweet chocolate chips on the rounded side of the cookie, in the shape of two eyes and a mouth.
-
Let the chocolate firm up completely, about 30-60 minutes at room temperature or 15 in the fridge and enjoy!
-
These cookies will stay fresh in an air-tight container in the fridge for 7-10 days.