
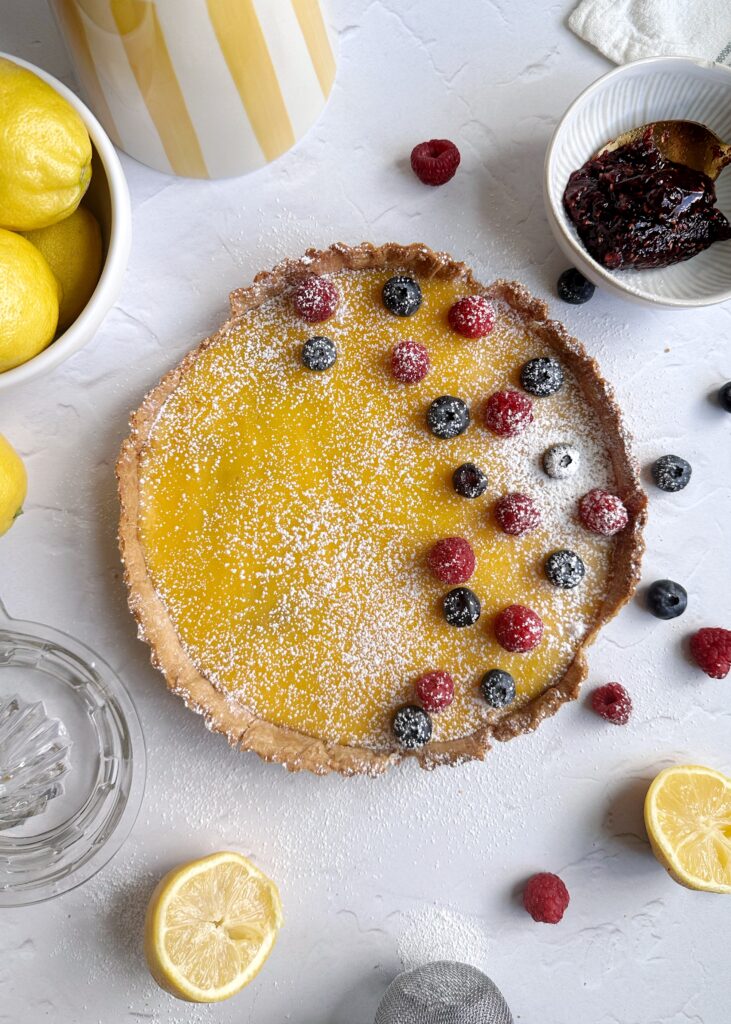
A Berry Good Lemon Tart
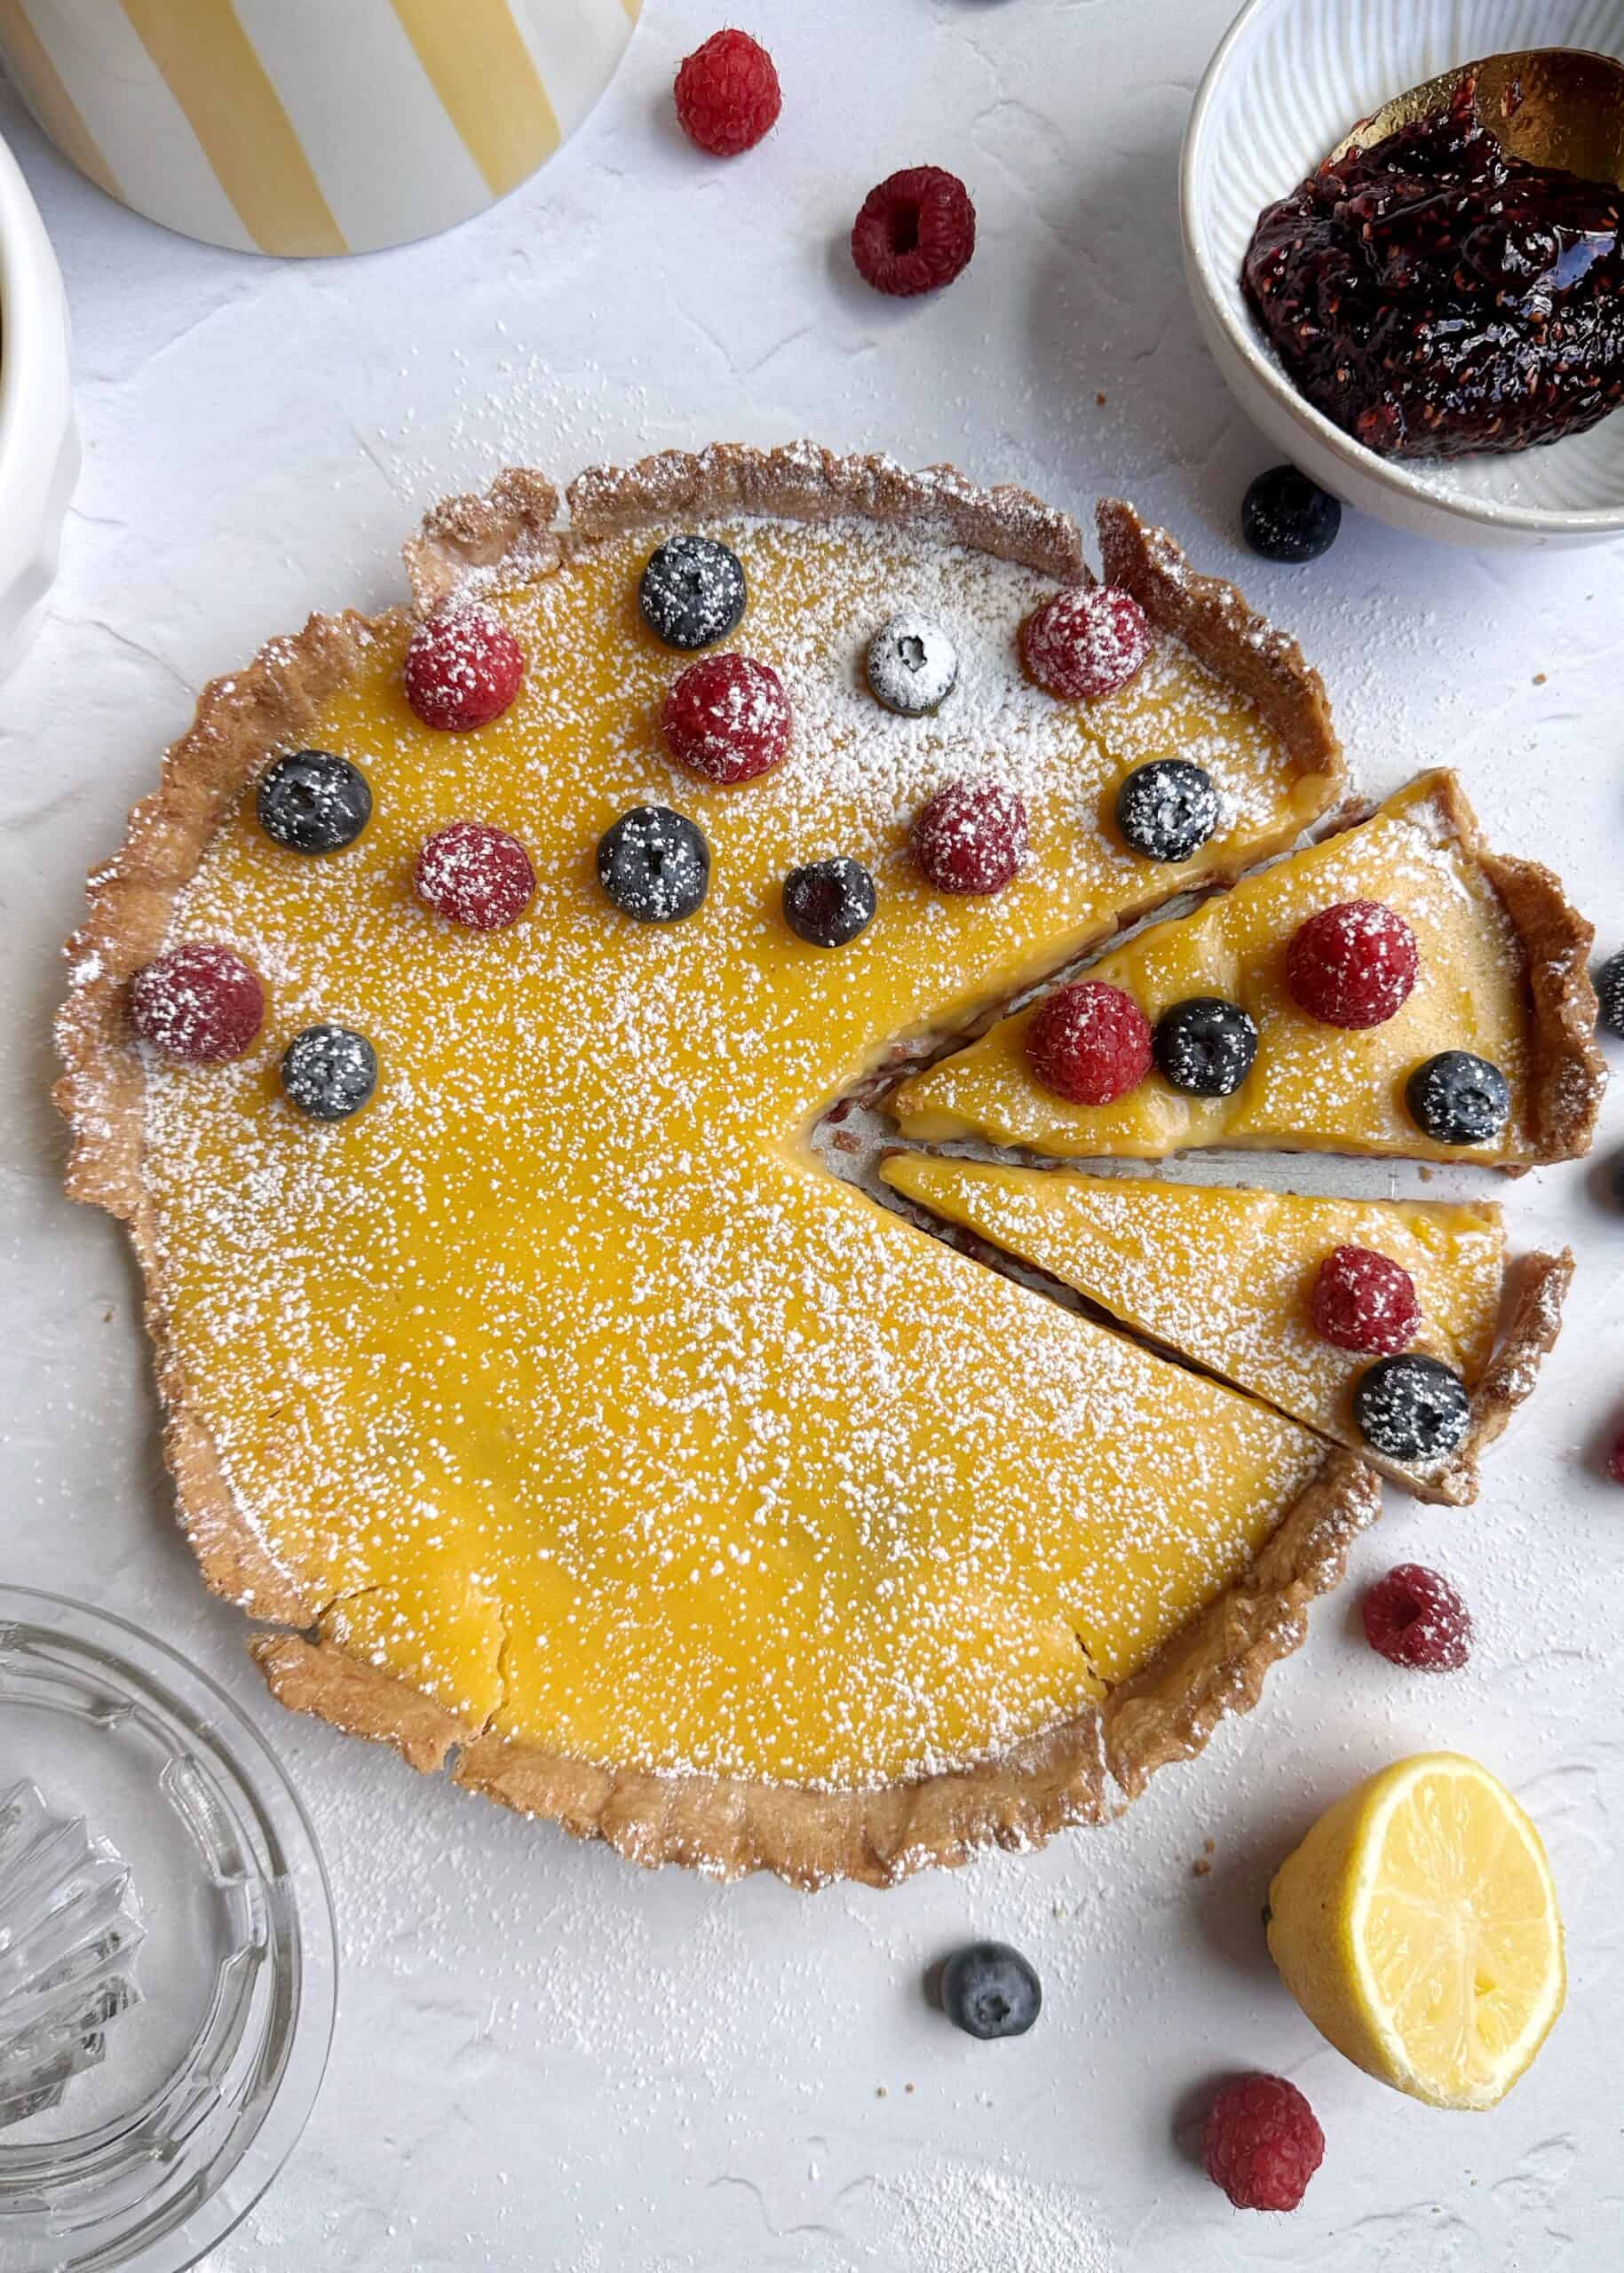
I love a lemon dessert and this lemon raspberry tart is a perfectly citrus bite. It mixes tart raspberry jam with a tangy lemon curd, all baked into a homemade tart crust. This tart recipe is topped with a bunch of mixed berries for a simple, but beautiful, decoration that’s sure to impress! It’s a wonderful celebration of fruit and citrus in a singular bite.
What You’ll Need
Ingredients
To make this lemon raspberry tart, you’ll need the following ingredients:
- Pie crust
- Lemon zest
- Lemon juice
- Granulated sugar
- 4 eggs
- Salt
- Unsalted butter
- Raspberry jam
- Fresh mixed berries and powdered sugar for decorating
For the exact ingredient amounts, check out the recipe card at the bottom of this page.
Equipment
In order to make this berry lemon tart, you’ll need the following pieces of equipment:
- A large rolling pin
- 10-inch, loose bottom tart tin
- Microplane
- Measuring spoons
- Measuring cups
- Medium saucepan
- Whisk
- Sieve
- Silicone spatula
- Cooling rack
Lemon Raspberry Tart Tips
When you make this lemon and berry tart, here are a few tips to make sure it’s successful:
- If you’re pressed for time, you can instead use a pre-made pie crust from the grocery store. Skip the instructions at the start of making the tart dough and pick up where you roll it thin.
- It’s much easier to strain the lemon curd into the pie crust with a partner. When you get to this step grab your partner, roommate, friend, or parent and make this recipe a team effort. If you don’t have any extra set of hands, prop the sieve onto a bowl and strain it into the bowl first. Then transfer from the bowl to the tart.
- Wait to add the fresh fruit and powdered sugar to the tart until right before serving. Otherwise, the juice from the berries can bleed into the lemon curd and the powdered sugar will dissolve into the tart.
The Recipe Details
Roll and Bake the Tart Dough
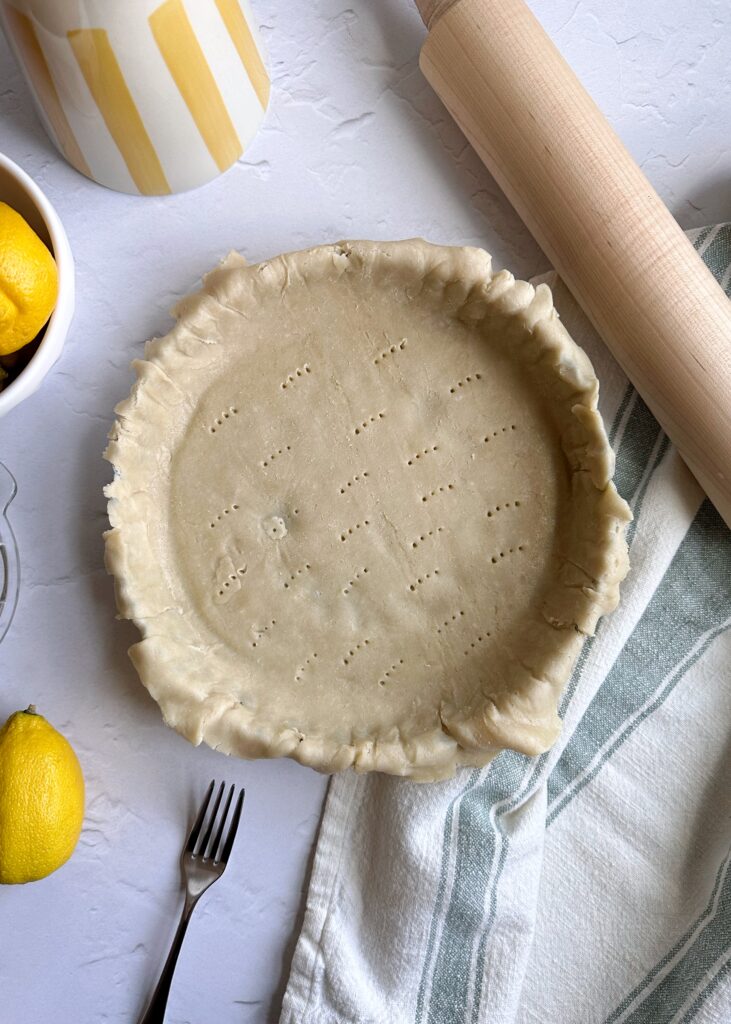
Let’s get this recipe started! Roll out the prepared pie dough into 1/8 inch thick and carefully transfer it to the tart tin. Press the edges of the crust into crimps of the tart tin. Cut off any excess dough so that it’s flush with the edges of the tin. Refridgerate the dough for 30 minutes, allowing the fat in the dough to set up.
After removing the tart dough from the refrigerator, use a fork to poke a few holes into the base of the dough. Pre-bake the tart dough at 400°F, lined with pie weights or dry beans for the first 15 minutes. Remove the weights and bake another 10 minutes, just until the tart dough is baked through.
Make the Lemon Curd
In a medium saucepan, add the lemon zest, lemon juice, eggs, egg yolk, sugar, and salt. Whisk the ingredients together and place over low to medium-low heat. Add the cubed butter to the pan and continue to whisk until the butter is melted and the curd has thickened. This will take about 10-15 minutes depending on the heat of your stove. The curd is finished when it’s the consistency of honey and a spoon dragged along the bottom of the pan leaves a trail. Remove from the heat and begin assembling the tart.

Assemble the Lemon Raspberry Tart and Bake
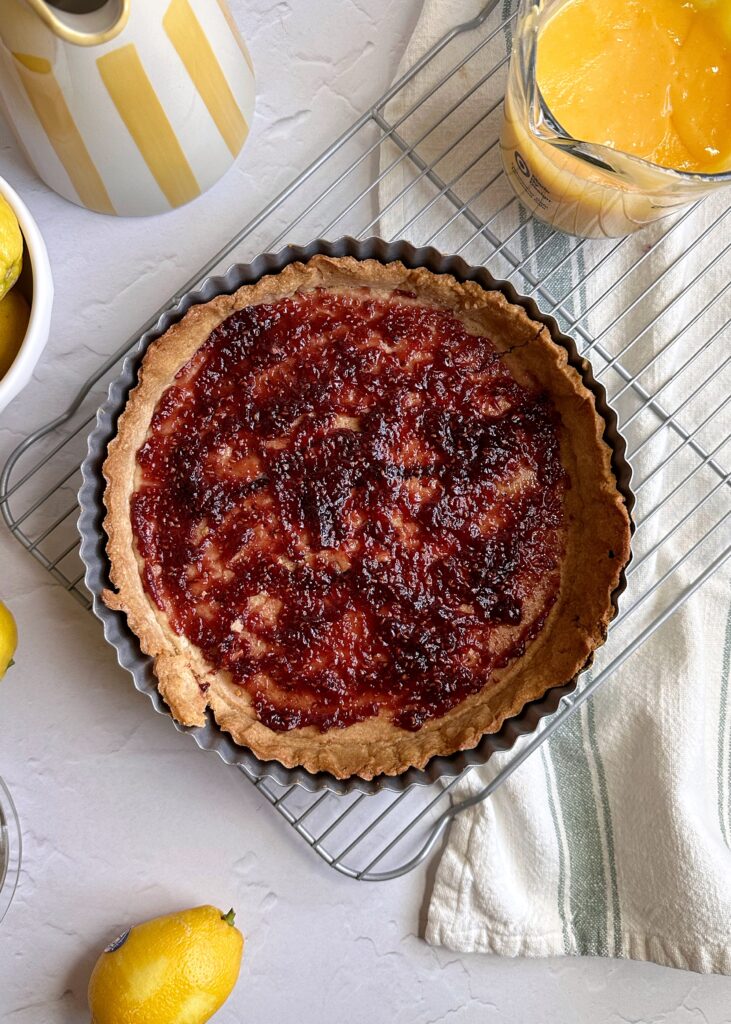
Once all of your ingredients are prepared, you can assemble the tart and do the final bake! Pour the raspberry jam into the base of the tart, using the back of a spoon to bring it to the edges. Carefully add the strained lemon curd over top of the raspberry jam, using a silicone spatula to spread it into an even layer. Use a butter knife or the spatula to create swirls of the raspberry jam, if desired.
Bake the lemon raspberry tart in the oven until the curd is just set, which takes up to 10 minutes. Remember, the curd will continue to set once out of the oven, so a little jiggle is a-ok. Let the tart cool completely on a wire rack before removing it from the tin. If you’re not serving this tart immediately, place it in the refrigerator to let the curd firm up more.
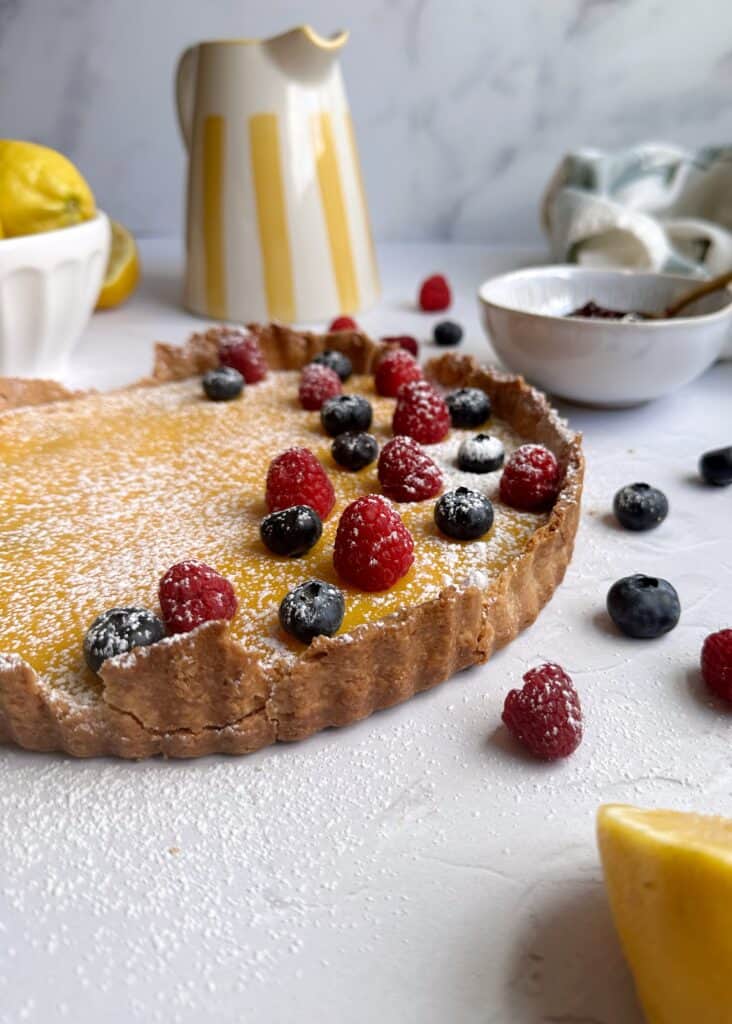
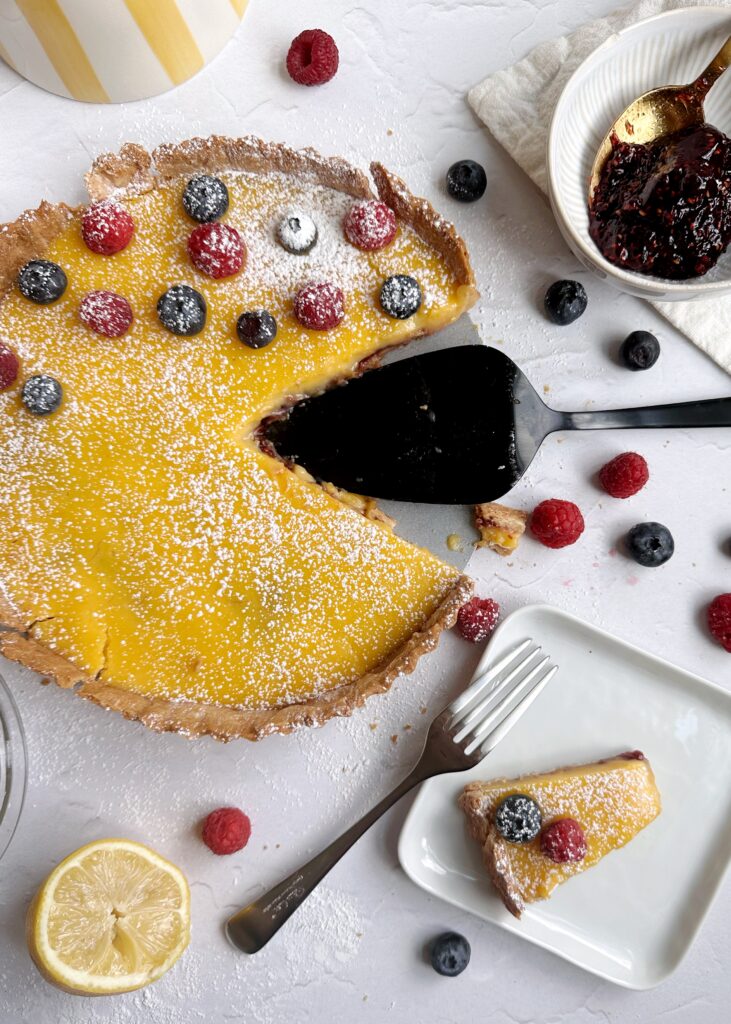
Arrange mixed berries along the top of the tart and add a sprinkling of powdered sugar right before serving. Slice the tart into 8-10 servings and enjoy! If there’s any leftover, store in the refrigerator for up to 3 days.
If you love the sound of this recipe, be sure to also check out my Orange Vanilla Creme Brûlée with Raspberry Coulis. It has a similar flavor profile with tangy citrus, tart raspberry, and rich custard.
I hope you love lemon berry tart as much as I do! If you make this tart, be sure to leave a comment or give this recipe a rating – I can’t wait to hear how it goes. As always, tag me on Instagram or Facebook in your photos. It makes me feel like we’re getting to cook together.
This post may contain affiliate links, please see the privacy policy for details.
Lemon and Berry Tart
Description
A lemon raspberry tart finished with mixed berries and powdered sugar. Tart raspberry jam with tangy lemon curd are baked into a fresh tart crust. The perfect citrus and berry bite.
Ingredients
Lemon Raspberry Tart
Instructions
Make and Pre-bake the Crust
-
Roll out the prepared pie dough into 1/8 inch thick and carefully transfer it to a 10-inch tart tin. Press the edges of the crust into crimps of the tart tin.
-
Place the tin in the freezer for 30 minutes, allowing the fat in the dough to set up.
-
While the dough is in the freezer, preheat the oven to 400°F. Remove the crust from the freezer and poke holes into the bottom of the crust using the tines of a fork. Cut off any excess dough so that it's flush with the edges of the tin. Cover the crust with parchment paper or aluminum foil and weigh down with pie weights or dry beans.
-
Bake the tart dough for 15 minutes. Remove the parchment and pie weights and then bake for an additional 10 minutes.
Make Lemon Curd
-
While the tart dough is resting, make the lemon curd. In a medium saucepan add the lemon zest, lemon juice, sugar, eggs, egg yolk, and salt. Whisk together until mixed and place over a small burner over low to medium-low heat.
-
Add the butter to the saucepan, continuing to whisk until the butter is melted. Continue to whisk for 10-15 minutes until the consistency of the curd has thickened to the consistency of honey. Immediately remove from the heat.
-
Pour the lemon curd into a heat-proof container through a sieve, using a silicone spatula to press the curd through. Discard any pieces of scrambled egg that are left in the sieve. Set aside until ready to assemble.
Assemble the Pie, Bake, and Decorate
-
Place the tart tin with the crust on a baking sheet. Pour the raspberry jam into the base of the crust and use a spoon to bring it to the edges. Use a rubber spatula to spread the top into an even layer, dipping into the raspberry jam to create swirls if desired.
-
Bake the tart for 8-10 minutes, until the lemon tart is set, but with a slight jiggle. The curd will continue to set as it cools.
-
Remove the lemon berry tart from the oven and let cool on a cooling rack for 10 minutes. Transfer to the refrigerator to let cool completely.
-
Carefully remove the tart from the tin once completely cooled. Arrange the mixed berries along the top of the tart and dust with a sprinkling of powdered sugar.
-
To make homemade raspberry jam: Add the raspberries and sugar to a small saucepan over medium heat. Stir frequently with a silicone spatula until the sugar has dissolved and the raspberries have broken down completely, about 10 minutes. It should be a thick, jelly-like consistency and not watery. Let cool to room temperature before placing in the tart shell.