
Easier Than Pie
Cherries are one of my absolute favorite fruits and this Rainier Cherry Galette is a delicious celebration of this seasonal fruit. Rainier cherries are tart and sweet, making them the best snack, dessert, breakfast, lunch, dinner fruit. In my excitement for this cherry season, I bought a very large container of Rainier cherries without having much of a plan for them (besides eating them straight from the box). I poked around in my cupboards for some inspiration on what I could do with the bulk of little yellow and pink bulbs I’d just bought and stumbled upon an old frozen pie crust in my freezer. Rainier Cherry Galette – of course! I only had the one crust, and love a reason to have fewer dishes so a galette became the most logical choice.
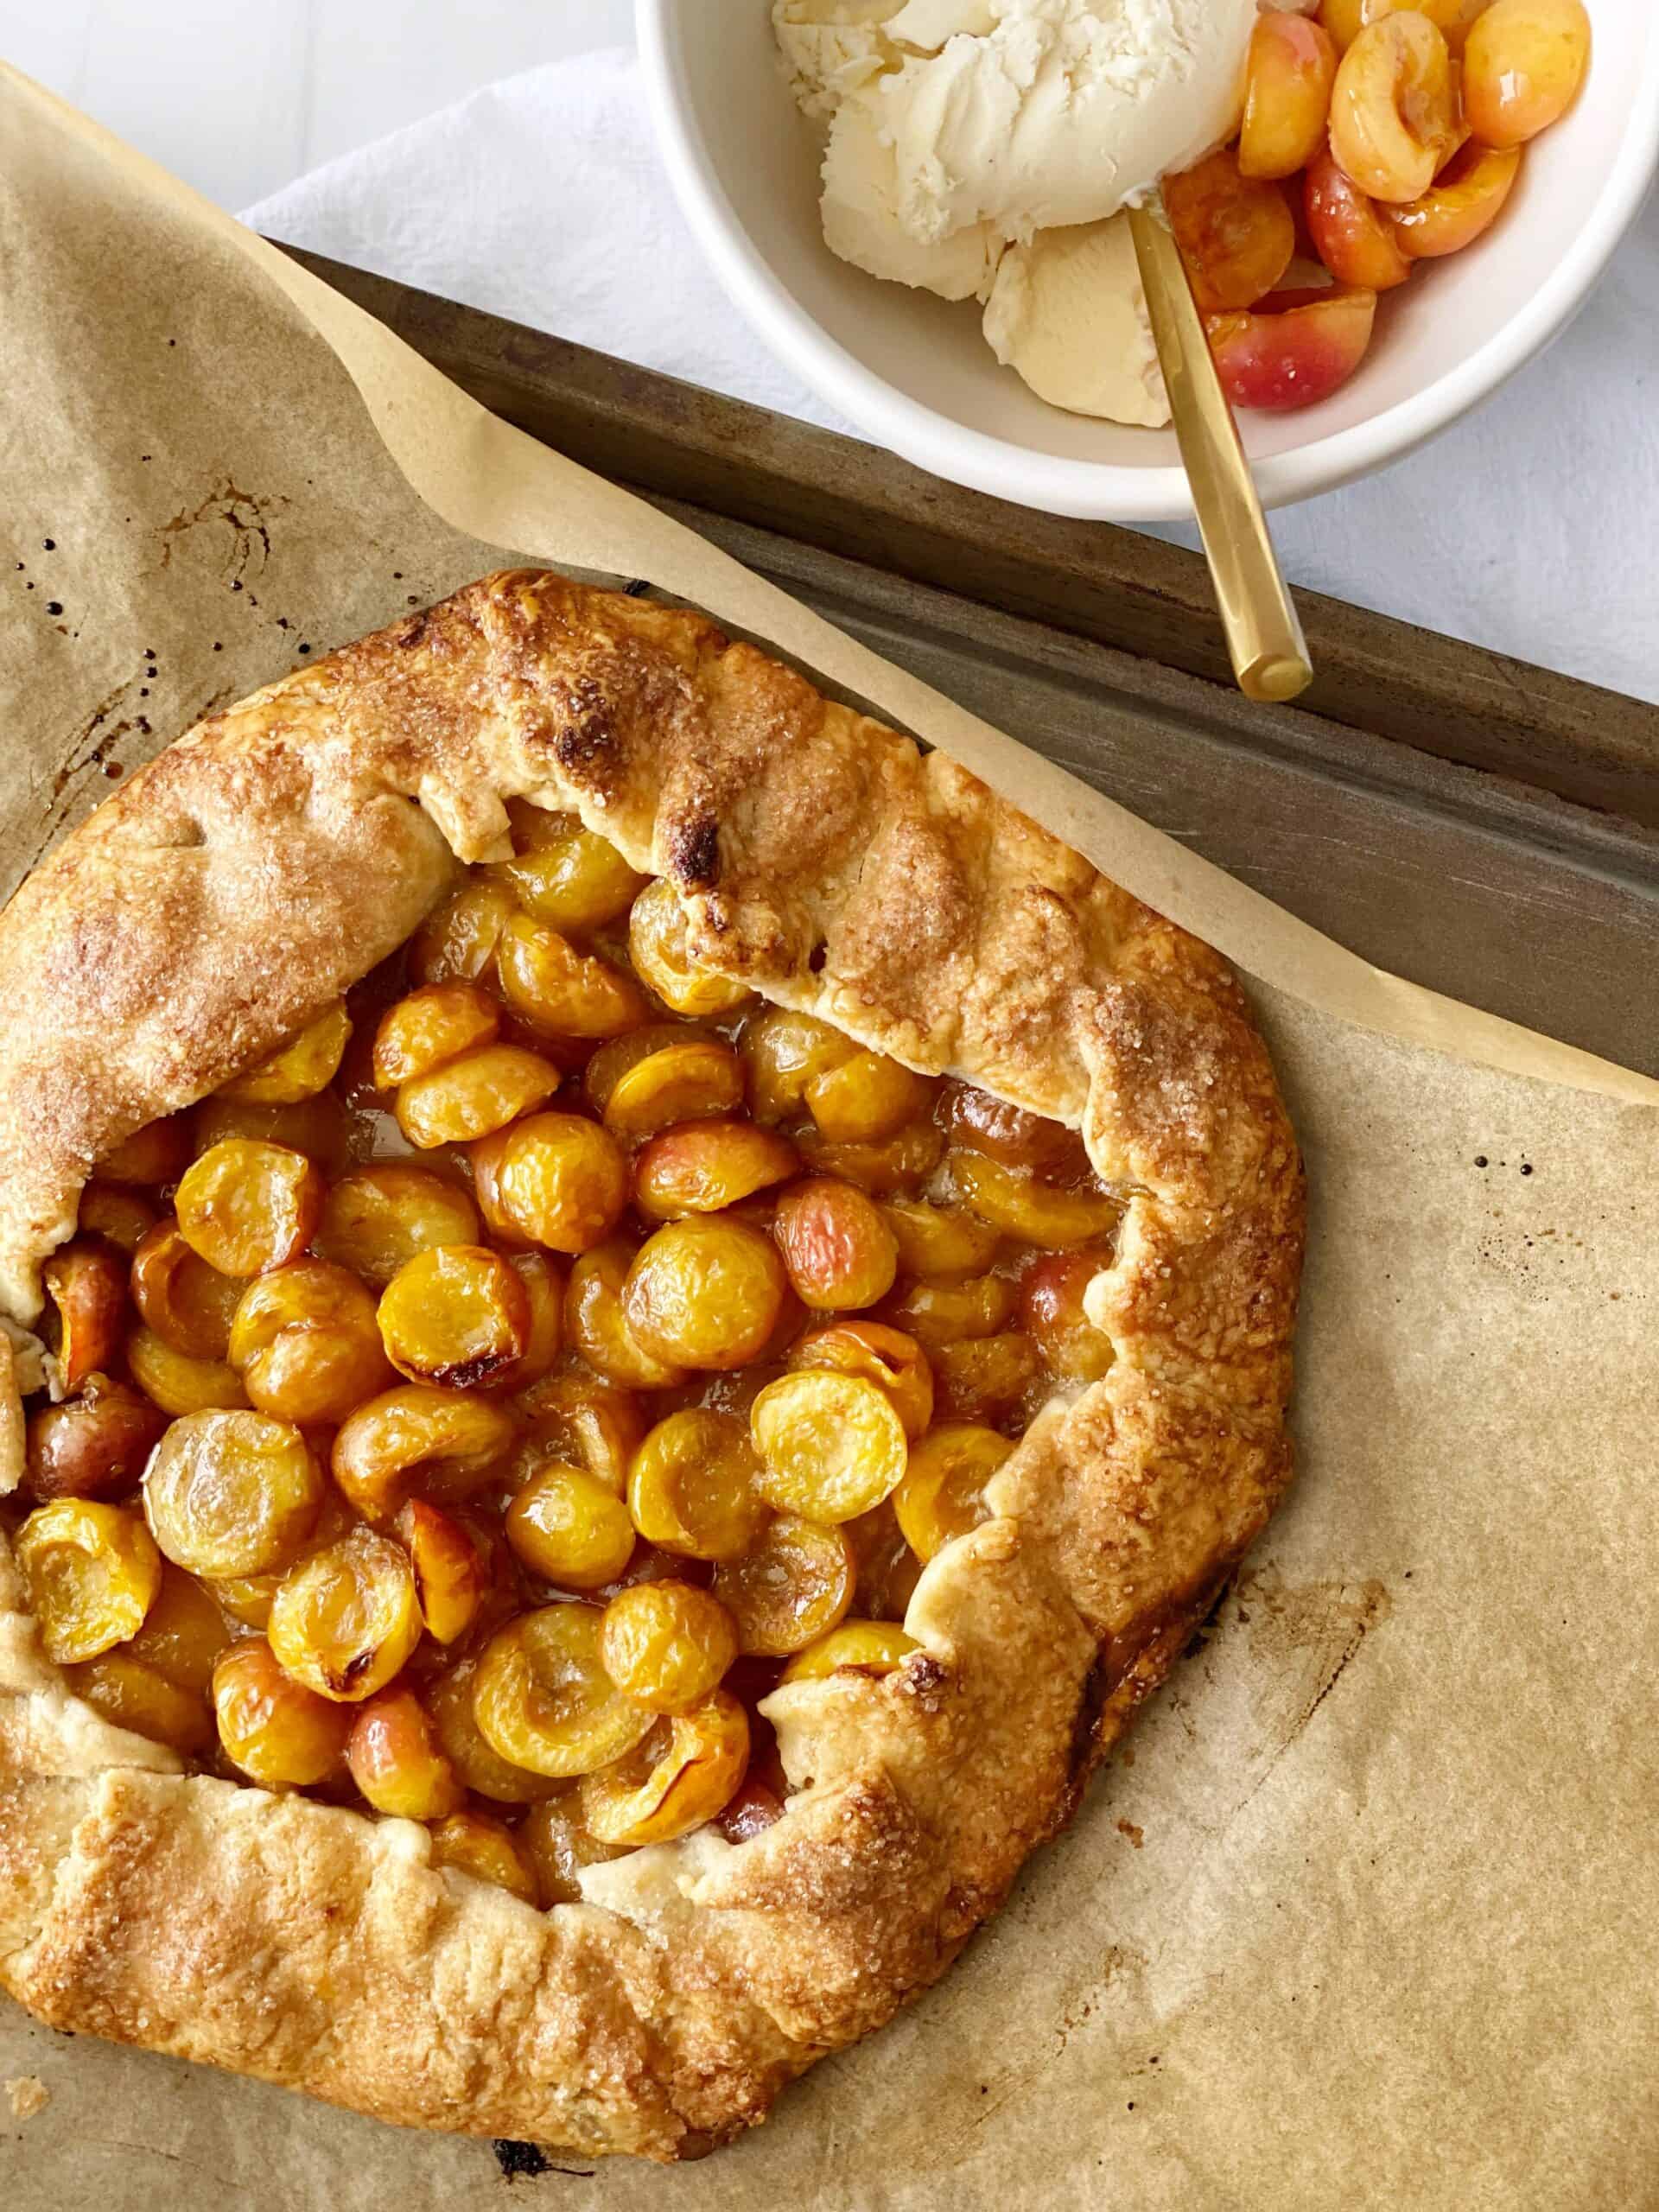
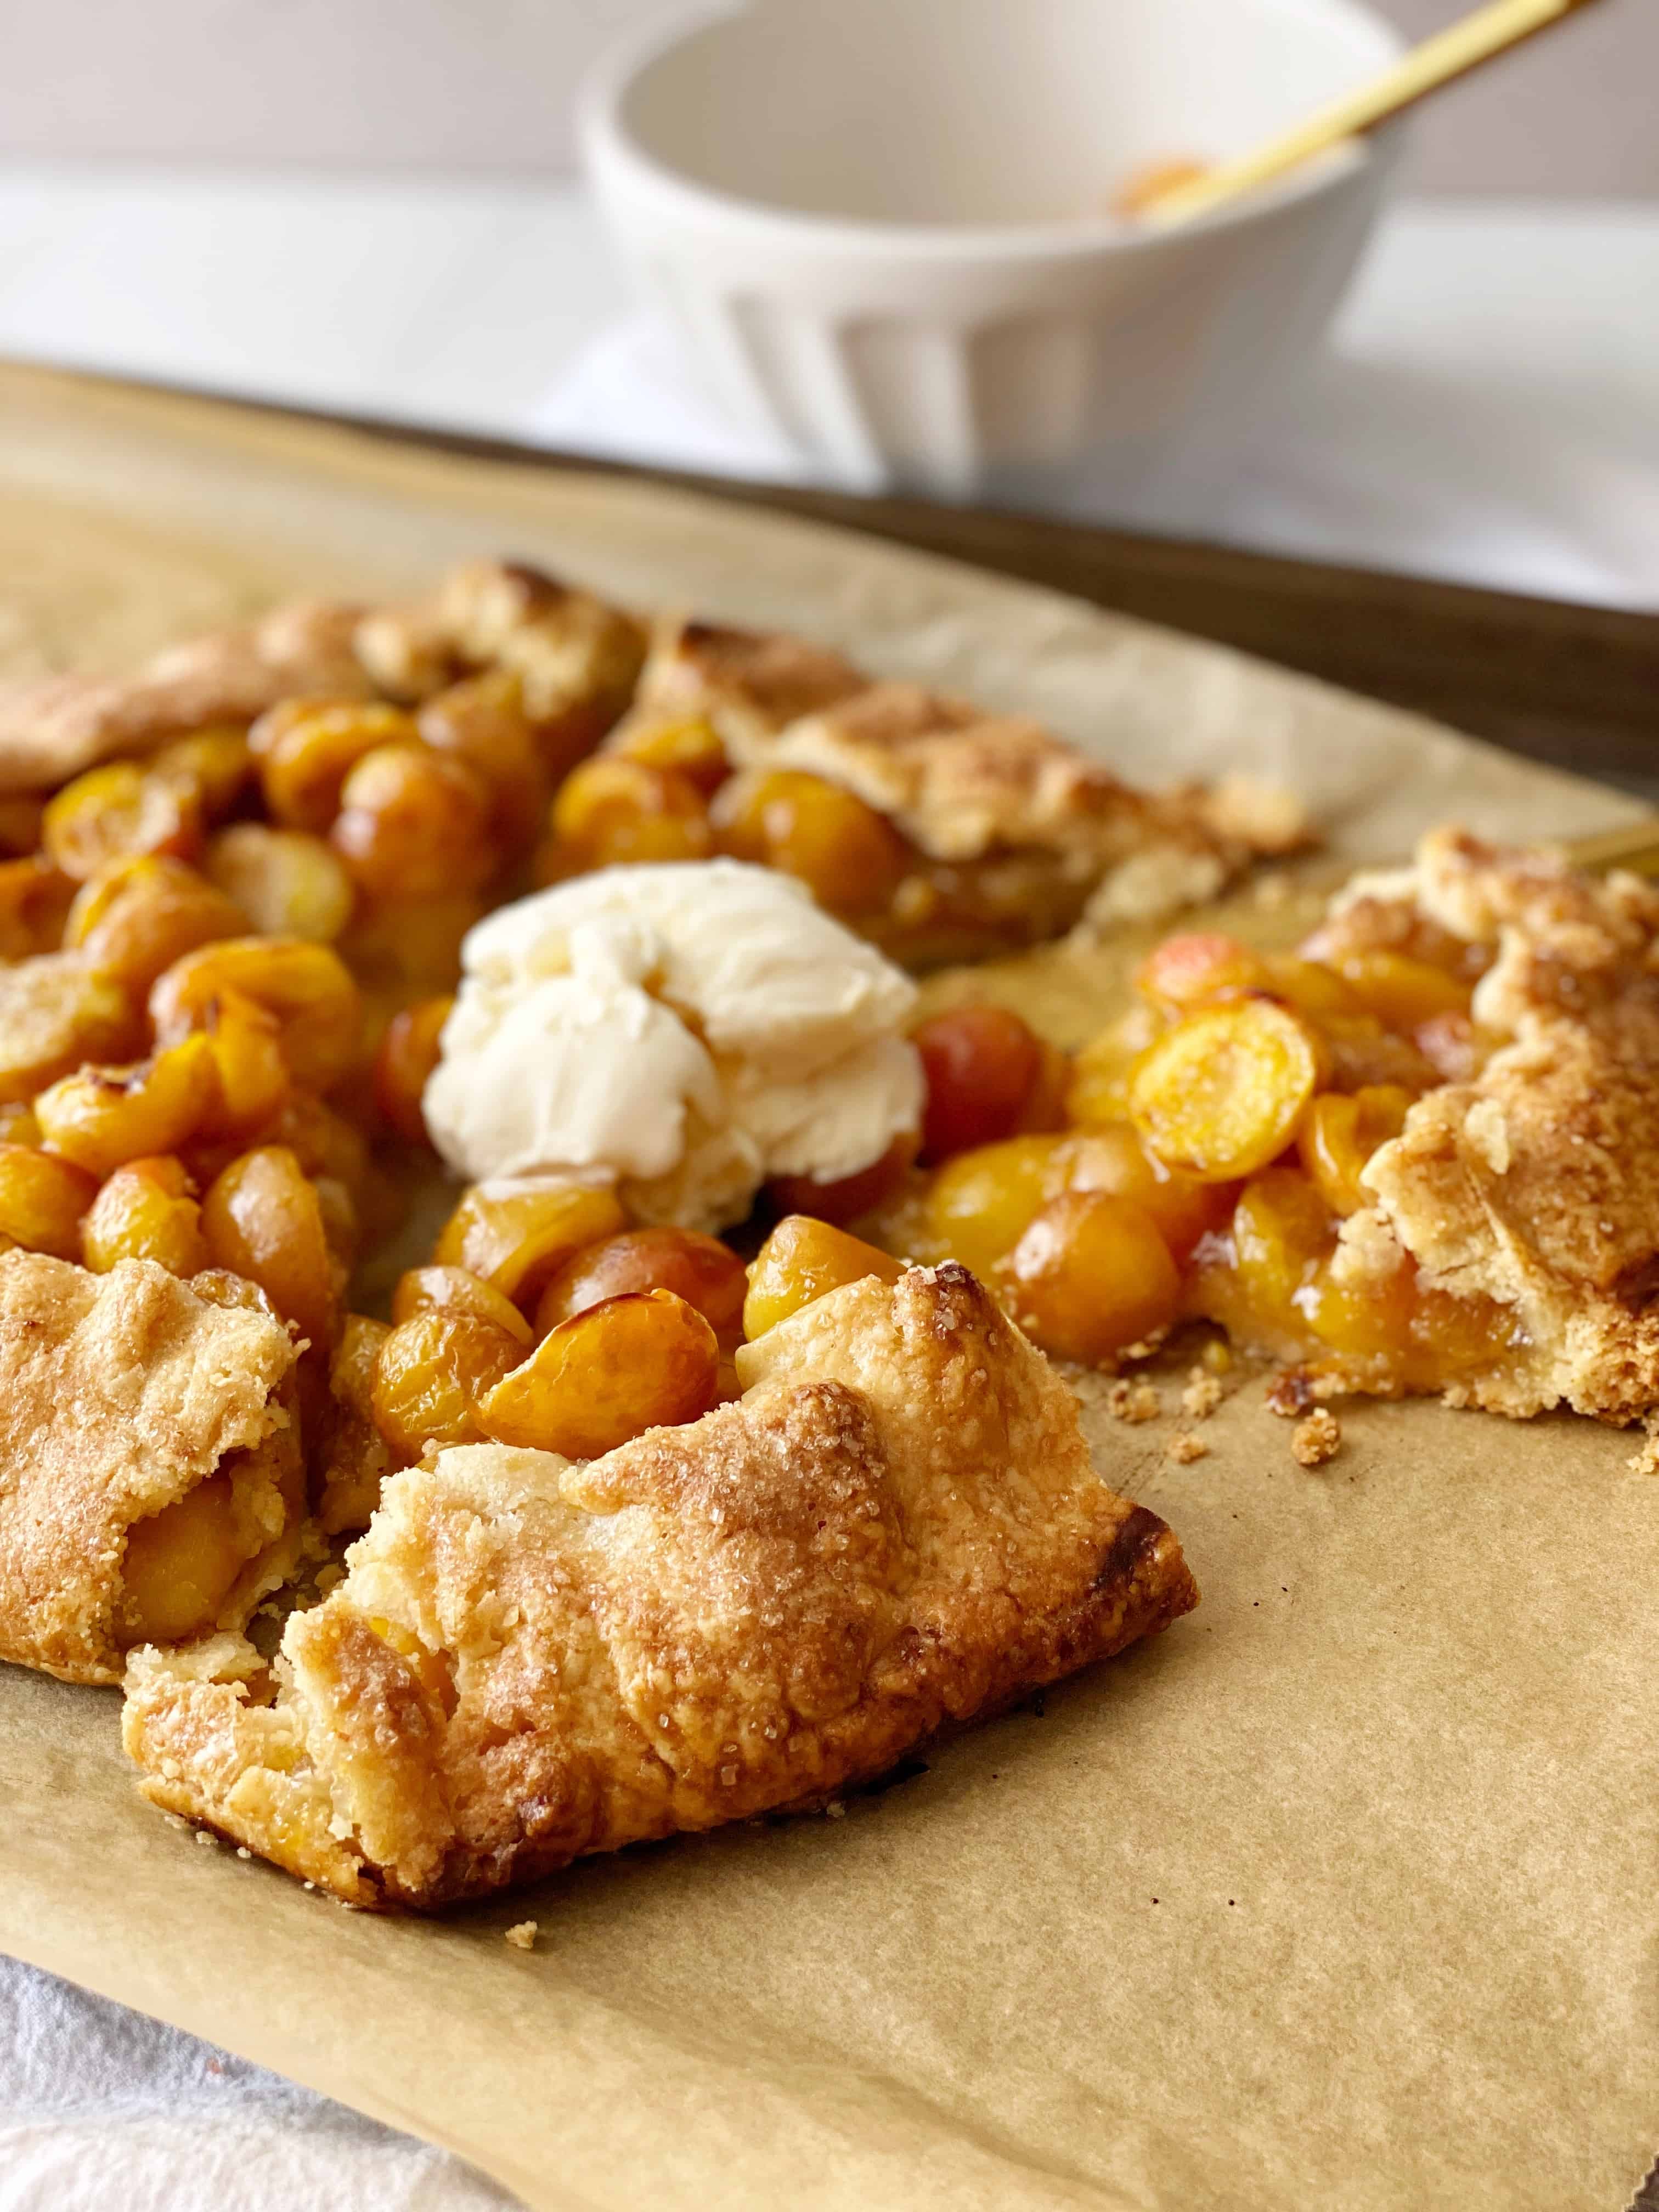
Once baked, I was validated in my laziness of making a galette over a full pie. The deliciousness of a pie or tart recipe, but you can slice it up and eat it with your hands! Or, grab those utensils and serve it with a big scoop or vanilla ice cream to have this dish a la mode.
The Supplies
Ingredients
To make this Rainier Cherry Galette, you’ll need the following ingredients:
- Thawed pie crust
- Rainier cherries
- Granulated sugar
- Cornstarch
- Kosher salt
- Vanilla extract
- Unsalted butter
- Large egg
For the exact ingredient amounts, check out the recipe card at the bottom of this page.
Equipment
In order to make this Rainier Cherry Galette, you’ll need the following pieces of equipment:
- Large baking tray
- Parchment paper
- Rolling pin
- Large mixing bowl
- Measuring cups
- Measuring spoons
- Mixing spoon
- Pastry brush
Frequent Recipe Questions
Can I substitute the Rainier Cherries?
- A: Absolutely! This recipe would be great with any variety of cherry.
Does it need to be frozen pie crust?
- A: Definitely not! I’ve opted for frozen pie crust in this recipe for ease, but if you have a favorite pie crust please feel free to use it for this recipe! It will only make it better.
Why do you need the egg wash?
- A: The egg wash, plus the sprinkling of sugar, will create a crispy topping to the crust. The protein in the egg will help the crust brown and crisp up!
My galette is looking dark – should I take it out of the oven early?
- A: If your galette is looking too dark, but the center of the pie isn’t baked through, don’t take it out early. Otherwise, the center of the pie may not be baked enough. To save the galette from burning, gently place a piece of aluminum foil tented over the galette to help protect the exterior crust from overcooking.
Rainier Cherry Galette Recipe Details
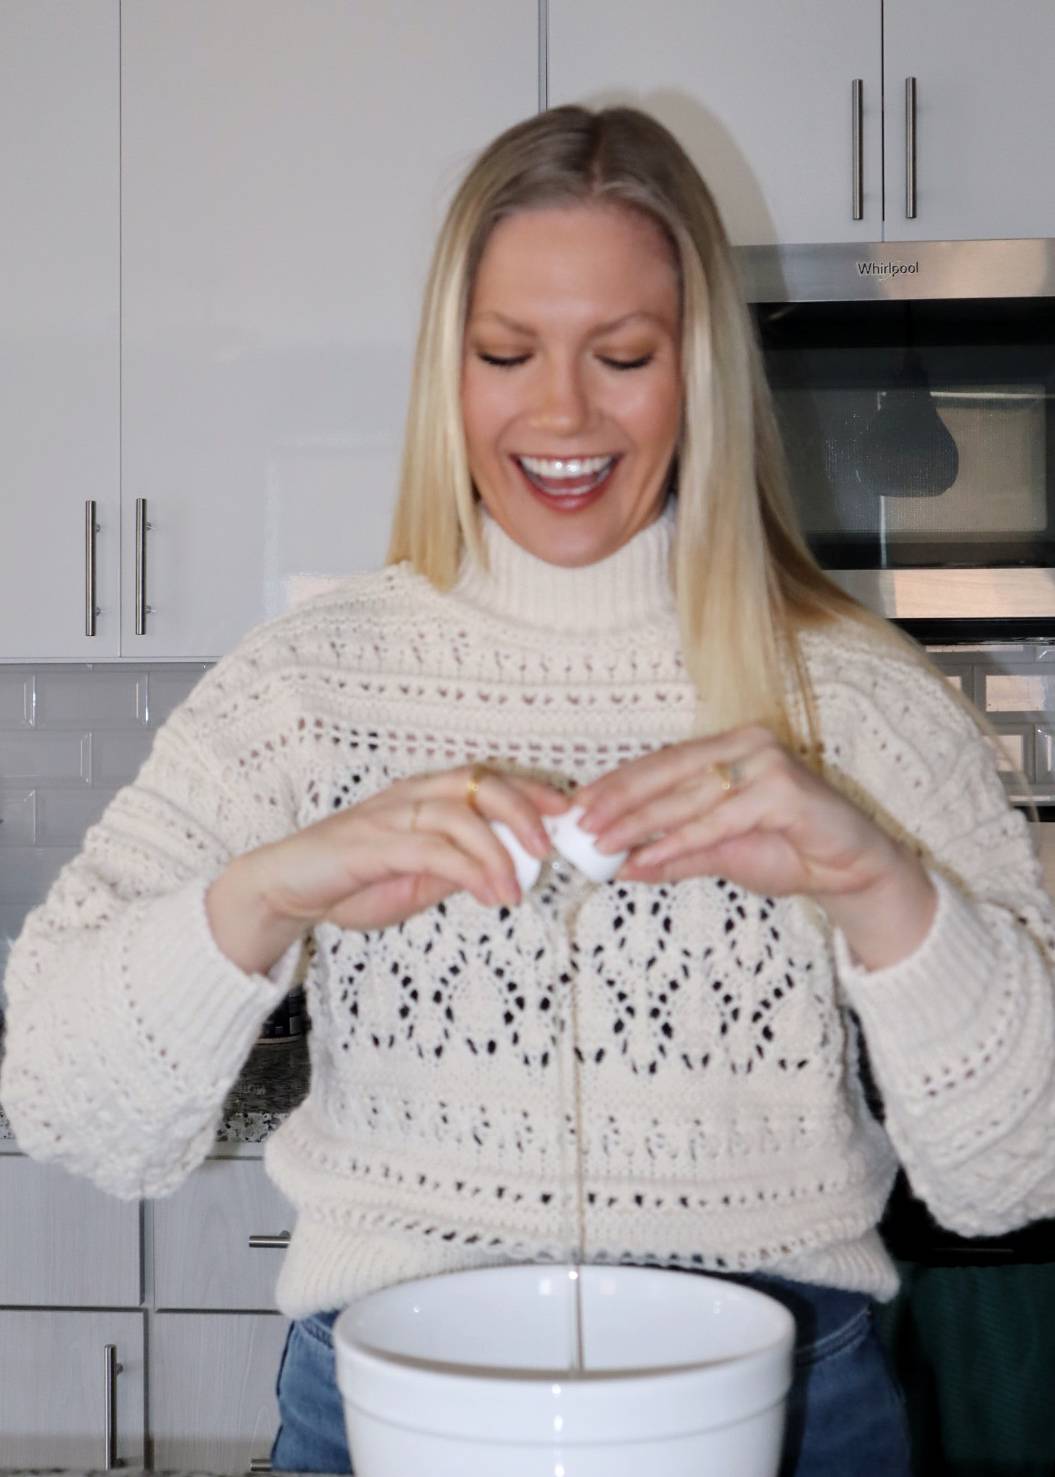
It couldn’t be simpler to make this cherry galette recipe. No need to boil the fruit down into jam and no making a crust from scratch. The only time consuming part is pitting the cherries! Once that’s complete, this dessert whips up in no time. And even though it’s rustic looking, it’s no less impressive.
All you’ll need is a bowl to mix the cherries together with some sugar and cornstarch and a pre-made crust and you’ll be well on your way! Mix up your cherry filling and spoon it onto the center of your prepared pie dough. Fold the edges of the pie dough around the edges of the galette, just covering the edges of the cherry filling. Brush the crust with the beaten egg and sprinkle the crust with a bit of additional sugar.
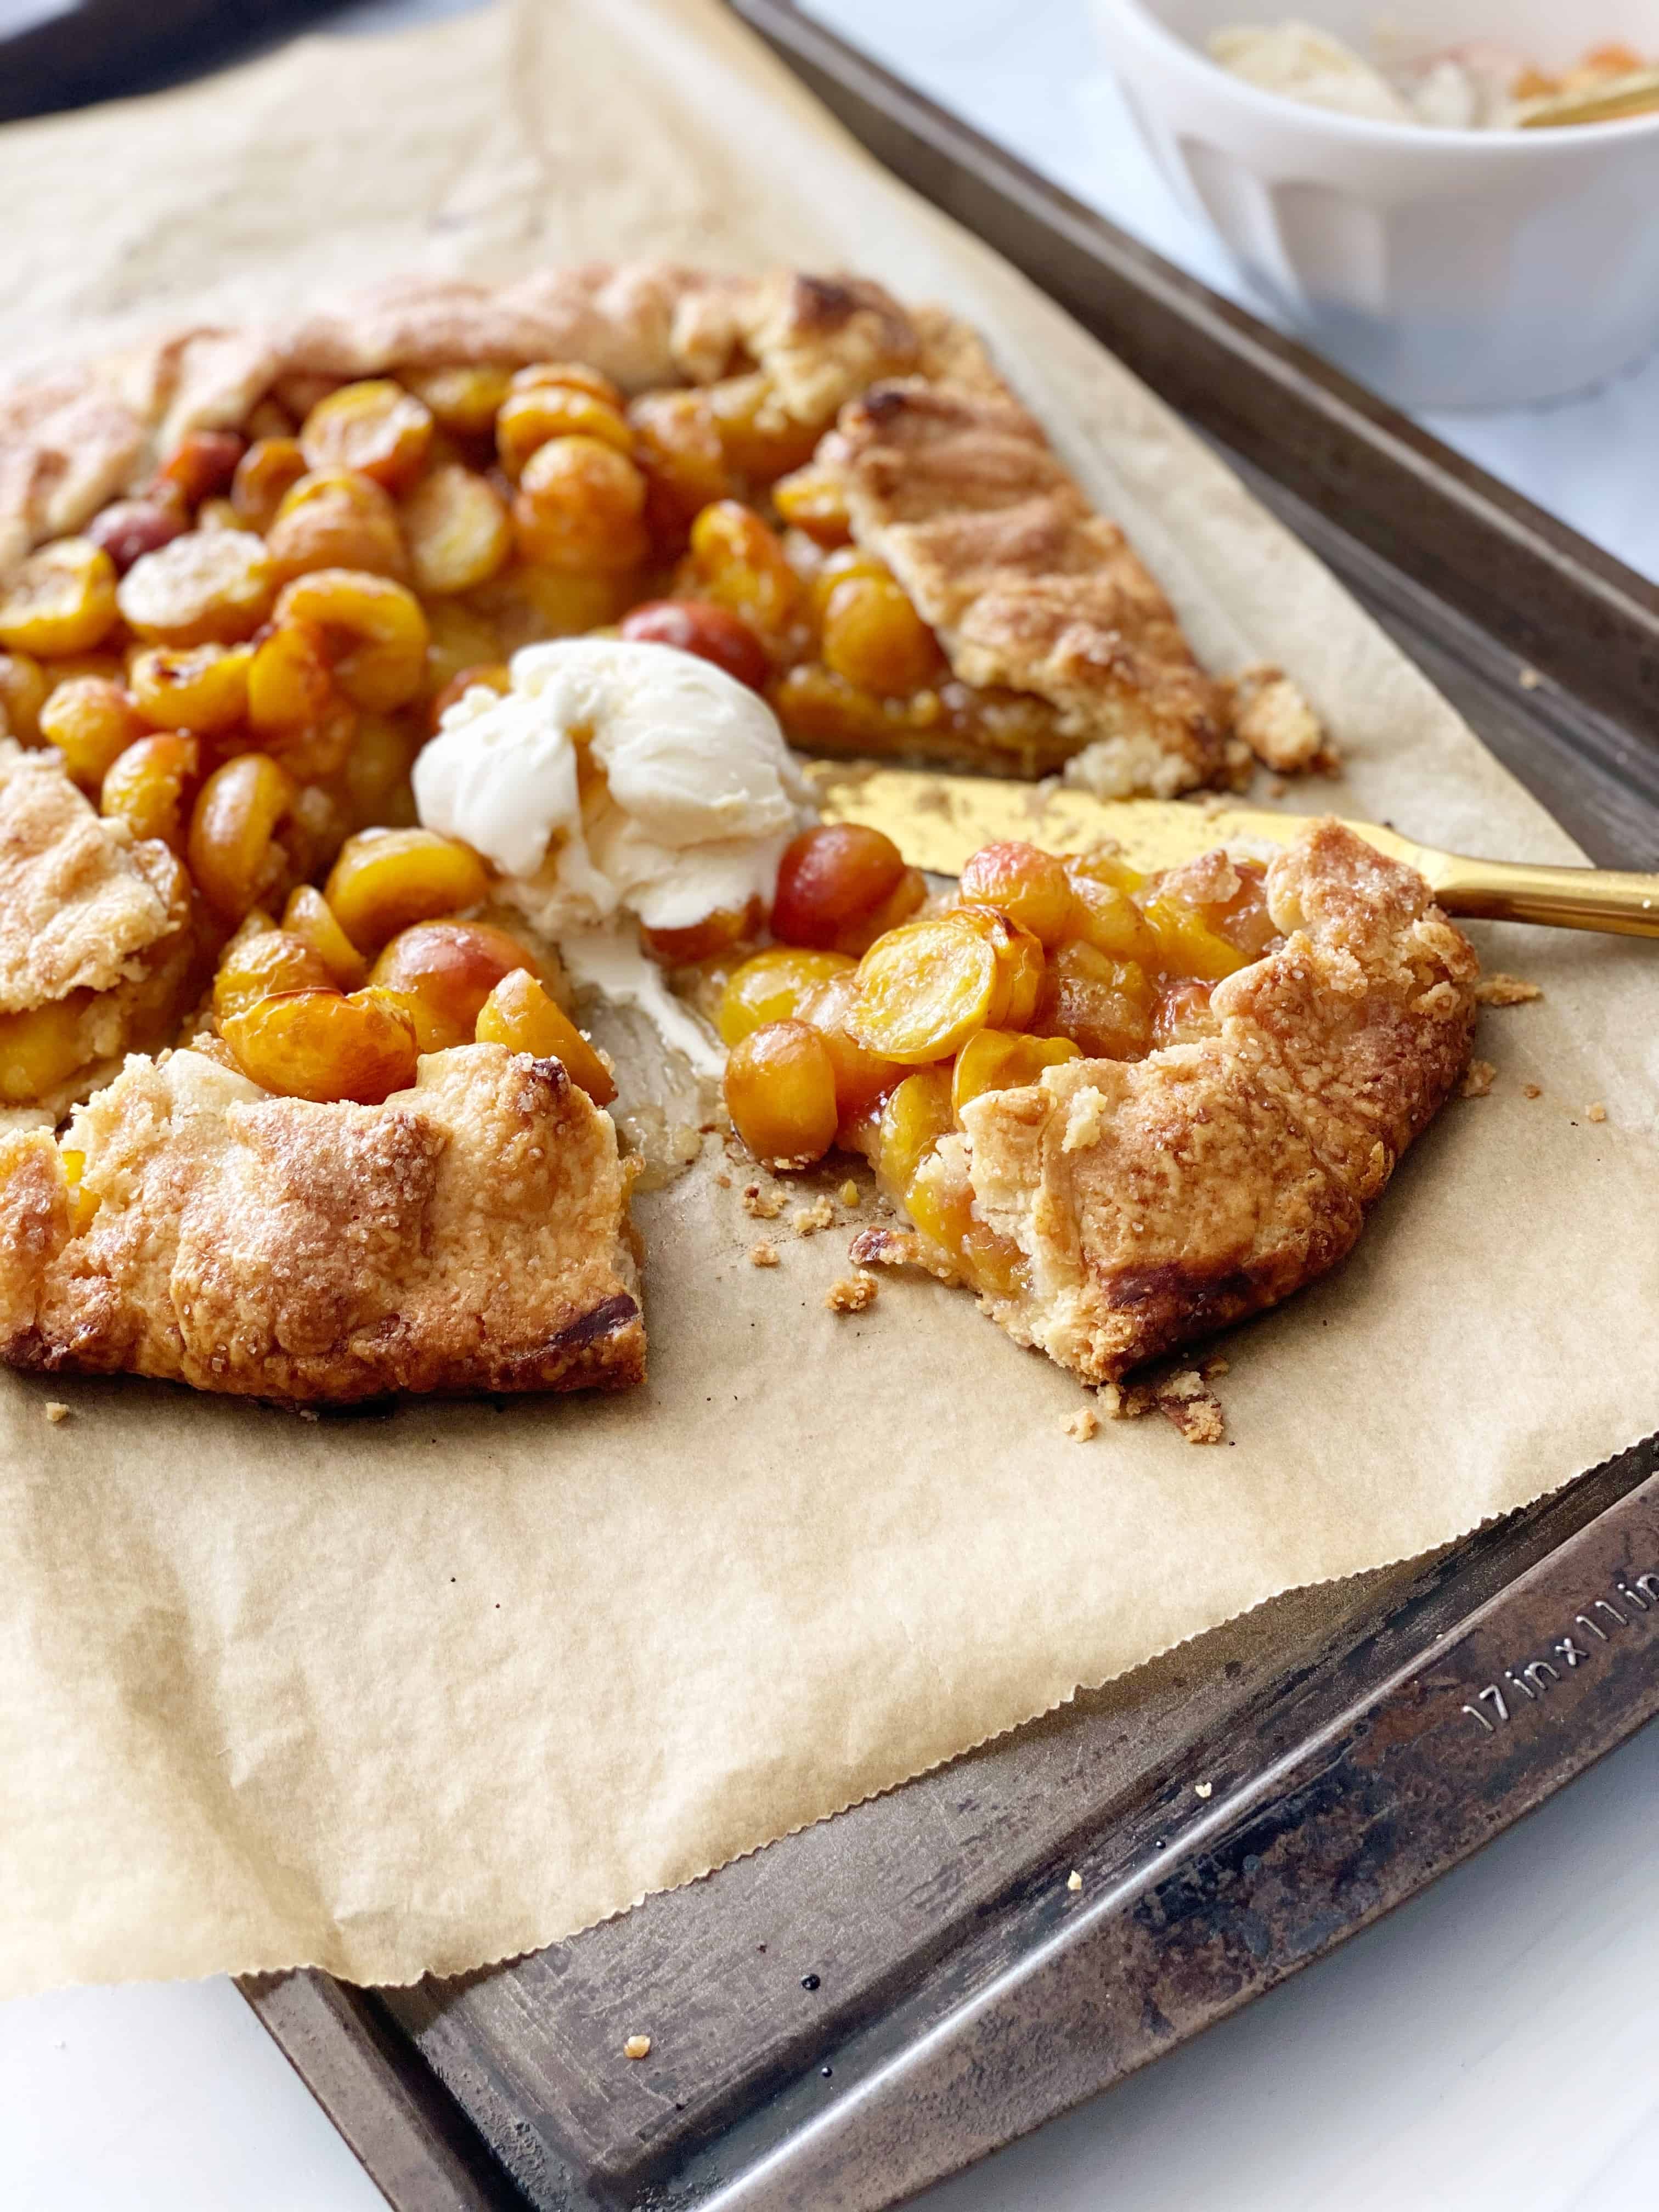
Bake the galette for about 45 minutes, until the filling is baked through the crust is crispy. Let the galette cool slightly before slicing and enjoying with a slice of vanilla ice cream.
Love a galette recipe? Be sure to also check out my recipe for Fig Apple and Ricotta Galette.
If you make this rainier cherry galette, be sure to leave a comment or give this recipe a rating – I can’t wait to hear how it goes. As always, tag me on Instagram, TikTok, or Facebook in your photos. It makes me feel like we’re getting to cook together!
This post may contain affiliate links, please see the privacy policy for details.
Rainier Cherry Galette
Description
An easy-to-make summer galette with a simple Rainier cherry filling, perfect for an rustic dessert.
Ingredients
Instructions
-
Preheat your oven to 400° F and line a large baking tray with parchment paper.
-
If needed, gently roll out the thawed pie crust into a large circle, bringing together any pieces that separated in the thawing process. Place the rolled pie crust onto the center of the baking tray.
-
In a large mixing bowl, mix the cherries, ⅓ cup sugar, cornstarch, and salt, until the cherries are coated.
-
Drizzle the vanilla extract over the cherries, and mix until combined.
-
Spoon the cherry mixture into the center of the pie crust, leaving several inches of crust around the perimeter. Place the cubes of butter on top of the cherry mixture.
-
Fold the edges of the crust toward the center, leaving an opening in the middle.
-
In a small mixing bowl, add the egg. Whisk the egg until the yolk is completely incorporated into the white. Use a pastry brush to brush the beaten egg over the top of the crust and sprinkle with the remaining sugar.
-
Bake for 40-45 minutes, let cool slightly and serve immediately with vanilla ice cream.