The Pickle Princess
The dill pickle tuna melt is a cheesy, herby, vinegary take on the classic. Fresh dill, chopped mini pickles, and a bit of pickle brine pair beautifully with tuna and cheddar cheese.
Lore says that a giant dill pickle was one of the first solid foods I ever ate. It was a hot Labor Day Weekend at my hometown’s annual festival. My parents handed me a cold pickle from one of the food stands and I gnawed my way through it, apparently enjoying every nibble I could get from it. To this day, I’m not sure exactly how accurate that story is. What I do know is a crisp, cool dill pickle has, and probably always will be, one of my favorite foods in the entire world. There’s typically a stash of pickles in my refrigerator for quick snacks and I still grab a pickle at the annual Labor Day Weekend festival without fail.
The perfect flavors of a pickle are translated into this tuna melt. A food I did not love from an early age, but have really come around to as an adult and, dare I say, perfected. My husband and I make tuna melts often as a quick weekend lunch or easy weeknight dinner. I’m always trying new ways to switch up the flavors to keep it interesting. I improvised a few months ago with a version of this and fell in love. It had the classic dill pickle flavors in it without slapping you across the face with vinegar and herbs. It’s a sandwich I see myself making for years and years to come!
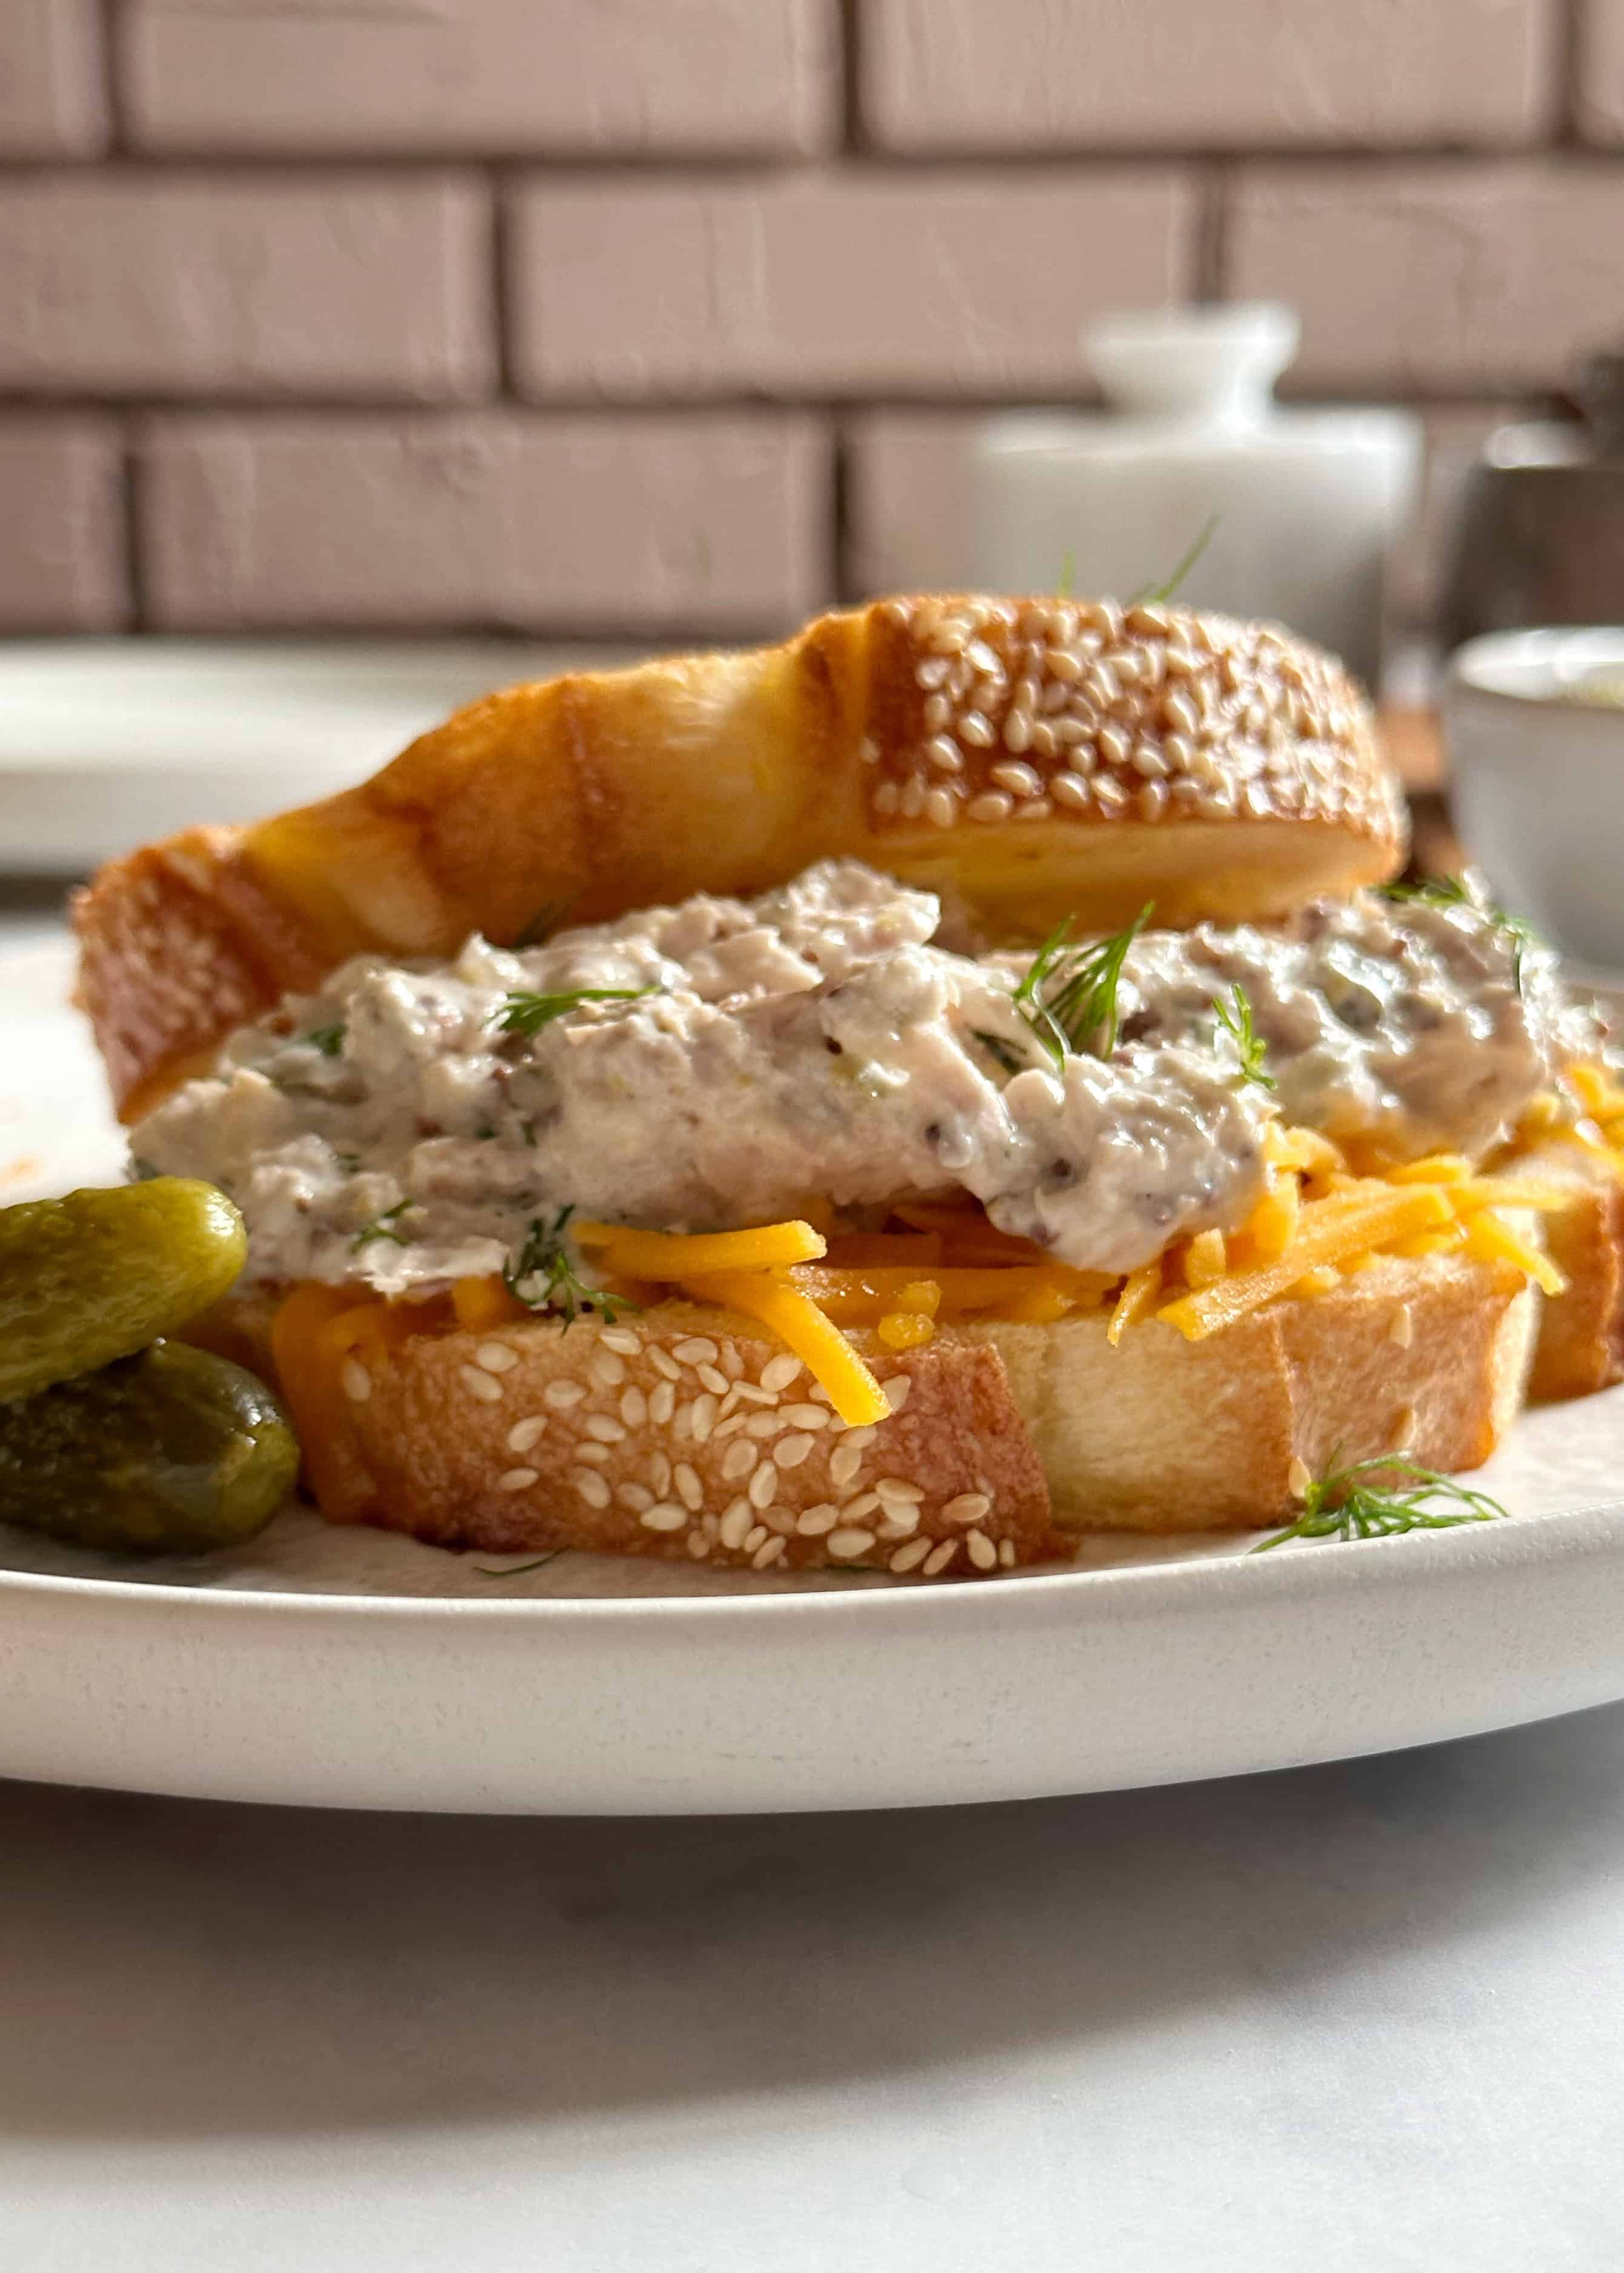
Tips For Making This Tuna Melt Recipe
If you plan on making this Dill Pickle Tuna Melt, here are a few recommendations to make sure it’s delicious:
- I prefer using shredded cheese when making melts or grilled cheeses, as opposed to using sandwich slices. The hot air that travels between the pieces of shredded cheese will help it melt faster, more evenly, and create a uniform melty experience across the entire sandwich. Fresh grated is always best, but pre-grated works great for this recipe too!
- If you don’t have fresh dill available, you can substitute dried dill. Reduce the amount ¾ of a tablespoon when making the tuna salad, otherwise continue with the recipe as is.
- I’ve opted for gherkins in this recipe, the small garnish pickles, as opposed to full sized pickles or spears. Chopped gherkins will have more of the crisp skin than a traditional pickle, meaning more perfectly crunchy bites throughout the sandwich. If you struggle to find gherkins at your grocery store, feel free to substitute with your favorite pickle. Just note, you may end up with an overall softer texture in your end product.
Recipe Details
Make the Dill Pickle Tuna Salad
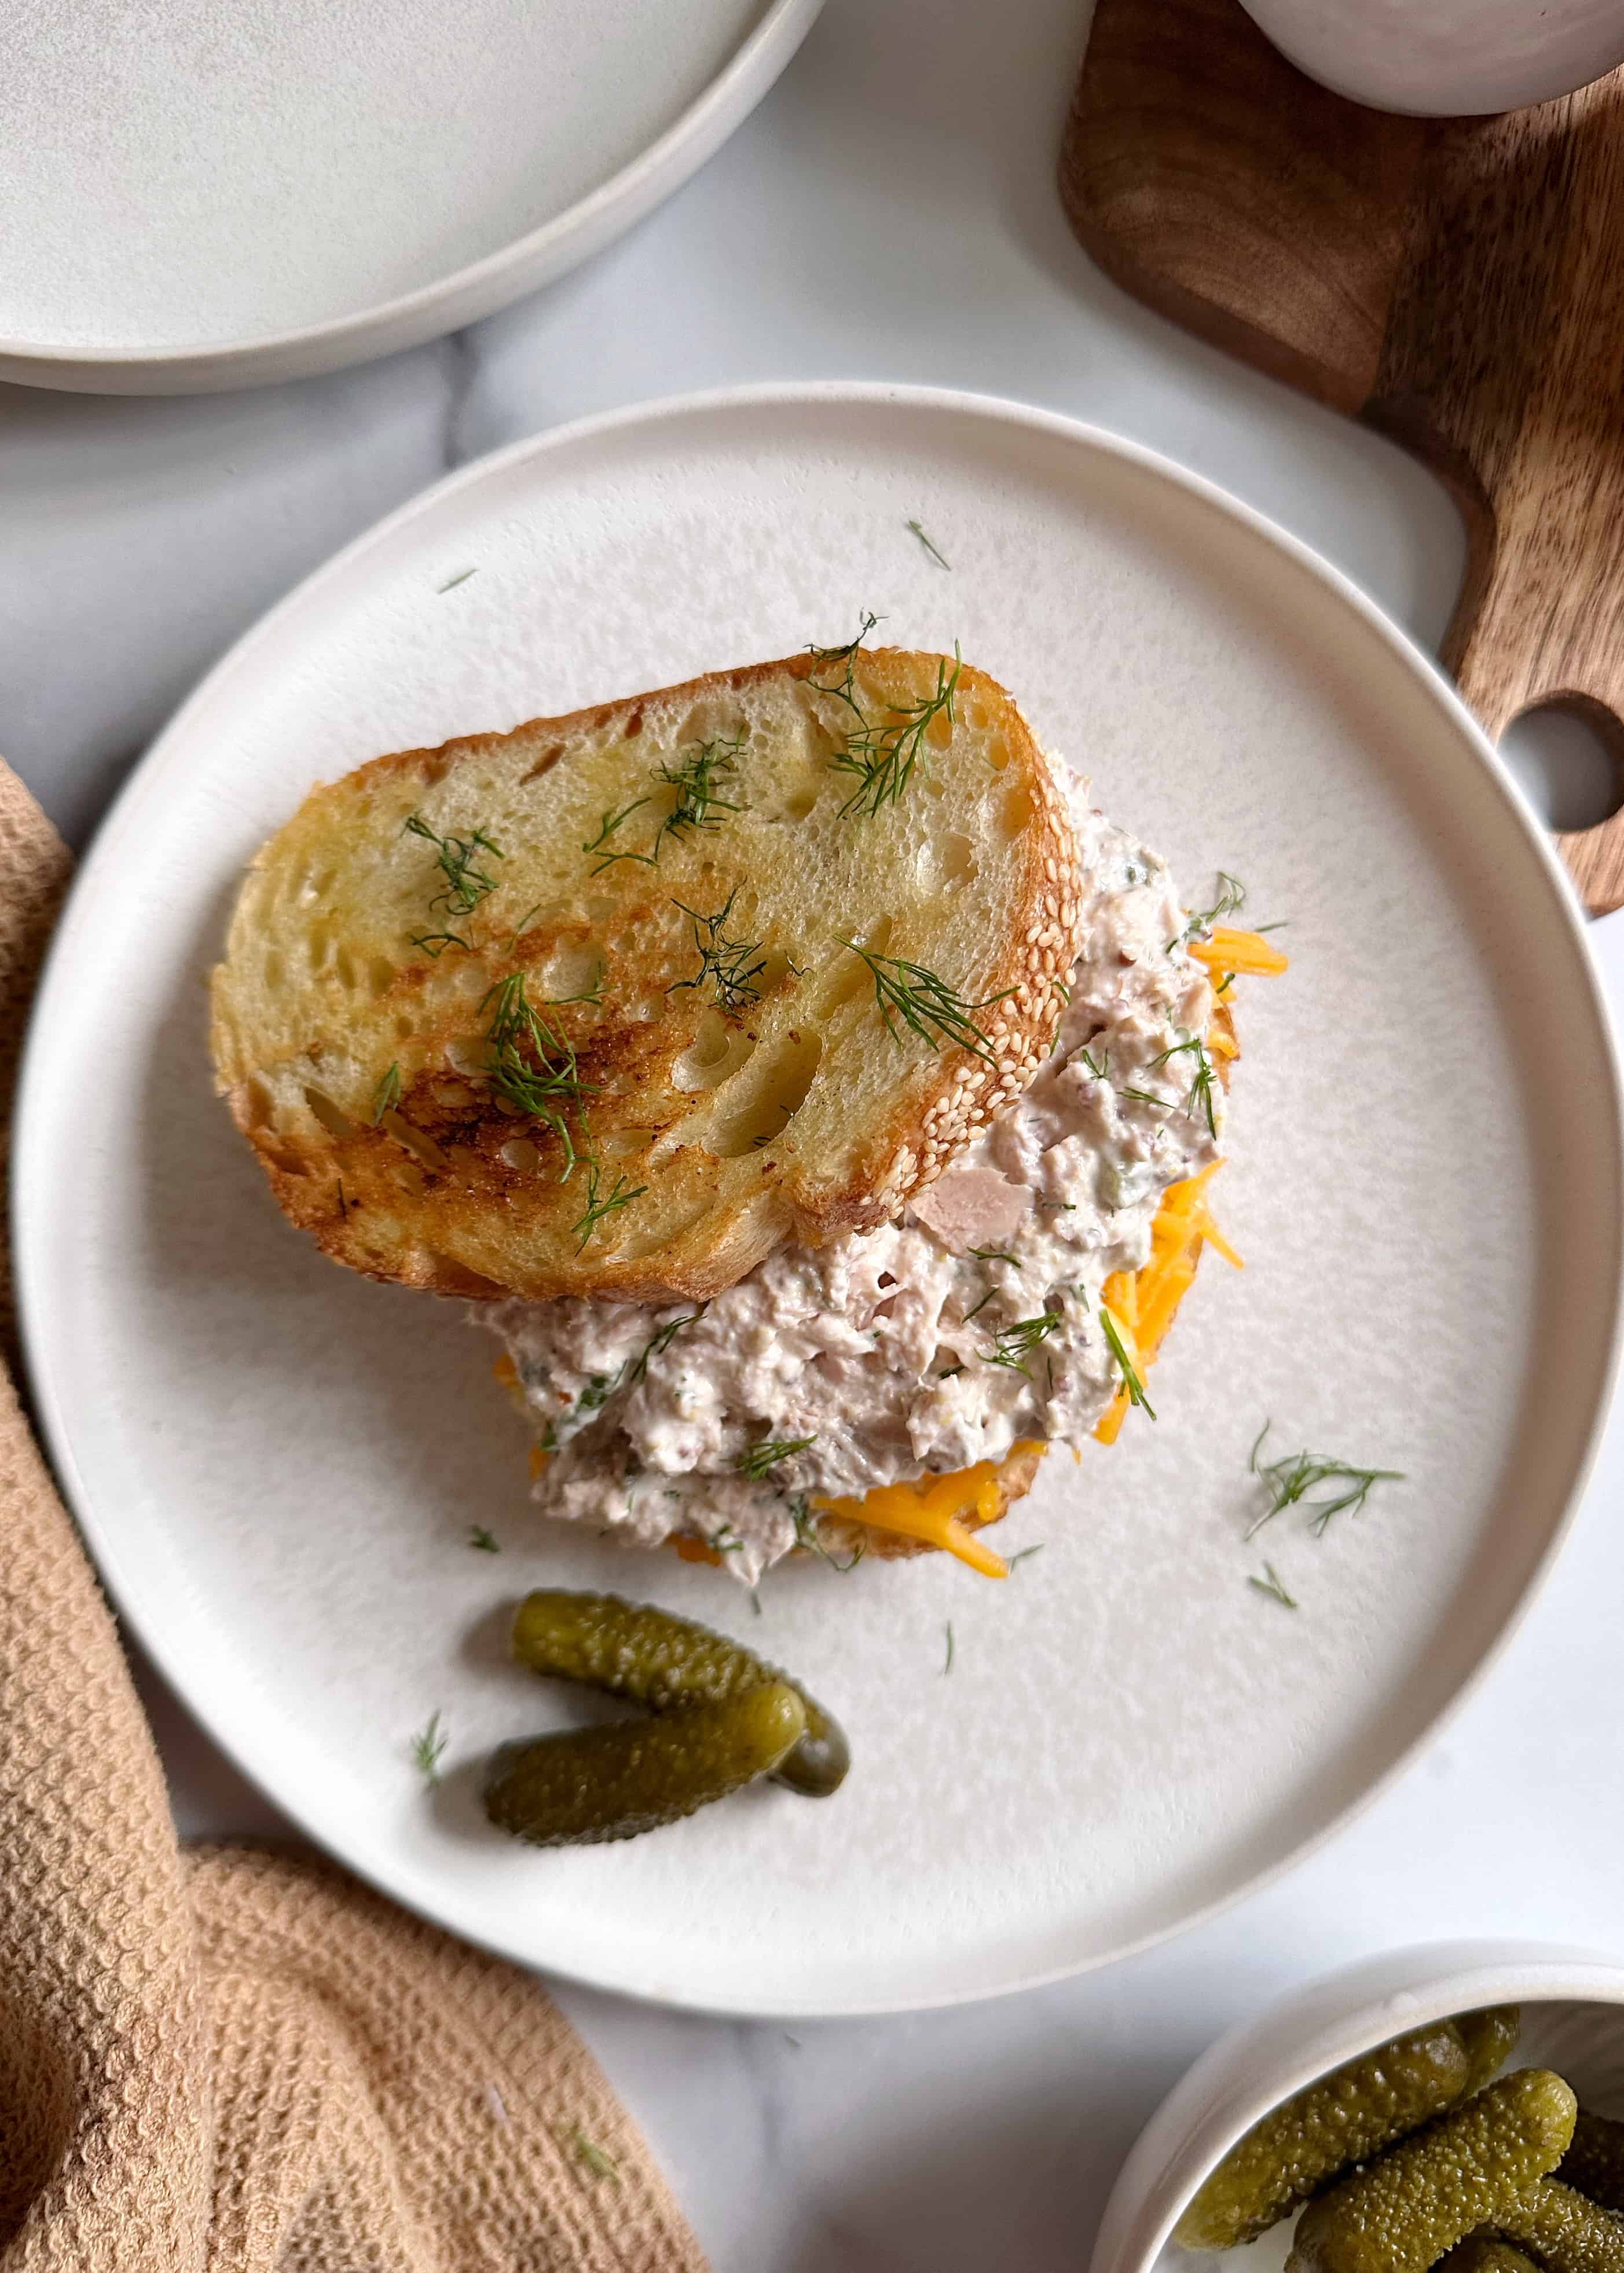
If you’ve ever made a grilled cheese, you can make this sandwich! First, you’ll make the fastest dill pickle tuna salad that will be the star in this melty sandwich. The tuna salad is a mix of high-quality, oil-packed tuna, sour cream, mayonnaise, grainy mustard, chopped gherkins, and fresh dill. This tuna salad has just a bit of vinegary tang, herby dill, and the occasional crunch of the chopped gherkins. It’s honestly perfect on it’s own, but really is taken to the next level by pairing it with melty cheese and nicely toasted bread.
Fry the Tuna Melt
Once you have your tuna salad prepared, you’ll begin to build the sandwich itself. You’ll build this tuna melt from the bottom up, by first toasting a slice of crusty bread in a non-stick frying pan or cast iron skillet with a bit of olive oil, I like to use my enameled cast iron as it browns the bread perfectly. Onto the slice of bread, you’ll layer on the shredded cheddar cheese and tuna salad, letting it cook long enough for the cheese to melt and the tuna salad to begin to warm.
After toasting the top slice of bread, you’ll layer it onto the top of the sandwich, garnish with an extra sprinkle of freshly chopped dill, cut the sandwich in half, and enjoy! Serve with chips and an extra pickle for a really salty treat!
Eat and Enjoy!
These sandwiches are best served warm, but the tuna salad can be stored in an air-tight container in the fridge for up to 4 days. Once ready to eat, toast your tuna melt as described in the directions.
If you like the sound of this tuna melt recipe, you should also check out these cheesy sandwiches:
Be sure to tag @laura.loves.to.cook on Instagram, Tik Tok, or Facebook to let me know how your recipes turn out. I hope you love it as much as I do!
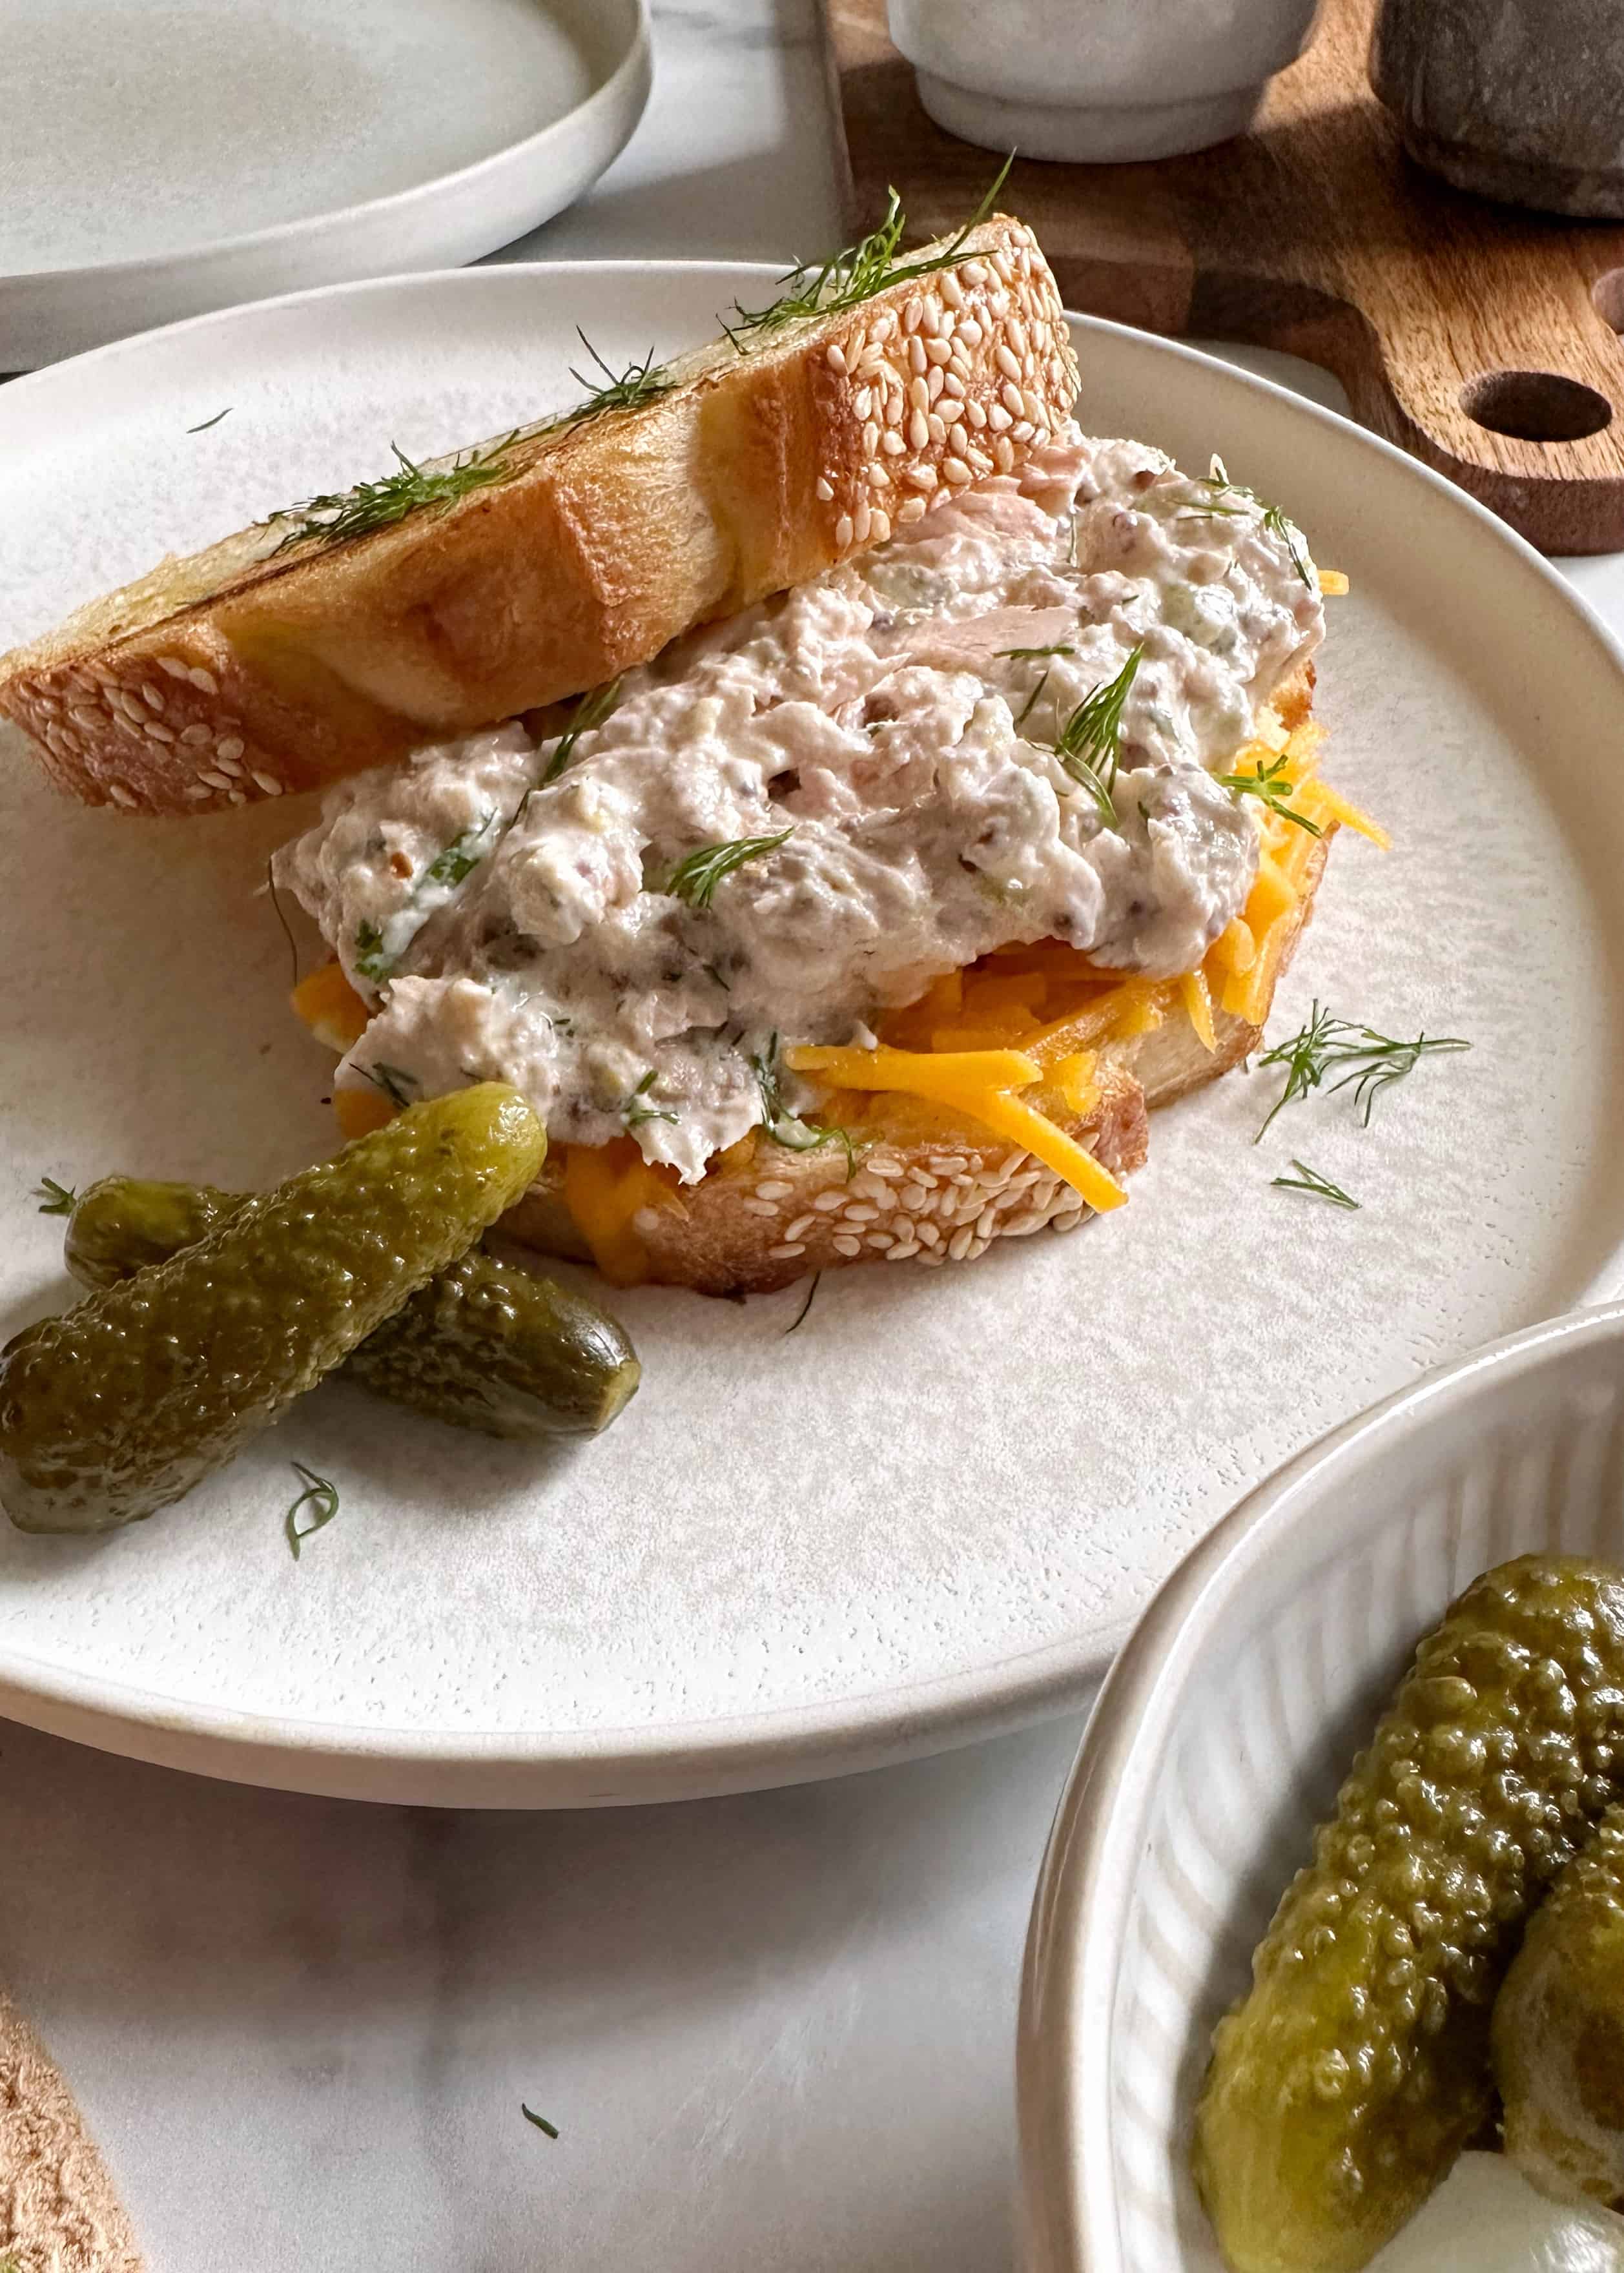
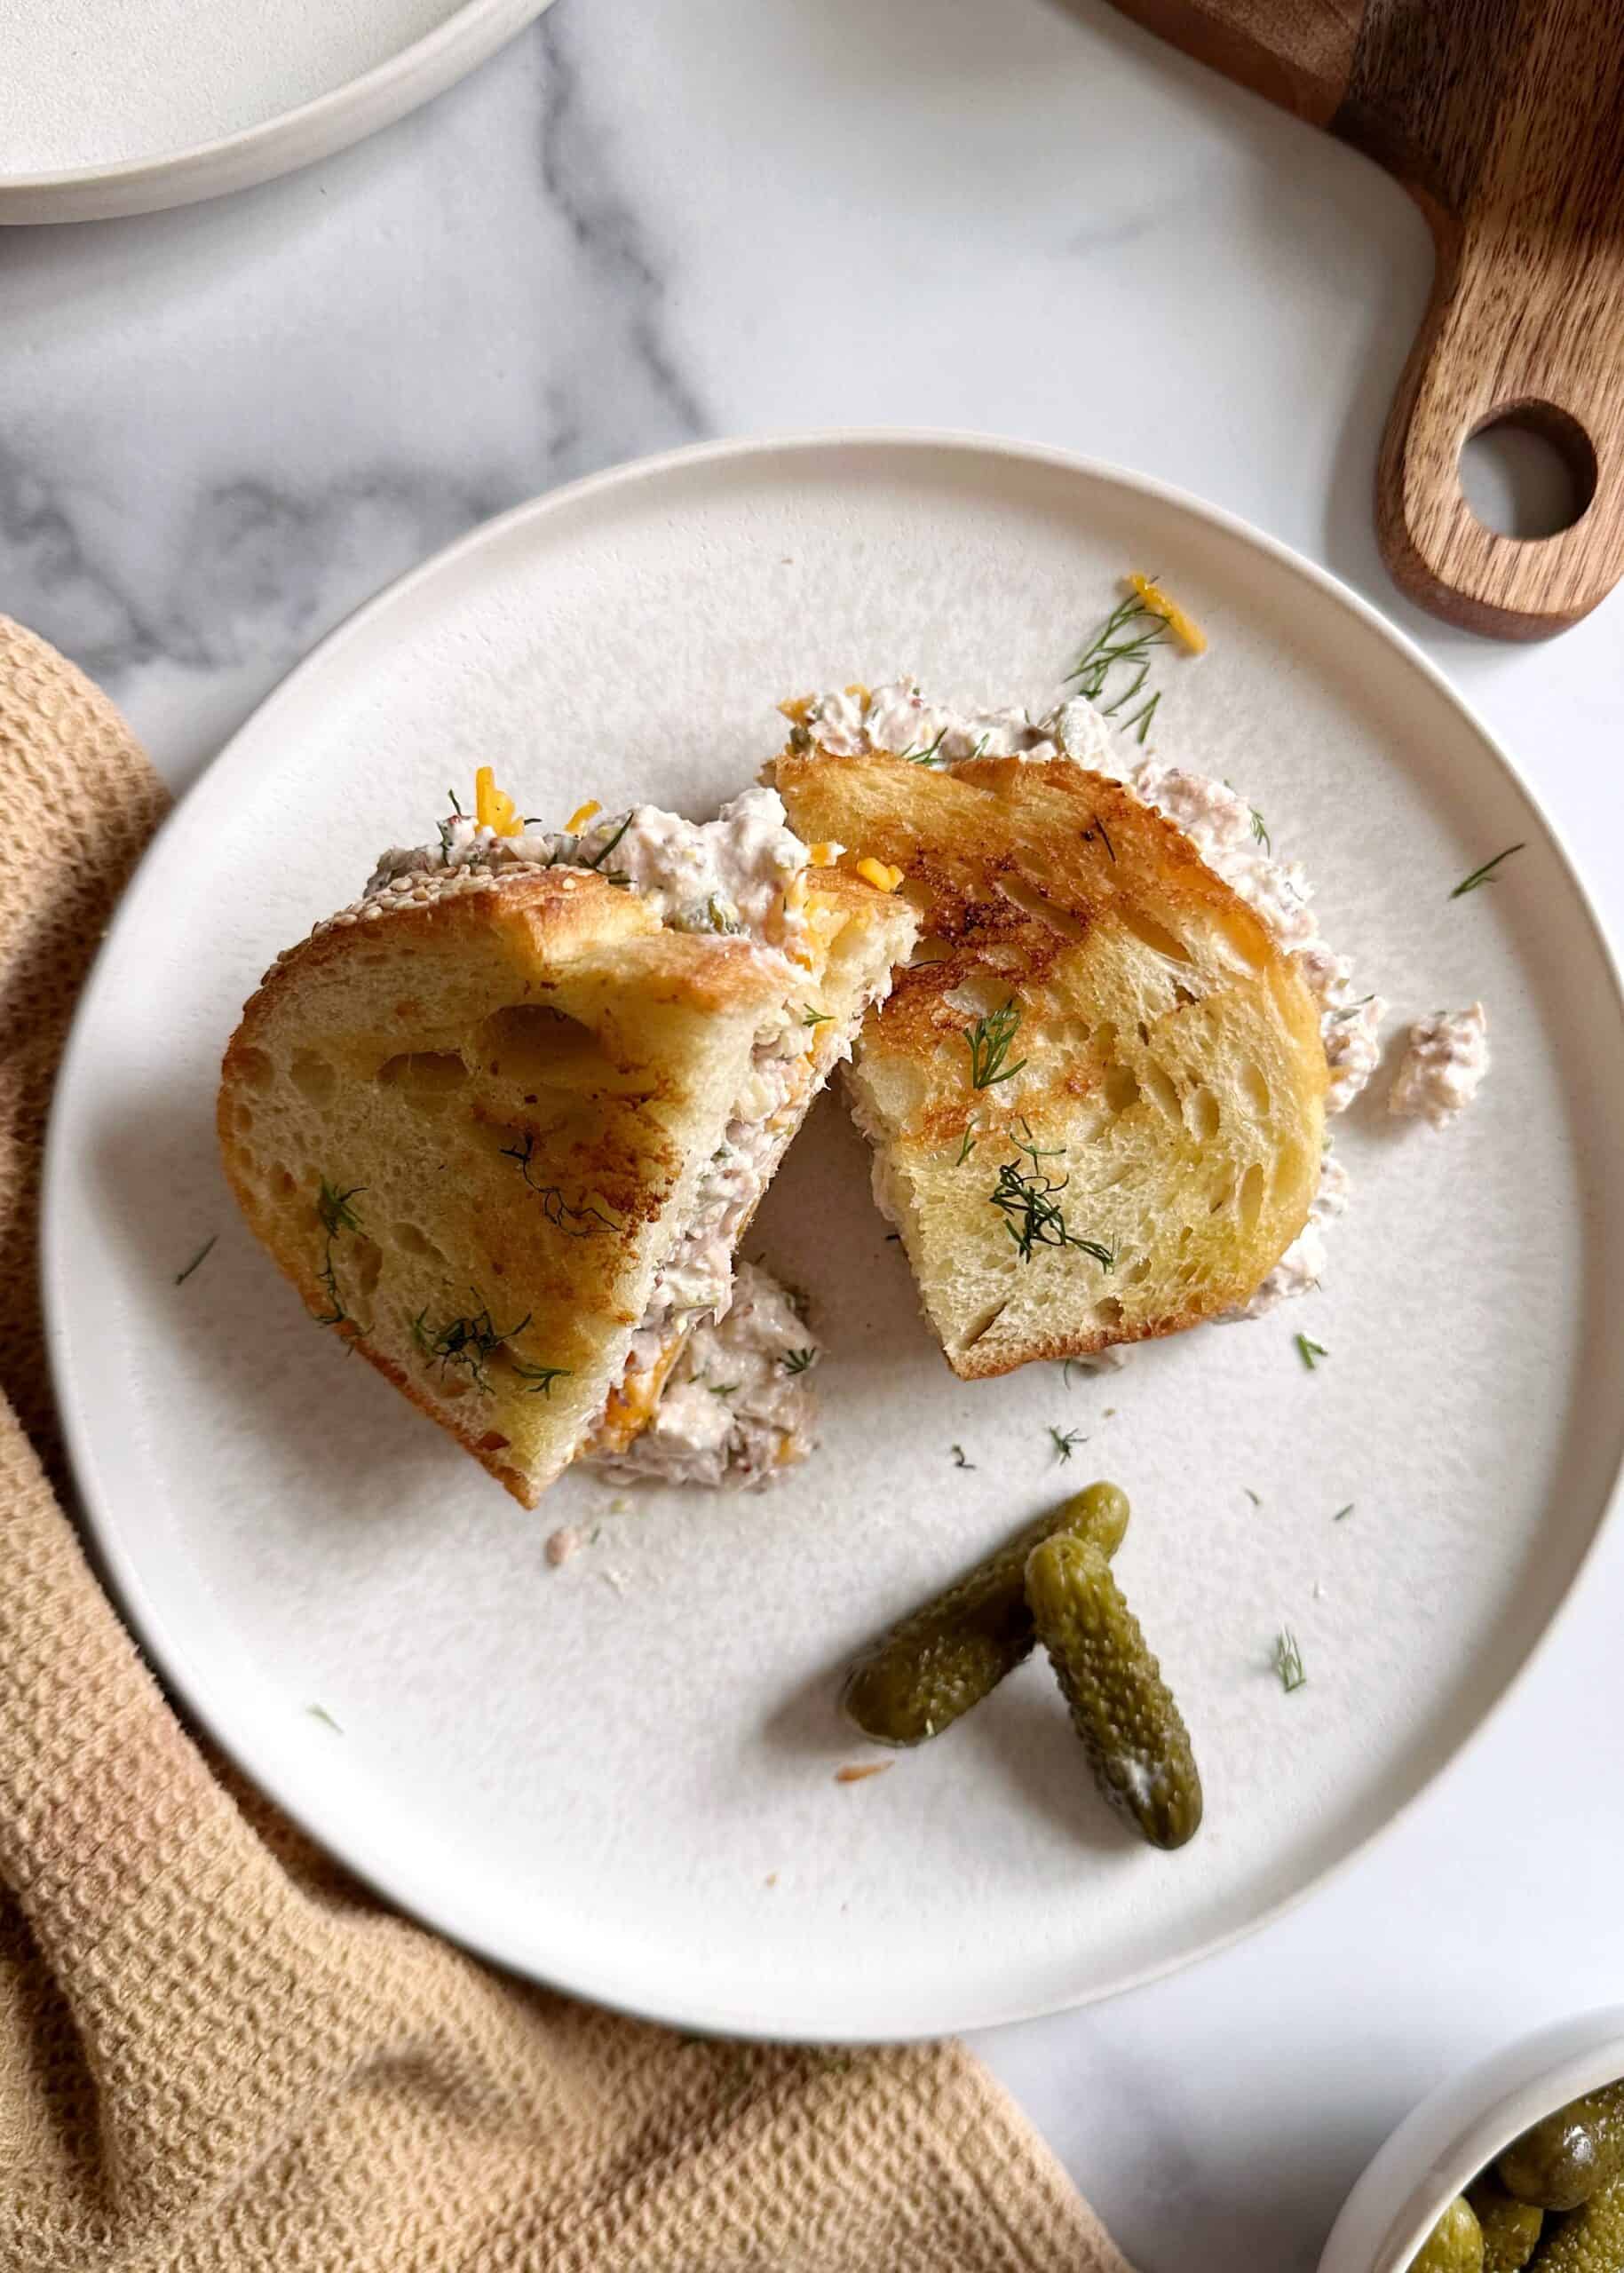
Dill Pickle Tuna Melt
Description
A pickly take on the classic diner sandwich, this melt has dill pickle tuna salad and melty cheddar cheese in crusty bread.
Ingredients
Instructions
-
In a small bowl, mix the drained tuna, sour cream, mayonnaise, grainy dijon mustard, chopped gherkins, a splash of the gherkin brine, and chopped fresh dill until thoroughly incorporated. Set aside.
-
Preheat a non-stick frying pan or cast iron skillet over medium heat.
-
Once warm, drizzle the olive oil into the pan and let warm for a few seconds.
-
Place two slices of the bread into the pan, using your hands to carefully rub the bottom of each slice into the oil in the pan.
-
Arrange the shredded cheese onto the topside of each slice of bread, dividing it evenly between the two.
-
Divide the dill pickle tuna salad onto the top of each slice. Toast sandwiches until golden brown on the bottom, for about 3-5 minutes. Remove from the pan and set aside.
-
If needed, add another small drizzle of olive oil to the pan. Toast the remaining two slices of bread to your liking and remove from the pan.
-
Arrange the toasted bread on top of each prepared sandwich, sprinkle additional fresh dill over the top of each sandwich, and serve. Enjoy!


Looks incredible, will have to try this out. Few dishes can beat the comfort of a perfect tuna melt!
Comment from previous site copied over by the author.
This is hands down the best tuna melt I’ve EVER had. I had to make some slight modifications & I am completely mind blown because I never would have thought to use Greek yogurt with tuna. I usually struggle with using less mayo than I prefer & eating my tuna semi dry. But adding the 1/4 cup of Greek yogurt was life changing!
Will be my favorite way to make tuna! Thank you!☺️
Thank you so much, Dani! I’m so happy you love this recipe!