My Talented Friend
A Quick Story
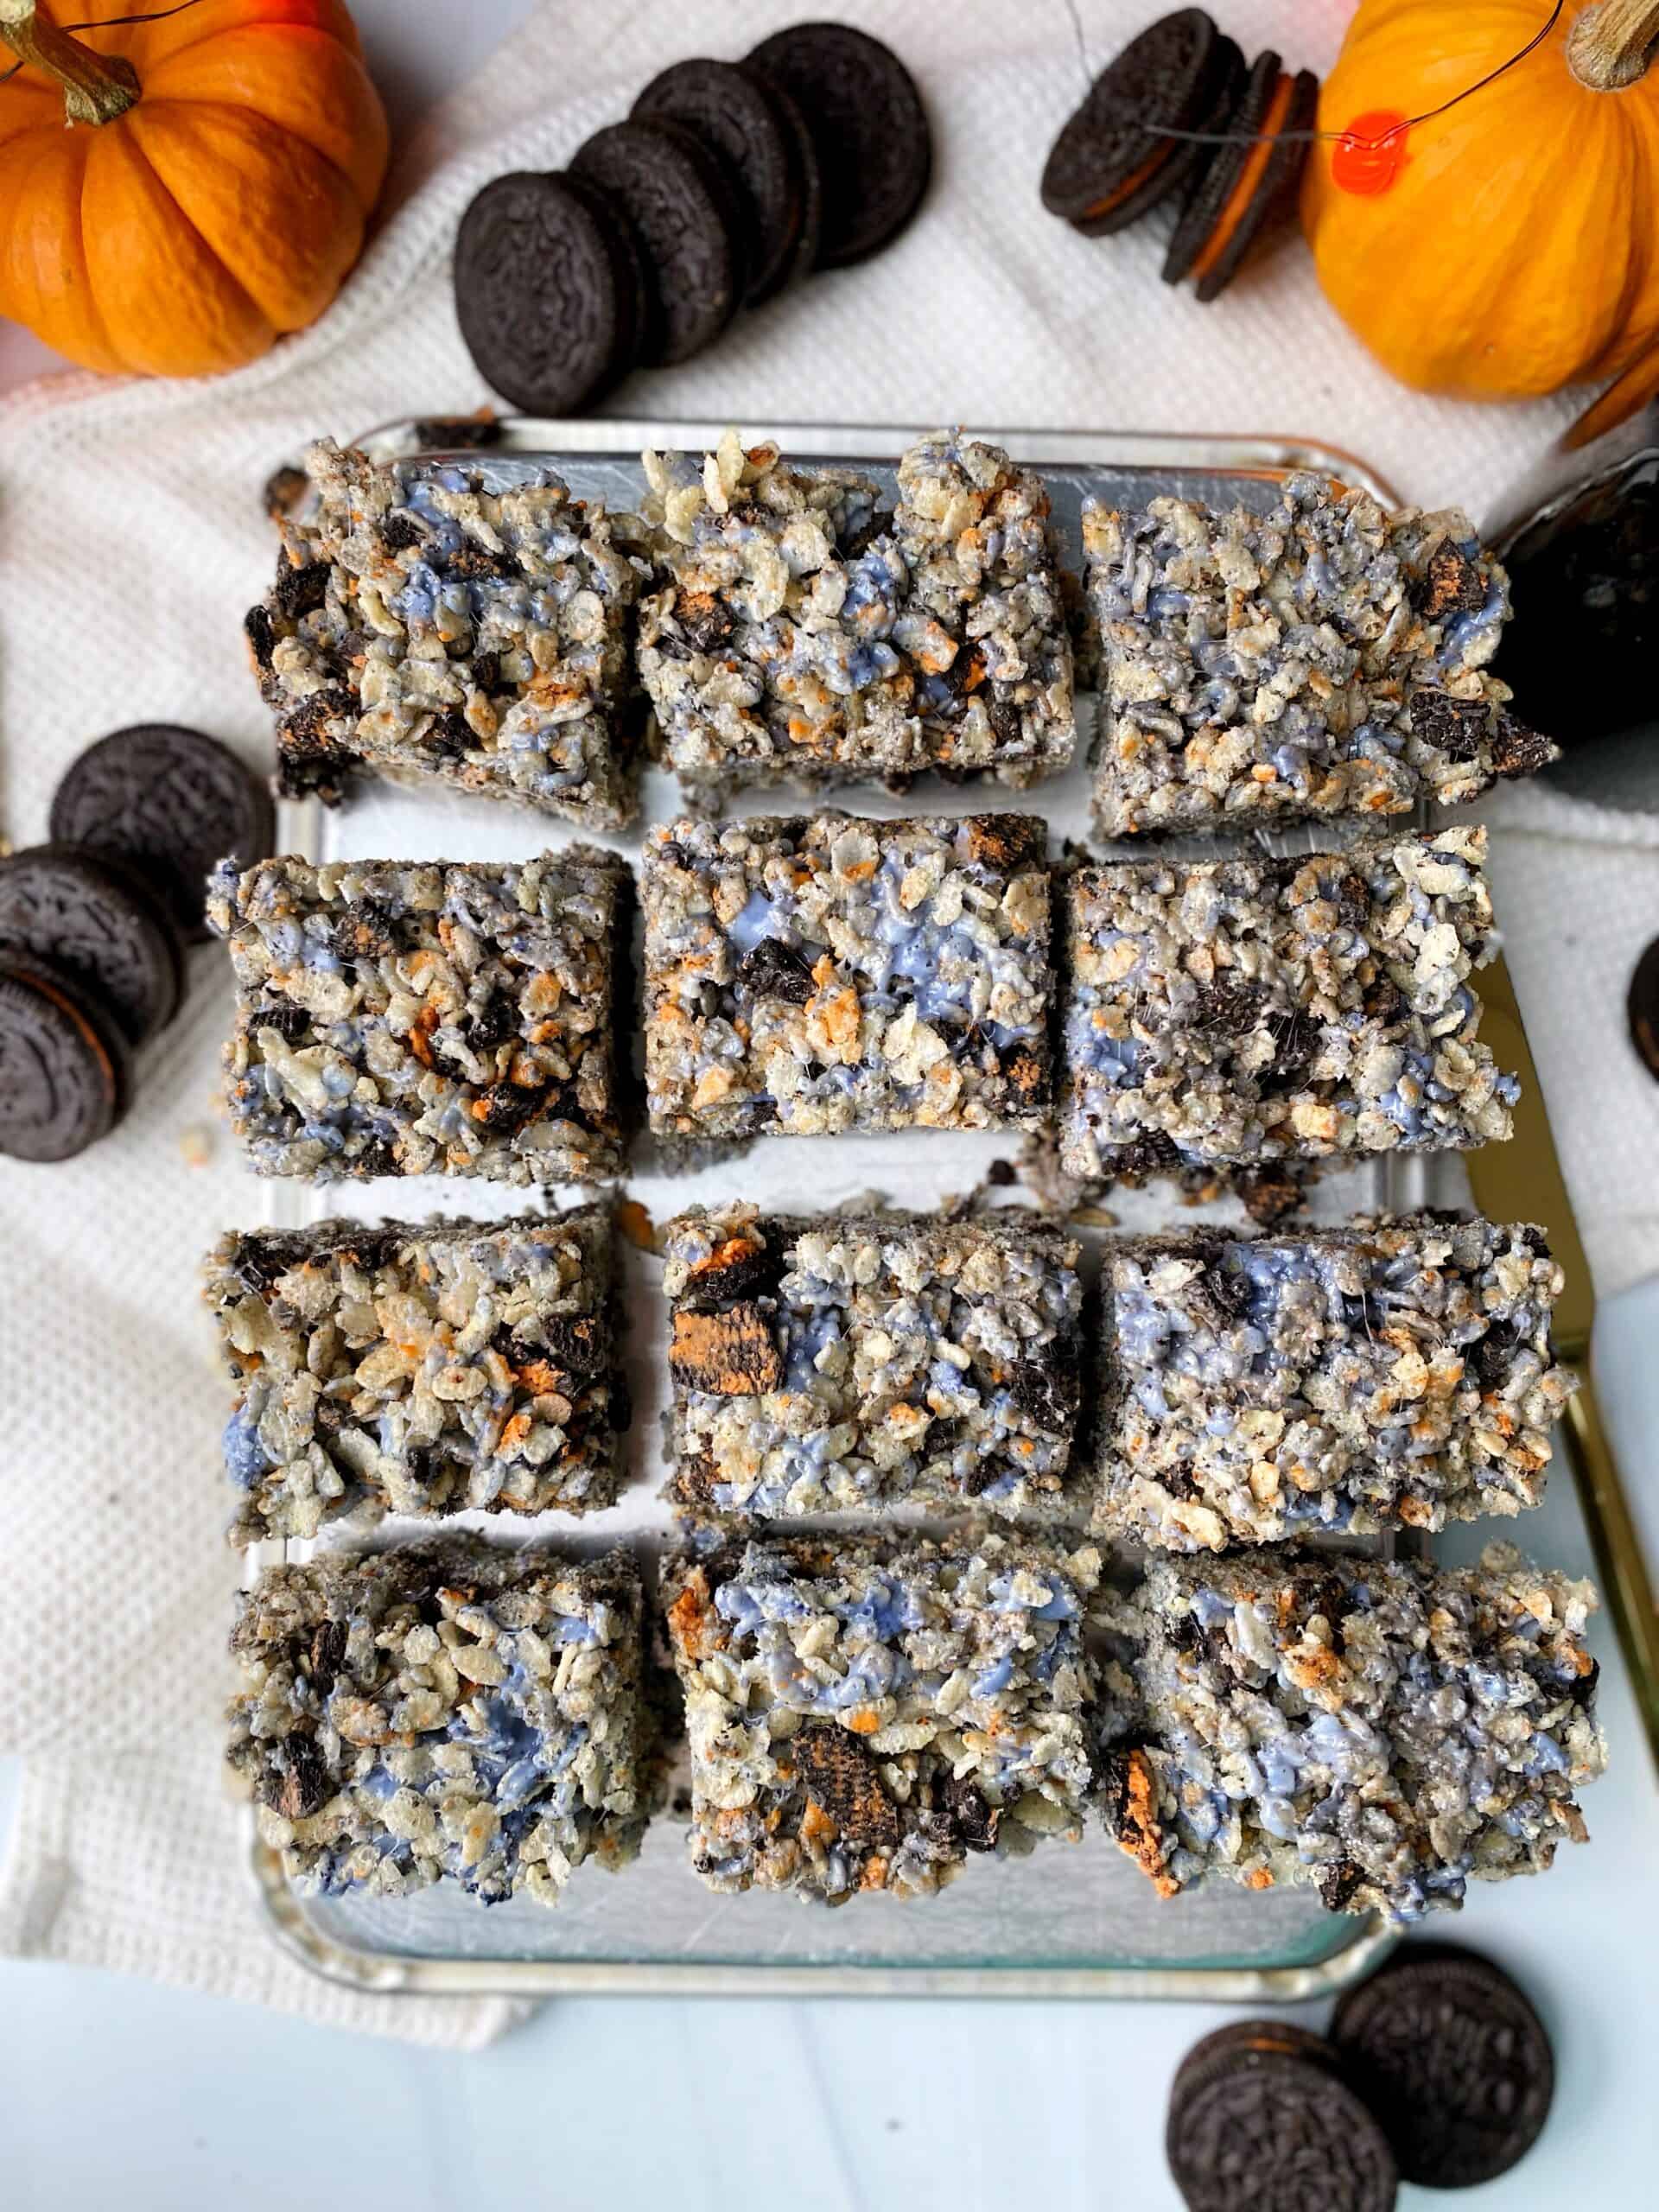
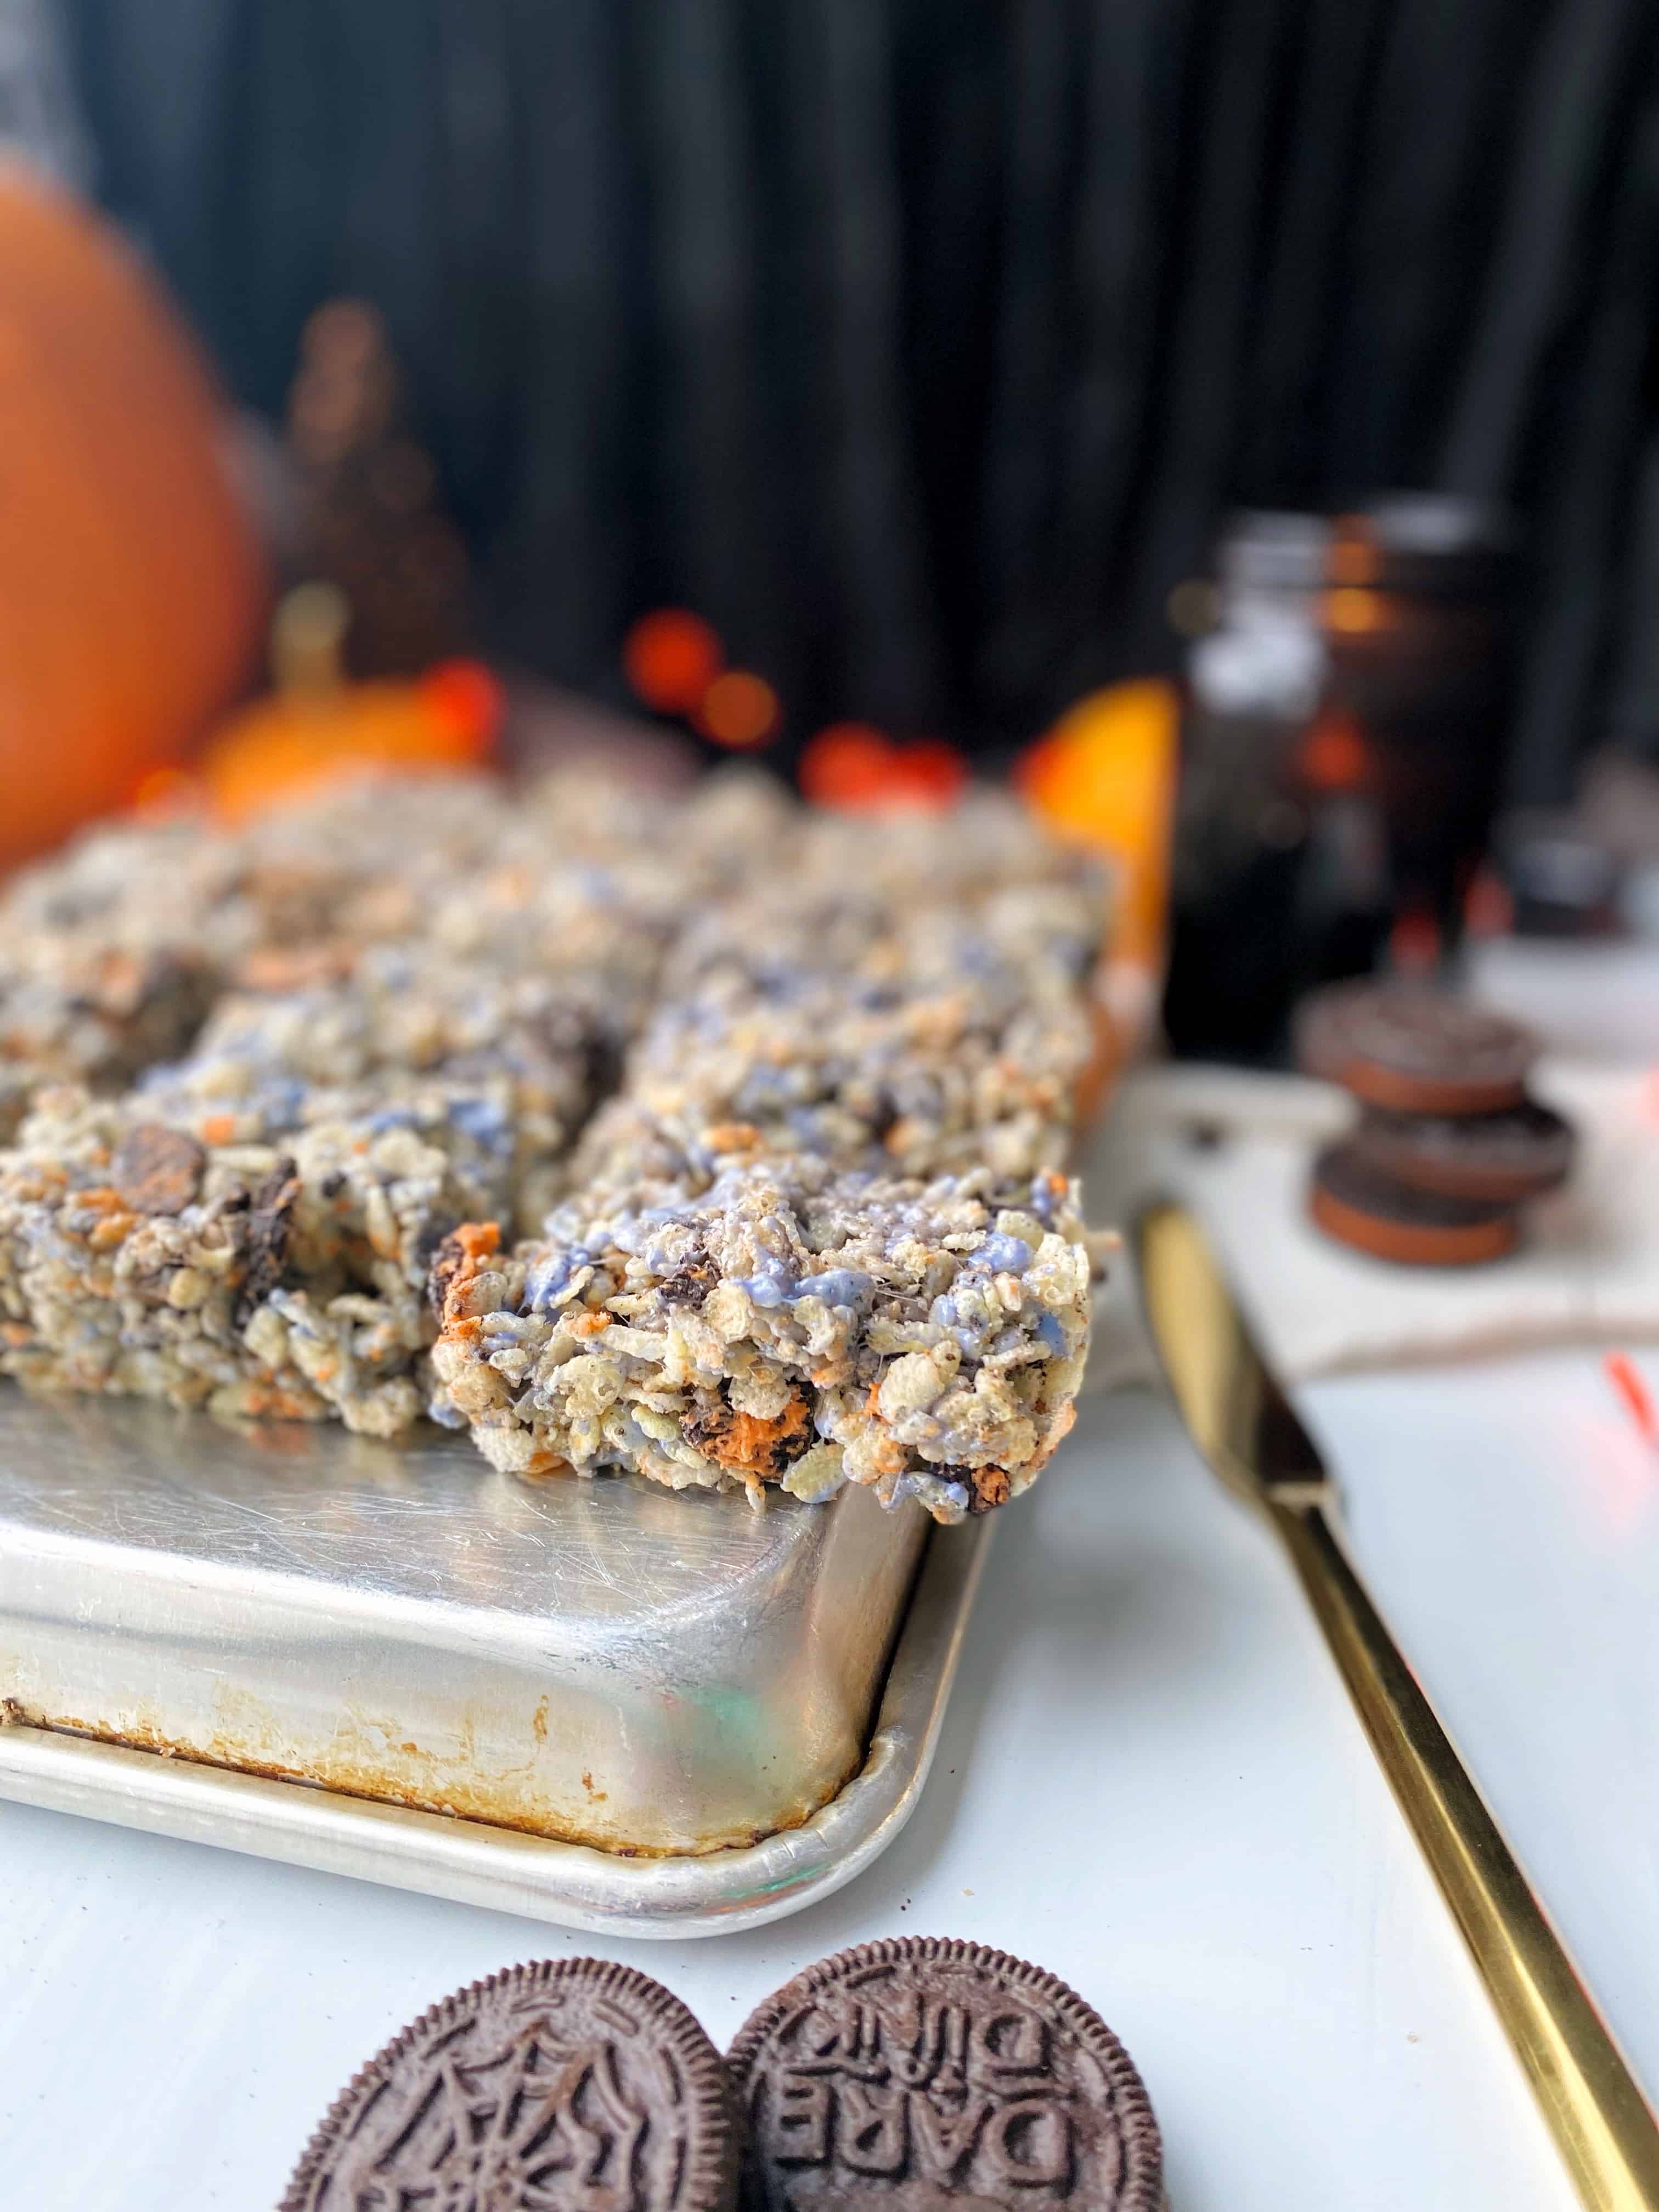
These cookies and cream Rice Krispie treats are a perfect, simple treat to make for Halloween! But before we get into the recipe, I need to share a story. I can’t think of Rice Krispie treats without thinking of my friend Angie. Angie is the best baker I’ve ever met. We met through work and she fed our entire office. Every week she’d come to work with trays of baked goods she’d prepared the night before. She’d bring in bags of candy and snacks for a dedicated “snack drawer”. Her adage was “fed people are happy people, and I only want to work with happy people”.
When it came to celebrating Angie on her birthday, it was difficult to top all the things she did for the rest of us. Groups of people would get together to plan what we could do to create a seemingly small gift to deliver to our friend who would give us anything. One year, Angie mentioned her favorite dessert of all time was Rice Krispie treats. A simple, no-bake dessert for the queen baker herself. I took charge of bringing in Rice Krispie treats to contribute to the celebration and, let me tell you, I was determined to make them the best Rice Krispie treats ever. I made a few test batches, tweaked the ratios, and voila! Gooey, crispy, delicious Rice Krispie treats that I felt were up to par for my talented friend.
A Halloween Recipe Dedication
While we’re on the subject of Angie, she was also an integral part of our office’s Halloween competition. We’d take our section of the office and decorate it to a theme, write out scripts, bring people through a journey, and serve treats. The team was incredibly committed to winning. Angie would paint scenes and create props that were movie set quality. She had so much talent that was on display for that holiday. So, in honor of Halloween and great Rice Krispie treats, this recipe is dedicated to Angie!
The Supplies
Ingredients
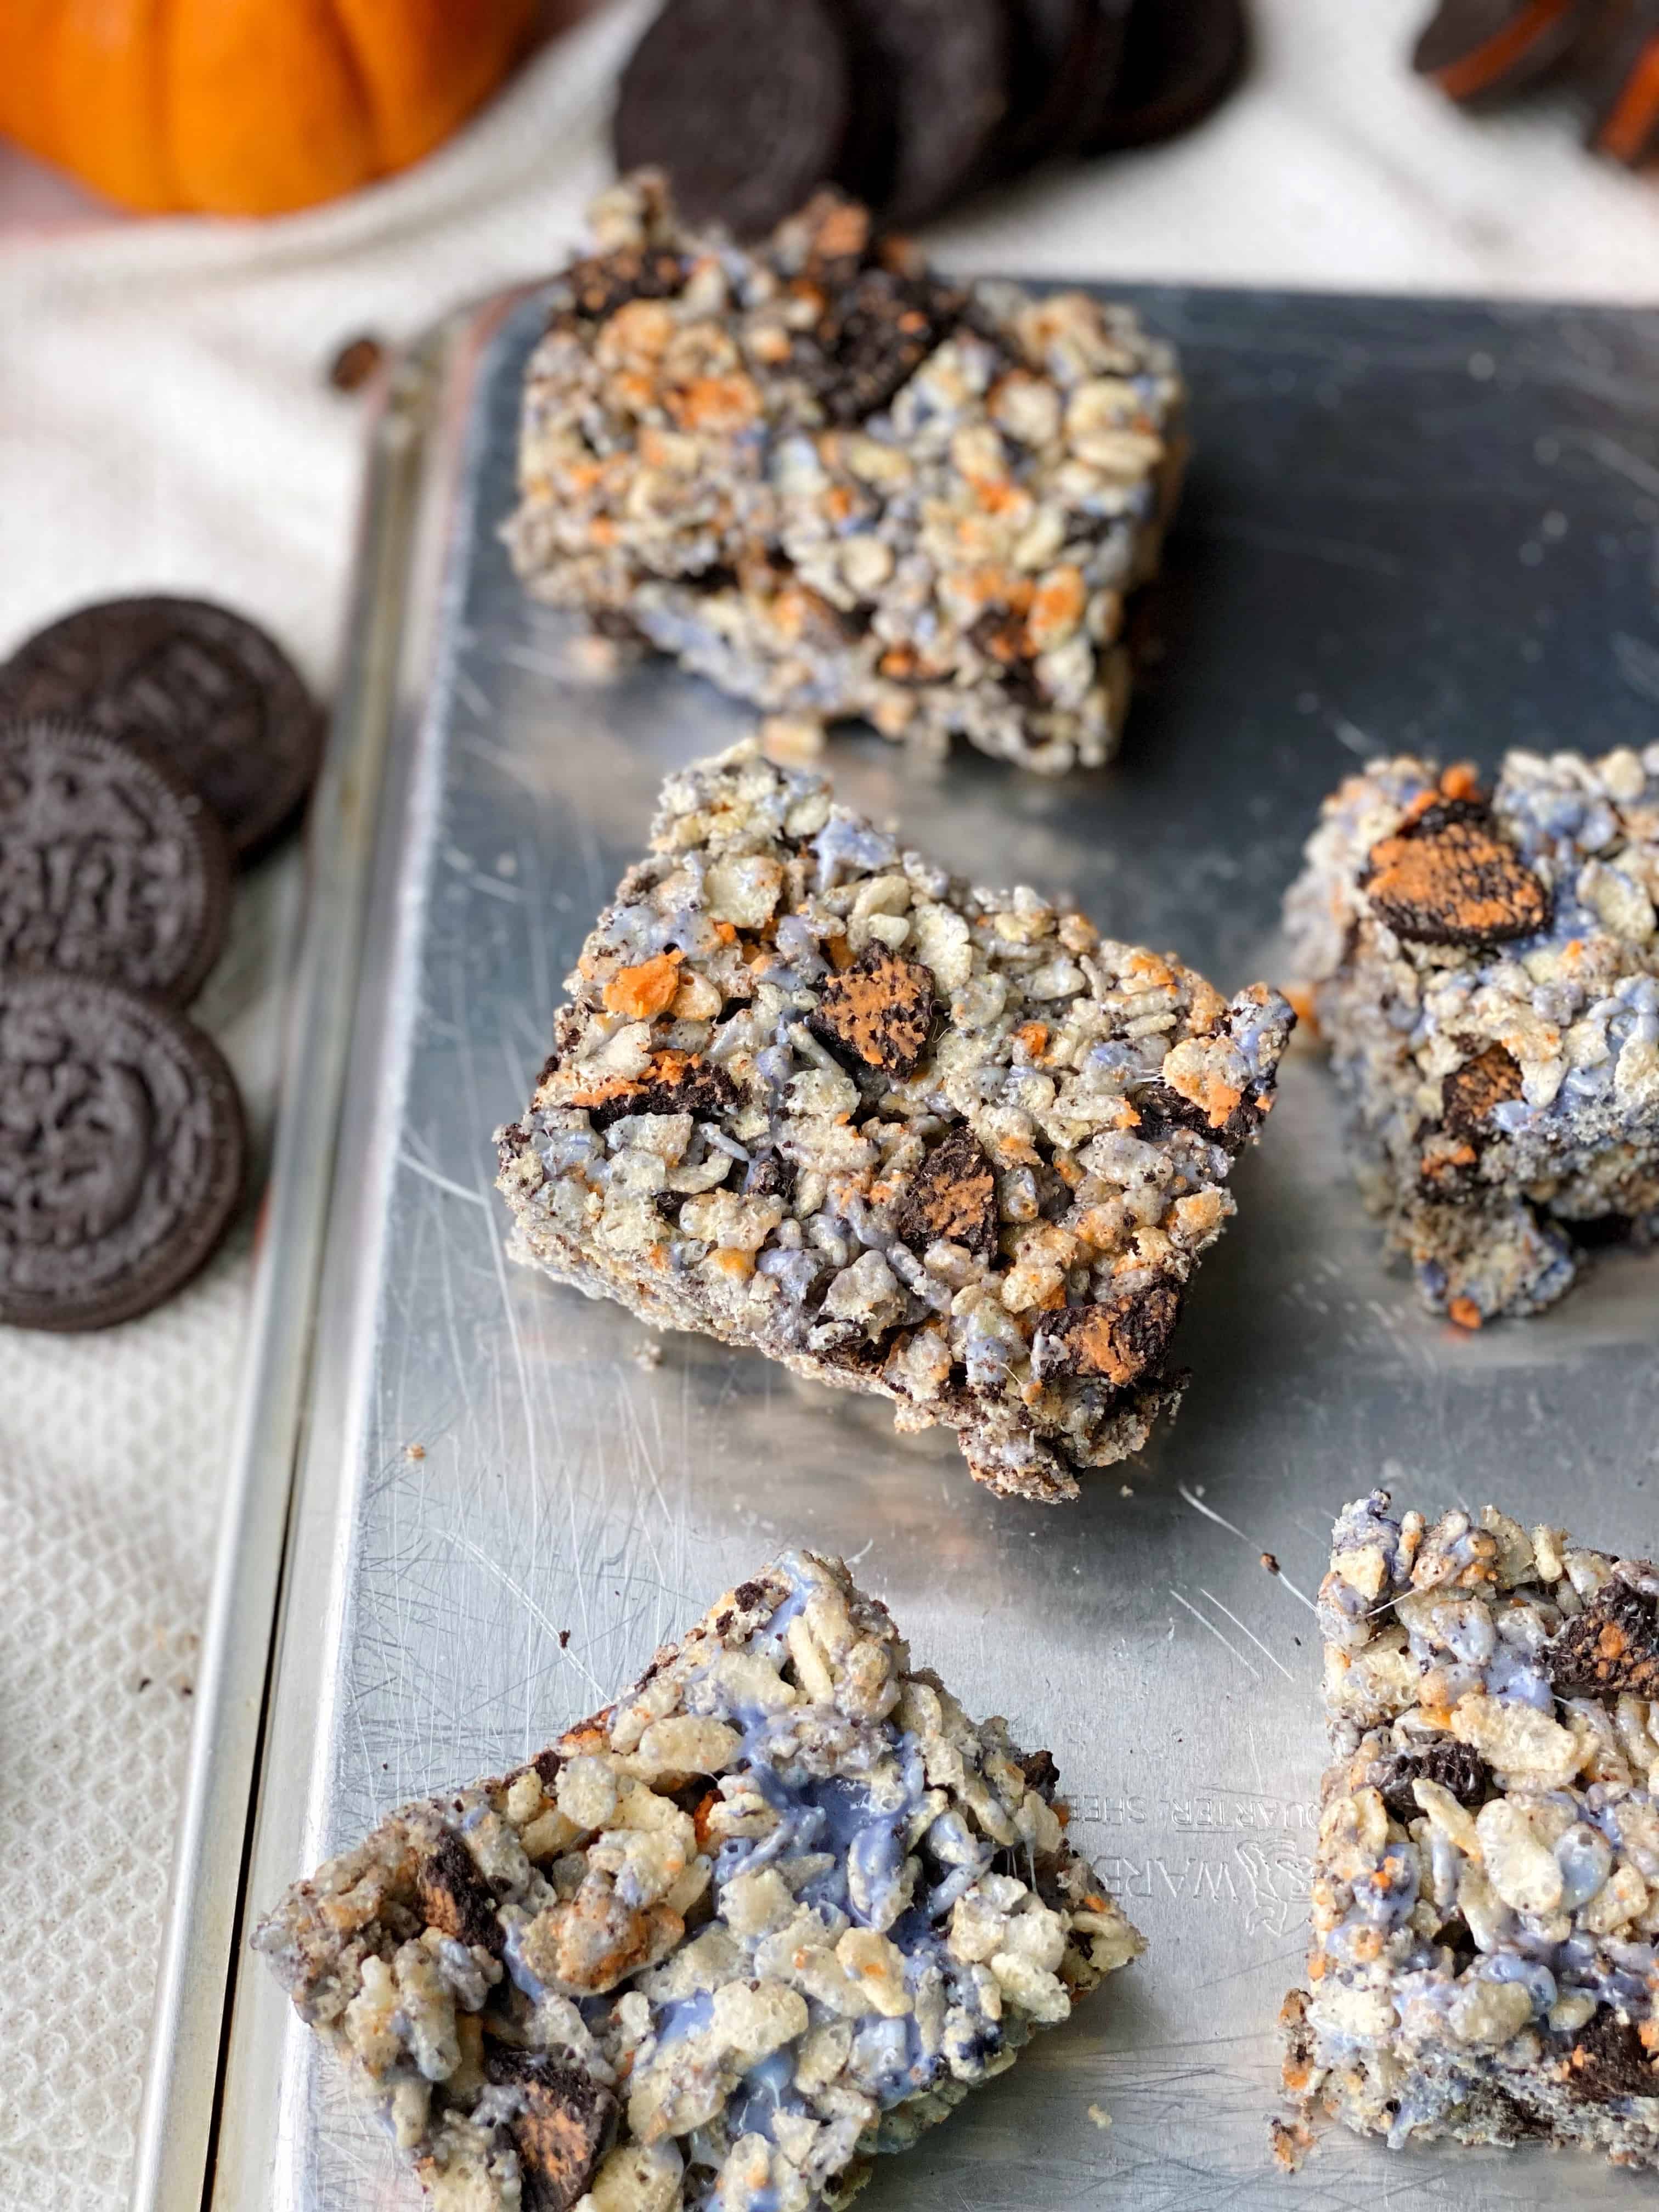
To make these cookies and cream Rice Krispie treats, you’ll need the following ingredients:
- Rice Krispies Cereal
- Chocolate sandwich cookies
- Unsalted butter
- Mini marshmallows
For the exact ingredient amounts, check out the recipe card at the bottom of this page.
Equipment
In order to make this cookies and cream Rice Krispie treats recipe, you’ll need the following pieces of equipment:
Recipe Details
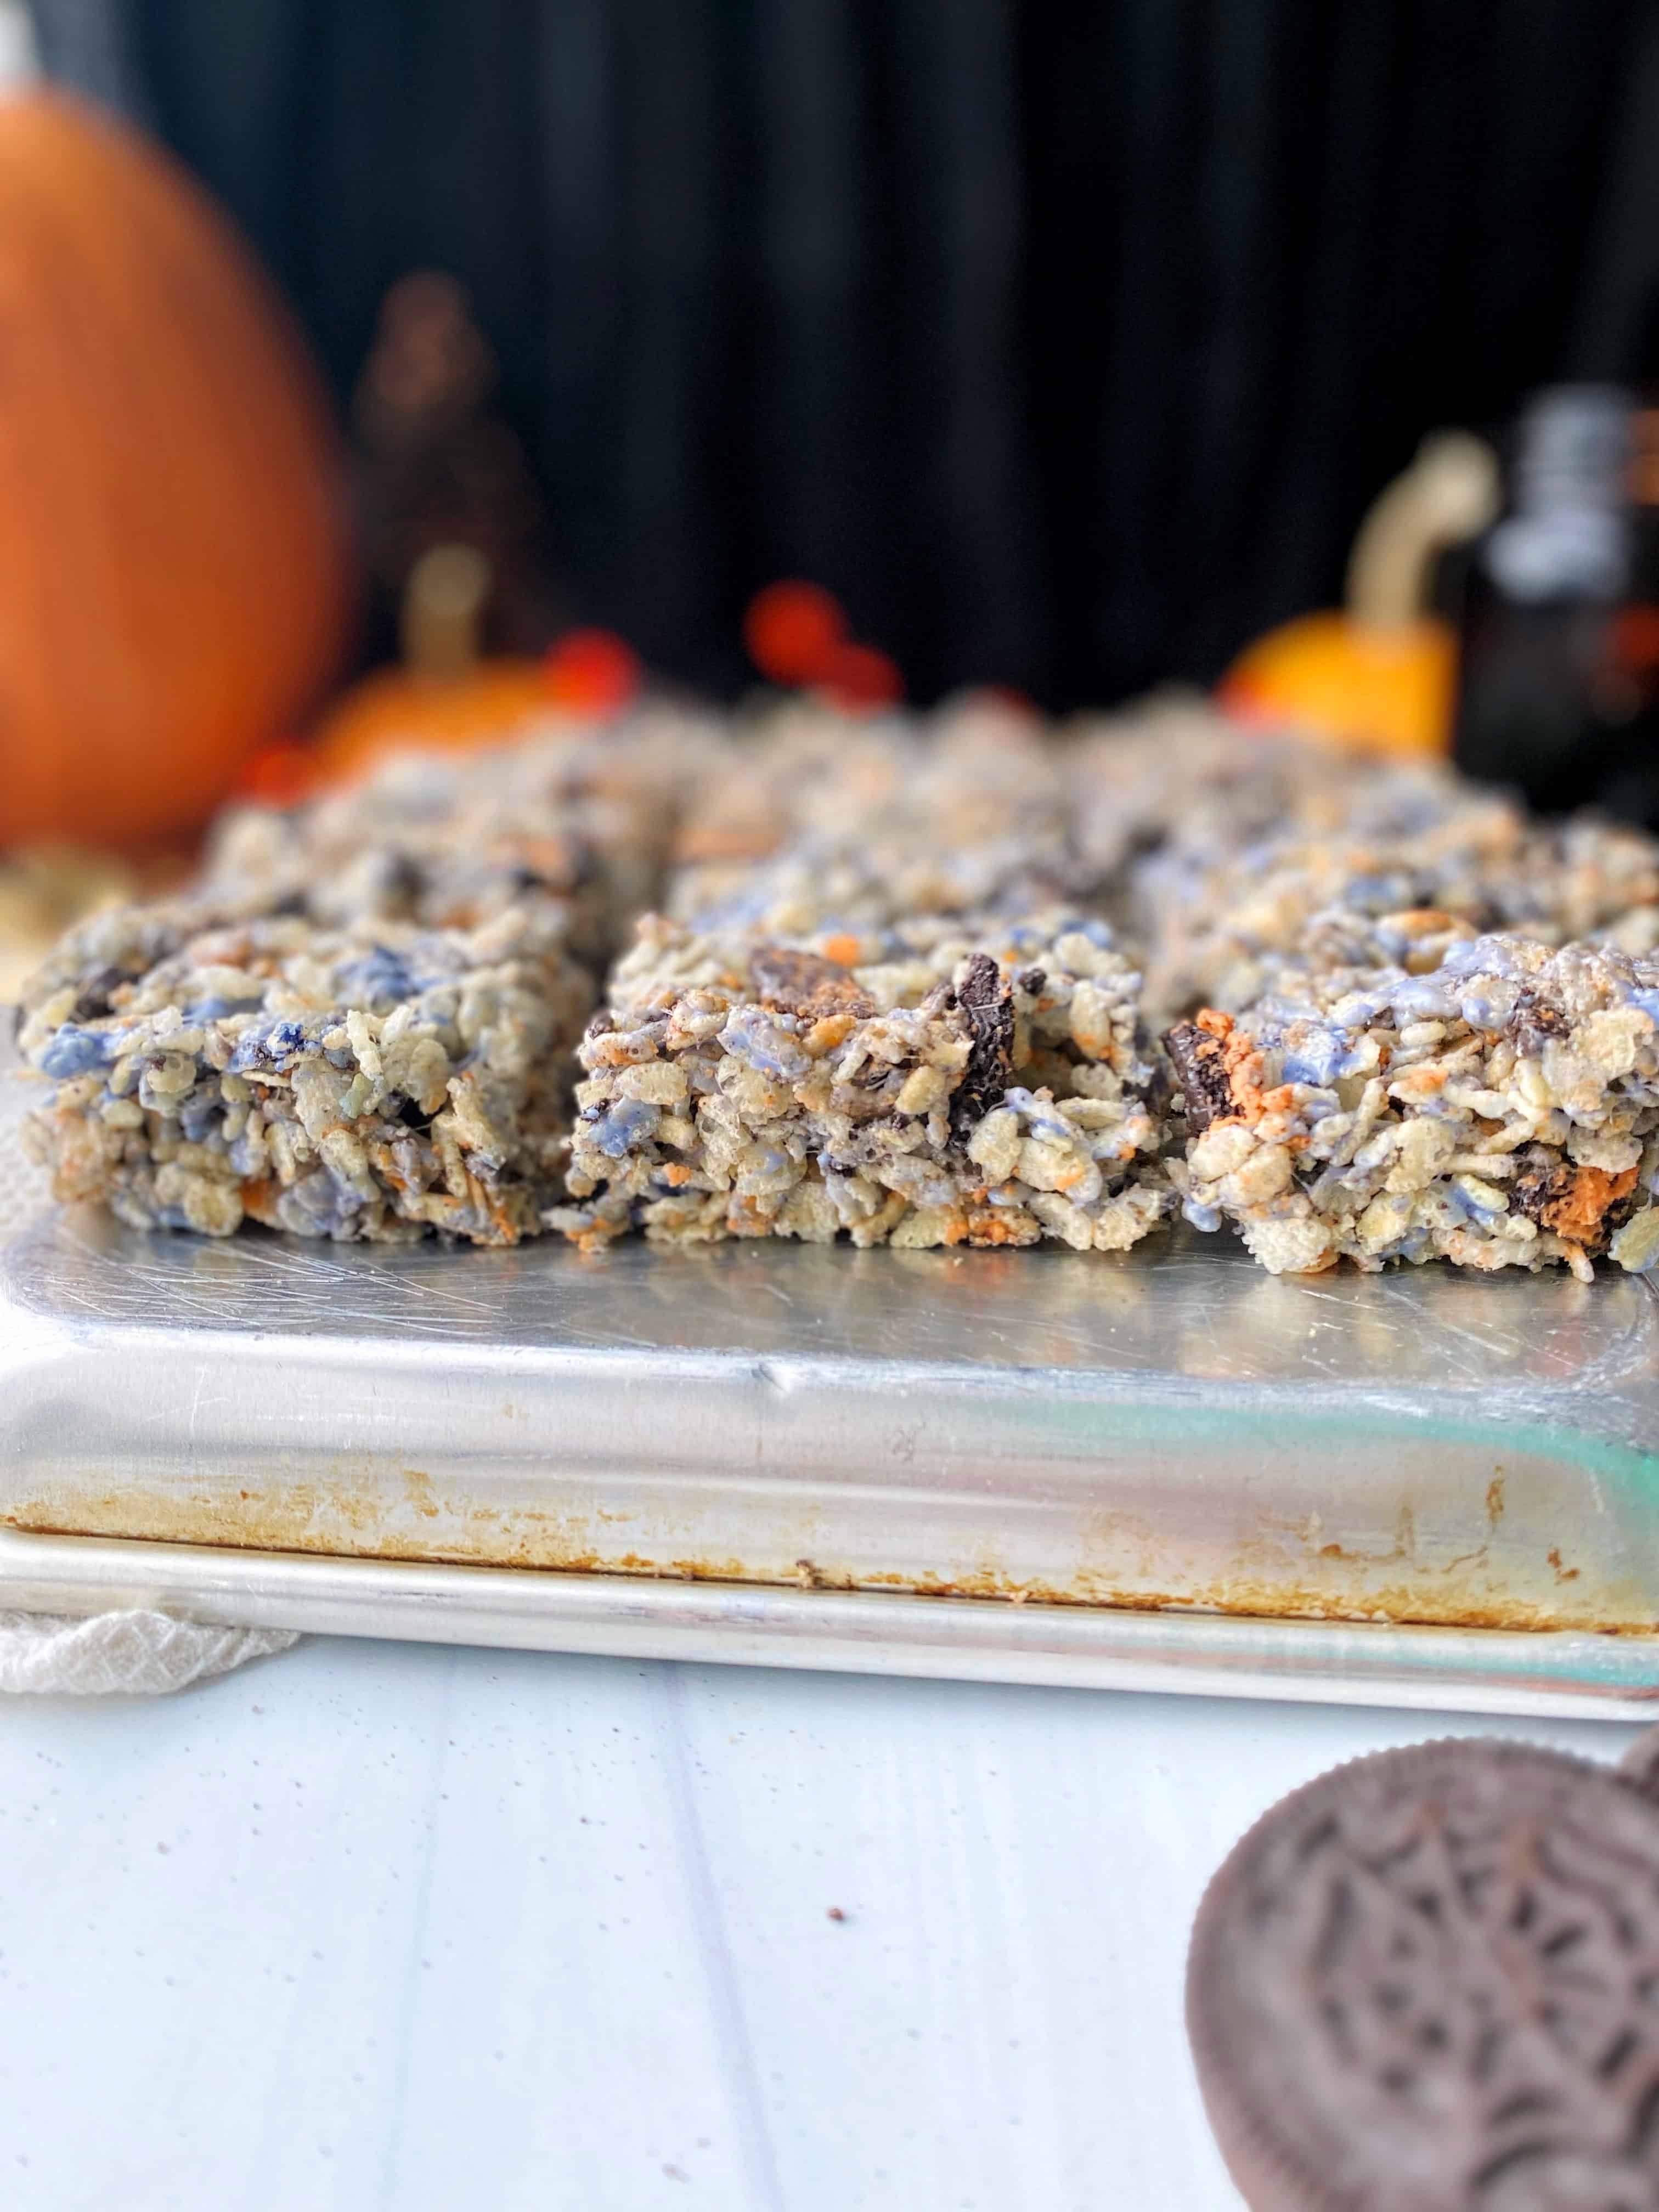
The actual making of these treats is so simple and requires no baking. You’ll only need a medium to large saucepan and an 8×8 or 9×9 cake tin or casserole, whatever you have on hand that’s around that size. Before melting the butter and marshmallows, I like to put the dry cereal and chopped cookies into the cake pan and mix them together. That way everything is evenly distributed before you add them to the melted marshmallows, but you don’t have to make another bowl dirty.
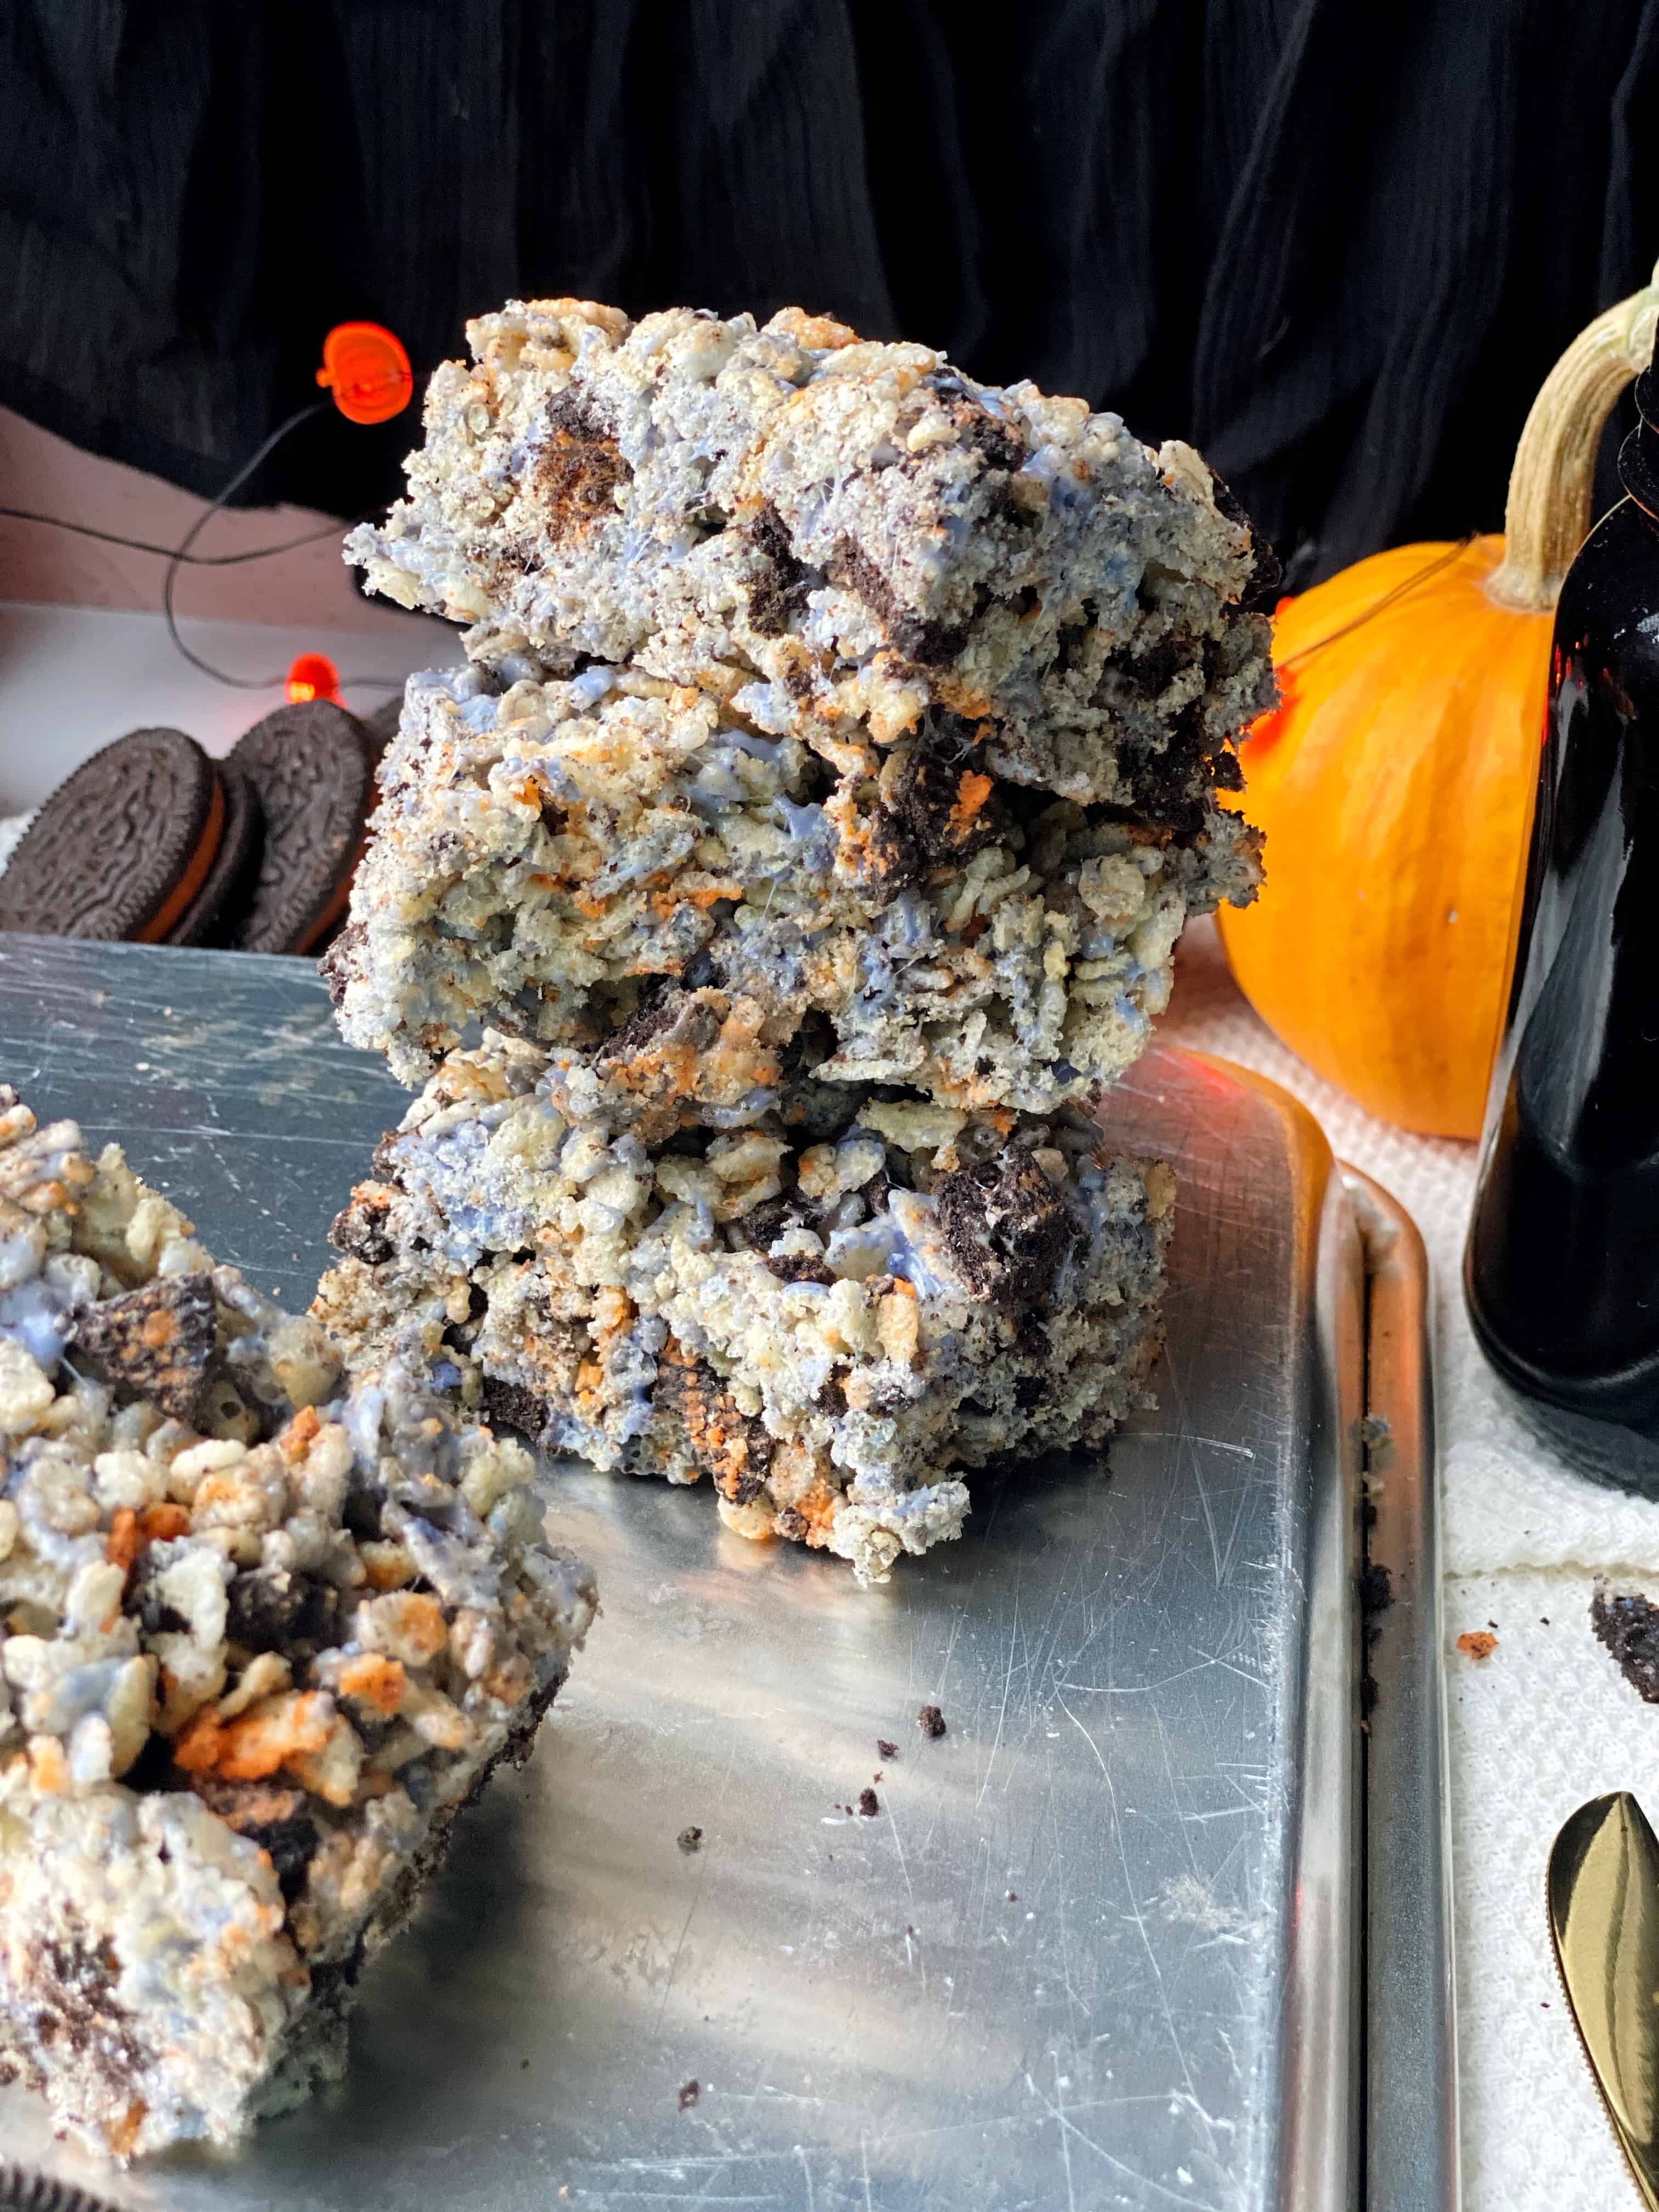
Once you have your supplies out and the ingredients measured, it’s time to melt the butter and marshmallows together. Start with melting the butter in a medium saucepan and then slowly stir in the mini marshmallows. Stir the marshmallows constantly until every marshmallow is completely melted.
Once your marshmallows are melted, add in the Rice Krispie cereal and crushed sandwich cookies. Mix until the cereal is evenly coated in marshmallows and transfer the ingredients back into the cake pan. Let the mixture cool for at least 30 minutes, then slice and enjoy! These are definitely best day of, but will last a few days in an air-tight container.
Make these festive Rice Krispie treats as part of a Halloween spread with these other festive treats:
- Pumpkin Spice Dessert Dip
- White Chocolate Peanut Butter Ghost Cookies
- Pumpkin Spice Chocolate Cookie Truffles
If you make this cookies and cream Rice Krispie treat recipe, be sure to leave a comment or give this recipe a rating – I can’t wait to hear how it goes. As always, tag me on Instagram, TikTok, or Facebook in your photos. It makes me feel like we’re getting to cook together!
This post may contain affiliate links, please see the privacy policy for details.
Cookies and Cream Rice Krispie Treats
Description
These cookies and cream rice krispie treats are made with orange creme chocolate sandwich cookies, a perfect Halloween treat.
Ingredients
Instructions
-
In an 8x8 or 9x9 pan, mix the cereal and chopped chocolate sandwich cookies, mixing until evenly distributed. This can also be completed in a separate bowl, but I like this method to save on dishes.
-
On low heat. melt the butter in a medium to large saucepan. Once melted, add in the marshmallows, stirring constantly with a rubber spatula until the marshmallows are also melted and homogenous. Turn the Note: if adding food coloring, place a few drops in when half of the marshmallows melted.
-
Turn the stove off and immediately add the cereal and chopped chocolate sandwich cookies to the saucepan. Stir until the cereal is completely covered in the melted marshmallow mixture.
-
Transfer the cereal and marshmallows back into the pan and let cool on a wire rack. These will cool very quickly, but I recommend giving them about 30 minutes.
-
Once cooled, slice to your desired shape and size, serve and enjoy!

